Followers

Wednesday, 19 December 2018

The Glittery Hands Box December Woodlands Tags


Hello all
I am back with a set of tags to share using the November box for The Glittery Hands Box.


mix modeling paste with mica powder and apply to tag using a stencil mask.

Glue on the felt woodland animals.

Add a sentiment

Glue on sequins and add snowflake stickers.


I added glitter to the tag while it was still dring to create a shiny background


i added the tiny blue pompoms to the blue tag as they match the fox.


Sunday, 16 December 2018

Artful Days Yule Log Decoration

Hello all

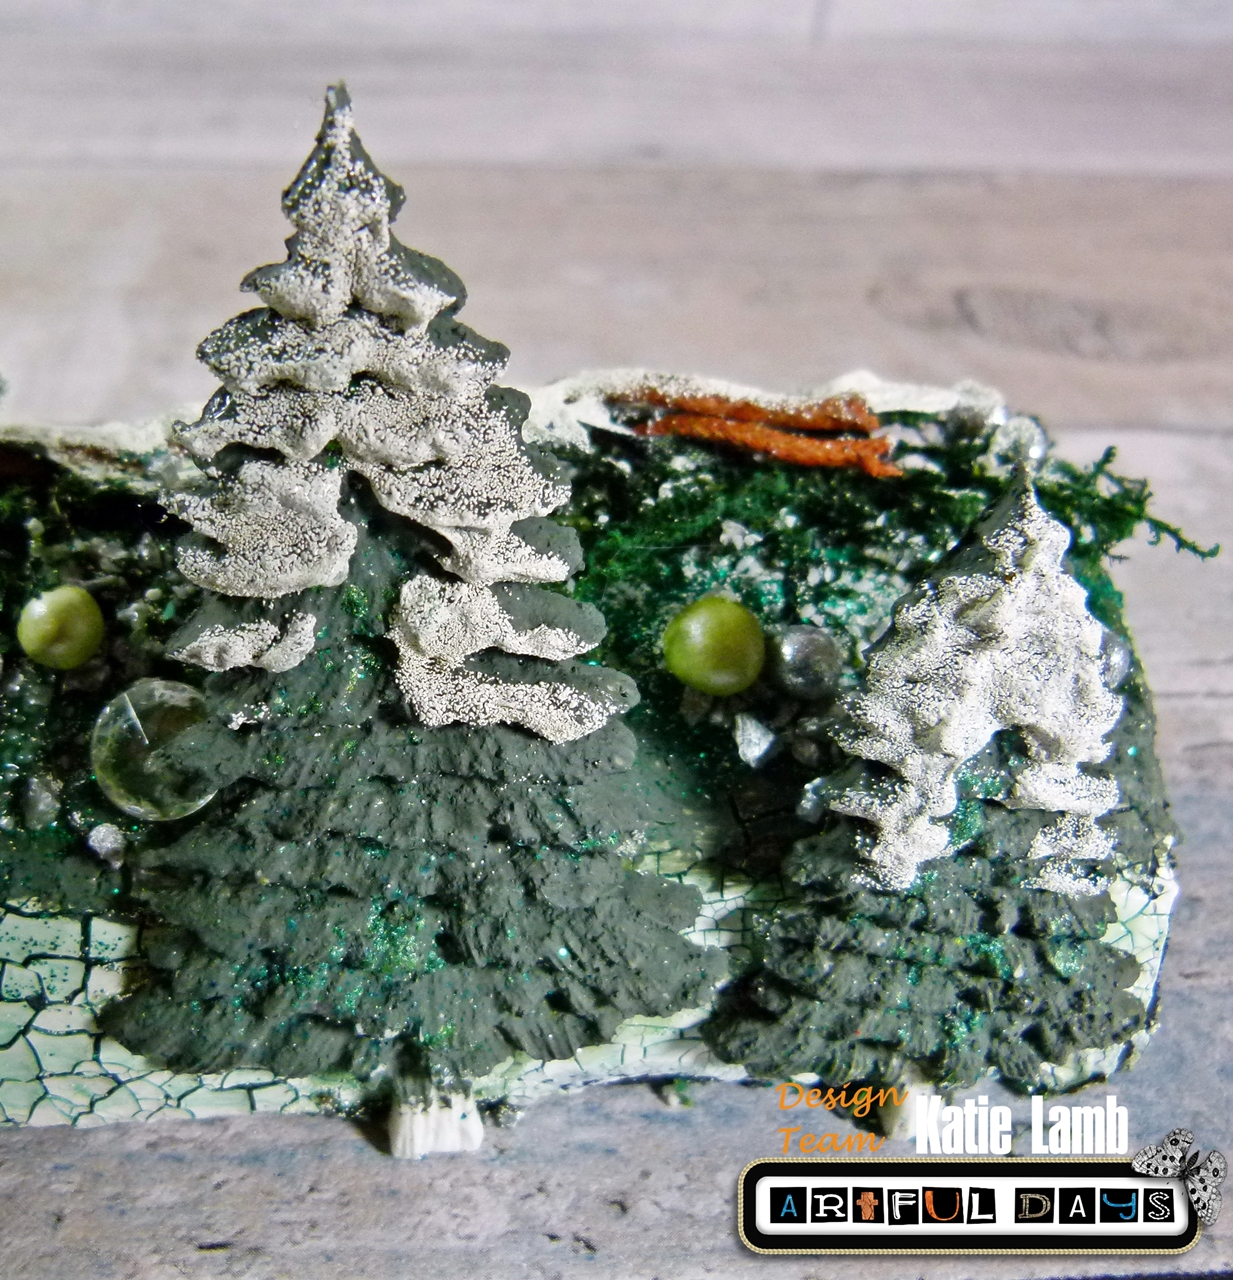
Christmas is almost upon us and i am finishing off the last of the Christmas projects. I can't believe how fast this year has gone. This is my project for Artful Days, I have held onto this battered old yule log i made when i was still at school. It did have little wooden ornaments and candles on but those broke off over the years so i decided to reuse the log that was left.


Product list


Paint a log with black gesso and once dry and a layer of crackle paint. 
Once set,sprinkle on Cathedral Pines magicals.
add a heavy gel medium on the top and use green glitter embossing powder
Add more heavy gel medium and add the fake moss on top.
Add more heavy gel medium and sprinkle on dec sprinkles, art sand and pearl art balls.
Add heavy gel medium to the top of the log and then sprinkle on white embossing powder.


Coat the resin reindeer with heavy gel medium and then sprinkle on embossing powder, heat carefully to melt powder.


Paint the threes with Green Texture Fantasy Paste, Dry it off and then add white embossing powder to the treetops.
Glue pieces to log to finish

Thank you for visiting

Hellgnome's Death Digis Creepmas Bulb Garland

Hi all

I am sharing my Christmas garland for Hellgnome's Death Digis. I used the Skull Bulb stamp.


I used transfer medium to print these onto fabric and then painted them with fabric paints.


Next i stitched them together and stitched them onto ribbon.


Thank you for visiting 


Saturday, 15 December 2018

Gecko Galz Vintage Post Card Decorations

Hi all

Just sharing these little decorations i made for a swap. I hope you all have had a lovely Christmas and i will be back in the New Year with a new team to announce.


Cut out the postcards from the Old Fashioned Christmas Collage Sheet. Glue them onto card, i used an old cardboard box as it is sturdy. Next use gloss enamels to cover the whole thing and leave it to set fully before decorating.


I used trims on the edges and then added bows and small embellishments.


I punched a hole in the top to thread the string through.


I used fake moss on this one.

Thank you for visiting 

Bleeding Art Challenge December Altered Birdhouses

Hello all
It is time for another challenge with Bleeding Art Challenge. Our theme this month is make something sparkly. So i have a set if altered birdhouses that will go on the tree.
Join the Challenge Here


I just painted them and then added embossing powders to the front and tops for added textures


Friday, 14 December 2018

Gecko Galz Christmas Tree Decorations

Hello all

Welcome to the Gecko Galz  25 Days of Christmas Decorations event. This year each team member will be providing you with 25 days full of festive inspiration.


This is an altered tart tin that i painted up and added lots of bits too. 


Blog http://geckogalzscrapbooking.blogspot.com/

Etsy  https://www.etsy.com/uk/shop/geckogalz

Group https://www.facebook.com/groups/654948344560159/

The Blank Page Muse Quick Makes Easy Tags

Hi all
I have a couple of easy tags to share today using stamps from The Blank Page Muse.


Product list


Stamp the base with a texture stamp using clear ink. Sprinkle over gold embossing powder and apply heat.
Next spray on red ink and leave to dry.
Ink some cheese cloth and dry it out before gluing it to the tag.

Stamp out the Santa head onto card and colour with markers. Cut out and stick to tag.
Finish with a sentiment and glitter balls.


Stamp on a texture and sprinkle with red embossing powder.  
Apply heat 
Spray with ink and dry off tag.
Stamp out three presents and colour them in.
Cut put and layer up on tag.
Finish with a sentiment 


Thank you for visiting 

The Blank Page Muse Shop http://blankpagemuse.com/
That's Crafty  UK And Worldwide here http://www.thatscrafty.co.uk/blank-page-muse.html
FB Fan Page https://www.facebook.com/groups/bla...


Thursday, 13 December 2018

The Glittery Hands Box Clear Baulble

Hello all
I have a simple make to share using the November Glittery Hands Box.


To make this simple festive decoration all you need to do i gather a selection of shiny things and a small Christmas tree.

I glued the plastic diamonds to the bottom of the clear baulble and then added sequins.

I glued one of the sentiment inside one half of the baulble and held it down while the glue set.

Next i glued down the mini tree and finished by threading twine through the top.

Thursday, 6 December 2018

Craft Consortium Winter Woodland and wood textures

Hi all
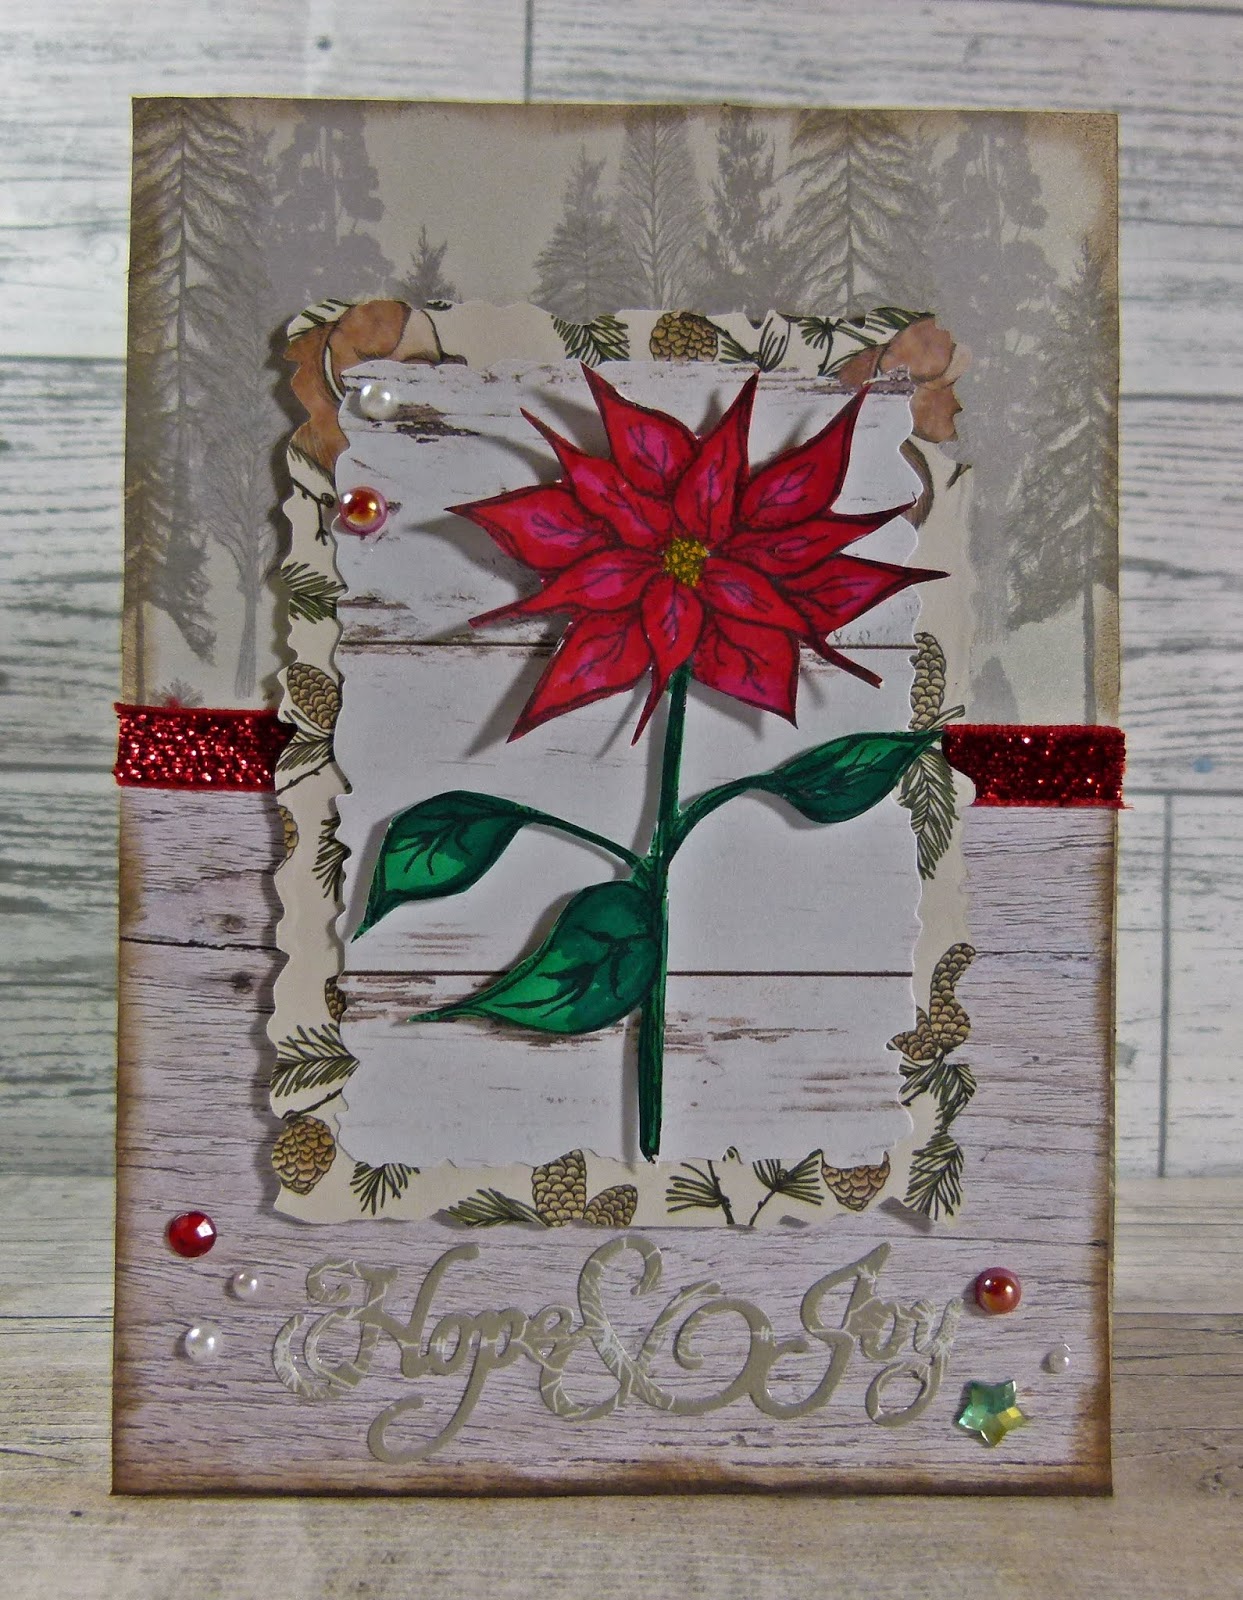
Just sharing my card i made for Craft Consortium using the new Essential Craft Papers. This one is the woid textures paired with Winter Woodland.


Products used 
12 x 12 Winter woodland pad
12 x 12 Essential Craft Paper Wood Textures 


Thank you for visiting 


https://themuseoftenebrocity.blogspot.com/

https://www.instagram.com/lifeinasnapshot2013

https://uk.pinterest.com/katie20121/pins/

https://www.facebook.com/Lifeinasnapshot2013/

https://twitter.com/Katiel27?lang=en

https://www.youtube.com/channel/UCVLQgPve17Jo8XZ_TMq2-EQ?view_as=subscriber


Tuesday, 4 December 2018

Artful Days Art Doll

Hello all


I stamped out the girl onto card and coloured her with marker pens. 


I cut her out and then cut some cheese cloth and wrapped it around the body.
I added fabric leaves for the dress and decorated with trims.


Thank you for visiting 

Saturday, 1 December 2018

Gecko Galz Customer Challenge Snow Queen Art Journal

Hello all
I am just sharing my art journal page i created for the Gecko Galz Customer Challenge this month. The theme is Snow Queen.


I used the In Dream digital stamp set. I cut out the main image once i had coloured it in.


The background was made using a stencil and clear modeling paste to get the wax resist look. From there i added stamps and various micro beads.


Thank you for visiting 


The Blank Page Muse Holiday Blog Hop Altered Tart Tins


Hello
Christmas is coming and we have a selection of DIY projects and ideas as part of our Holiday blog hop this month.
Follow  the link to hop down all our blogs 
Blog Hop Here

Comment on all the blogs to enter our prize draw.

Today i have a selection of altered tart tins using The Blank Page Muse Stamps.


Product list


Tart Tins
Metal Primer
Acrylic paints
Card
Assorted Christmas Embellishments


Start of by painting the tart tins with metal primer. Next paint with a multi-surface paint and leave to dry. Then paint over a layer of gold paint.


Punch a hole in the top using a tool to punch through metal or use a strong adhesive to glue string to the top.


Stamp out the images onto card and colour with marker pens. Cut out and set aside.


Glue gold, white and red trims or Sisel at the bottom of the tins and then add the stamped images.


Build up layers of small embellishments and decorations around the images such as tiny trees and bells.


Tie string through the top to finish.


Thank you for visiting


Follow The Blank Page Muse here


The Blank Page Muse Shop http://blankpagemuse.com/


That's Crafty UK And Worldwide here http://www.thatscrafty.co.uk/blank-page-muse.html


Follow me here


https://www.instagram.com/lifeinasnapshot2013