Followers

Sunday 31 January 2016

Fiskarettes Projects January.

 Hi all

              I am back with my final lot of projects for the Fiskarettes Design Team. It has been a short term which has gone by way too fast but i have enjoyed working with the team and the Fiskars products. Who knows maybe i will make a come back one day.


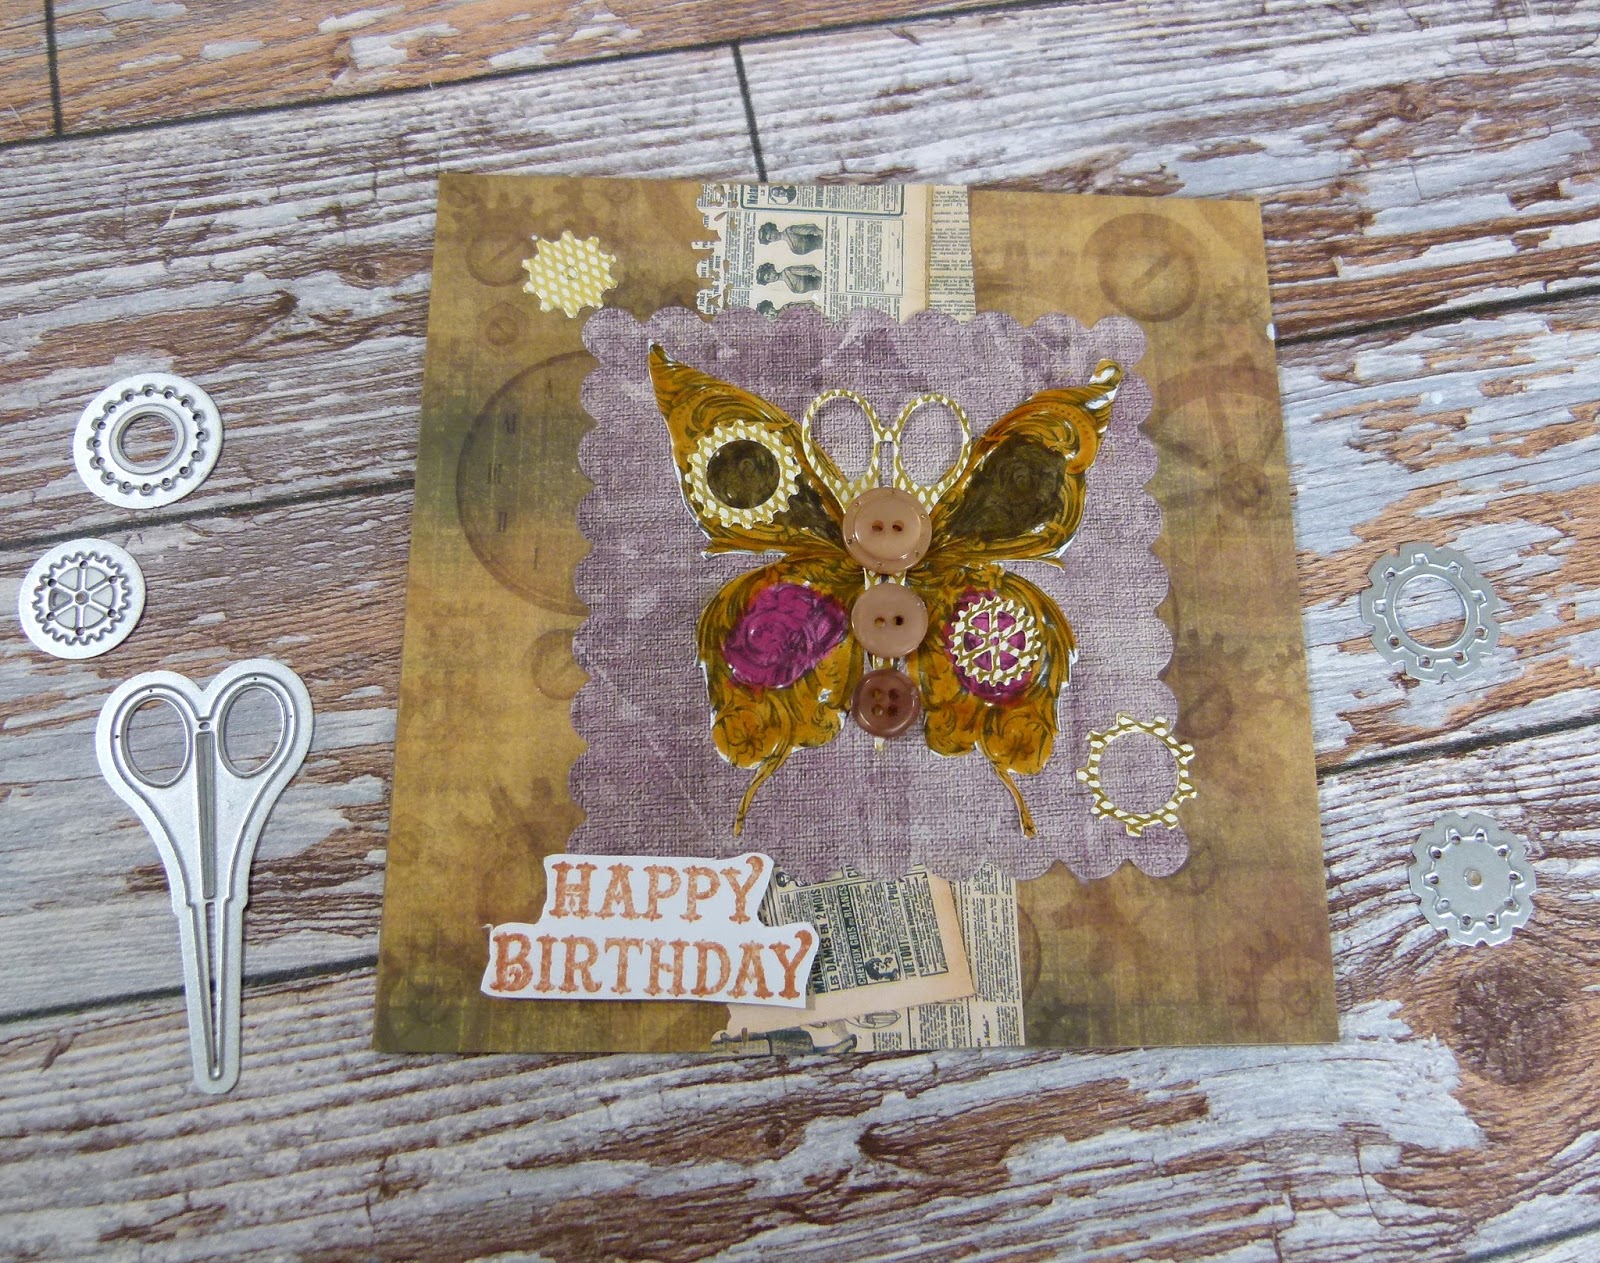
I used the Butterfly L Squeeze Punch with the new Grace Taylor Boheme Paper Pad. I then dribbled a bit of ink along the bottom of each butterfly.


I used spritzing inks on the background and then punched out a couple of butterflies and layered them up.


I decorated the centers with gold shimmer dots


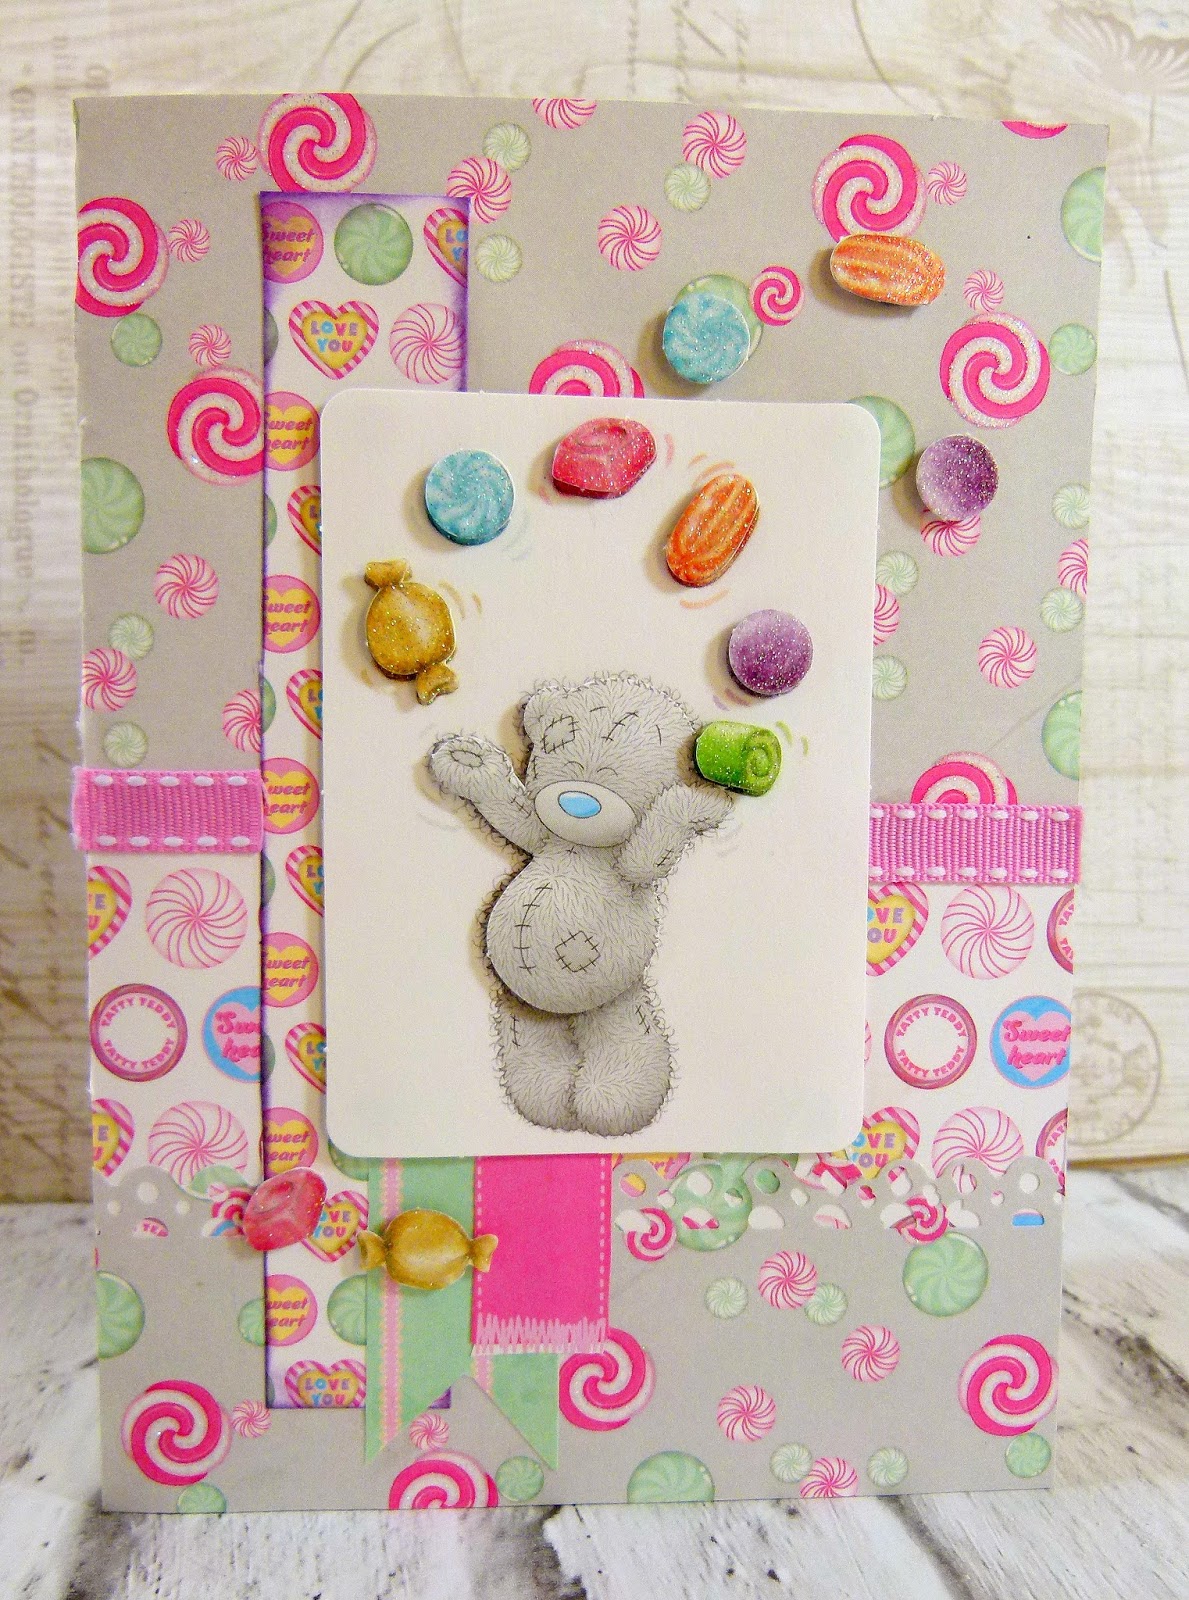
i cut several strips of patterned paper up and layered them across the card. I used the Rainbow Interchangeable boarder punch on the top layer.


I used the Heart Template to create a layered topper which i finished off with a butterfly.

Thank you for visiting

Saturday 30 January 2016

Oak House Studio One Stamp Challenge Double Daisy

                                         
                                                                                   Hi all

One stamp is back and this year it is the Double Daisy Stamp Set if you would like to join in you can find more info here . I have a new mixed media layout to share with you all. I started off by mixing Pure Colour Chemistry Sepia ink with texture paste to make the background


            My next layer is made up of Vintage Sepia, Pumpkin and Bobby's Grey inks in a bottle


The MDF pieces are from Things To Alter and i just trimmed the honeycomb mask with scissors.


I used the Double Daisy stamp to create a textured background before stamping it onto book print and cutting it out to create layers with.


               I used the Gold Acrylic Ink to flick drops onto the page and to dye the flowers


                                                             Thank you for visiting


Thursday 28 January 2016

Trimcraft: Introducing Me to You Sweet Shop

Hi all

Today i have a few cards to share which are made using the new Me to You Sweet Shop Collection. You can view the whole collection here http://www.trimcraft.co.uk/products/826/me-to-you-sweet-shop


I made these using the 6x6 pad and 8x8 Decoupage pads. They are really easy to put together as they are pre cut.


 I used the Fiskars Interchangeable Boarder punches to add texture to the layers


This is my favorite card because i love all the colours


There are so many different ways you can used this collection


                                                             Thank you for visiting

Wednesday 27 January 2016

Tutorial : Making a Steampunk Butterfly Card


Hi all

I am back with my first tutorial for Scrapmixers. I am going to show you how to create a layered steampunk card.


I used a selection of Leli-bot Steampunk papers and the butterfly stamp by Gecko Galz


First cover the card with patterned paper and then cut a strip off another sheet. Use a boarder punch to create a lacy edge.


Cut out a square using nesting dies and adhere to card.


Colour your stamp in with marker pens and adhere to centre of square


I used the First Edition Haberdashery Die Set and cut out the scissors using the gold gilded paper from the Botanical notes paper pad. I stuck this into the centre of the butterfly.


Next i die-cut some small cogs and adhered them to the butterfly wings and around the card.


Add a sentiment


Finish off the card by adding a few small buttons down the center of the butterfly. I lined them up by size so they formed the body of the butterfly.


Here is the final card.


Here are a few close ups of the topper so you can see how i put it together.


Thank you for visiting

Katie x


Tutorial : Creating a metallic background using heat embossing


1) Cover a square card blank with patterned paper and trim to fit


2) Position clear stamps onto the card base and then place the acrylic block. Apply ink and re-position stamps before coating with embossing powder.


3) Cut several strips of pattered papers using a ruler and craft knife.


4) Take one of the paper strips and tear the edges to add texture

5) Layer the strips of paper together and stick down once you are happy with the position of the layers


6) Cut a strip of corrugated card using a ruler and craft knife and then cut a flag tail at the bottom. Adhere this to the center of the card.


7) Stamp out a sentiment and cut to fit a wooden frame. Position onto card and glue down.


Sunday 24 January 2016

Pan Pastels Steampunk card

Hi all 

 I have made a mixed media card by using Magenta and Blue Pan Pastels to create a textured background. If you would like to join in the challenges you can link up here http://welove2create.blogspot.co.uk/


I first blended Magenta with a little Blue and used it to colour the blank card base before applying a stencil. I then rubbed more of the Pastels over the stencil.


The image is coloured with Sepia and gold inks to create a metallic look


I then added the layers and placed the image over the top


Thank you for visiting

Friday 22 January 2016

Susan K Weckesser Creative Team January Tags of Love: Love Ya Whole Bunches


Hi all 

I am back with a mixed media tag to share. I am new at tag making but i like to learn new things so i gave it a go.


I used the Love Ya Whole Bunches stamp set for this project 


I used the Love Ya Whole Bunches set for this tag and started off by stamping the girl out and colouring her in. I set her to one side and began on the tag background by spritzing  Paris pink and vintage sepia inks onto a white tag.

              I then used texture stamps from the A Little bit washi set to make a pattern.


I then used the kite stamp from the Fly Away set and stamped the tail of the kite onto the tag. I then stamped the kite out onto card and cut it out and stuck it to the tag with 3d foam pads.


Isn't she adorable?

Thank you for visiting

Monday 18 January 2016

Capsule Collecion Geometric Neon page 1


Hi all

i am back with another page from the Capsule Collection Geometric Neon book. 


The page is really simple just crop your photo and then cut two squares from the 6x6 paper pack.


I love the enamel stickers that come with the embellishment pack


I used the tabs as little buntings


Thank you for visiting