Followers

Wednesday 30 March 2016

DecoArt Blogger Outreach Program: Up-cycled Vintage Magazine Holder


Hi all  
i am sharing my first make for the DecoArt Blogger Outreach Program. I have an altered magazine holder which i coated in Americana Chalky Finish paint.


I started by sanding off the old varnish and coating with Americana Decor  Innocent Chalky Finish paint.


I Then painted a layer of Weathered Wood crackle medium and let it dry before painting over with Americana Chalky Finish Everlasting Paint. 


I painted another coat of Weathered Wood Medium over the top and painted another layer of Americana Chalky Finish Innocent paint. As the paint layers cracked it toned down the pink a little and left this lovely distressed effect.


The Weathered Wood Medium creates large defined cracks.


I lined the bottom of the magazine holder with  Victorian Romance Decou-Page Paper

Thank you for visiting and for more inspiration  visit the DecoArt blog 


Susan K Weckesser Design Team: Mixed Media Layout Angels Are Near.


Hi all

I am up on the blog with a new mixed media layout to share. They say that if you find feathers in an unexpected place then it is your Guardian Angel trying to get your attention.I wanted to create a layout that was like a journal page so i sorted out a photo that was more suited for this style of project.


I started off the page by applying DecoArt Media White Crackle Paint over the page using the DecoArt Americana Distressed Harlequin Stencil. I dabbed Chocolate ink over the top and then inked up the In Circle Me background stamp and stamped it around the edges and corners of the page.


I added paper layers which i cut out of the Dovecraft Value Range Vintage Rose pad. I used die-cuts and punches to create the shaped edges and layered them up with 3d Foam Tape.


I used the little heart stamp from the Bunny Hugs Stamp Set to decorate the mini banner. I then used the little star and stamped that around the page.


Use alphabet stamps to create long journal style titles


I finished the layout off with white feathers and embellishments.


Thank you for visiting


Friday 25 March 2016

Trimcraft DecoMache Altered Mirror


Hi all

I have something a bit different to share today. I bought this old mirror from the charity shop and decided to up-cycle it using the First Edition Deco Mache papers.


I started off by painting over the old pattern with DecoArt Everlasting Chalk Paint and letting it dry before i started laying up the deco mach papers. I only used on pack of 3 sheets for this project but you could add another layer if you need to.


I had a lot of fun creating the embellishments.  I used organza ribbon to make these flowers which i decorated with resin flowers and buttons.


The lace flowers are easy to make, just take a length of lace trim and stitch along the top with a running stitch. Push the lace up to one end and tie the thread ends together.


I used scraps of Deco Mache to decorate MDF shapes and added acordian stickers in between the fabric flowers.

Thursday 24 March 2016

Fiskarettes Guest Post: Jellyfish Layout

Hi all
I am guest designer for Fiskarettes this week and i have a layout to share. 


I used DecoArt Media Sprays on the background and used a Stencil over the top once it had dried.


I used the 2 in 1 Artisan Tag Punch for the little tabs and the Square Shape Cutting Stencil for the layers.


I layered up some ribbon and ric rac before adding a tab on the top


I decorated the page with die cuts from the new Under The Sea die set  and sequins.


Thank you for visiting and if you would like more inspiration pop over to the Fiskarettes group https://www.facebook.com/fiskarettes.uk/?fref=ts


Wednesday 23 March 2016

Trimcraft Scrapbook Feature March Shabby Chic Layout


Hi all 

I am sharing my layout i made for the Trimcraft Scrapbook Feature. You can read the full tutorial here http://www.trimcraft.co.uk/


I used the new Dovecraft Floral Muse collection to make this layout


These flowers are from the Layered Flowers Die Set


The title was made using the foil machine by First Edition


I cut the frames in half so that they can be slotted behind things 

Thank you for visiting


Trimcraft Simply Creative Decoupage Mini Bird Houses


Hi all

I am back with these cute little bird houses i bought from The Works for a £1 each. I painted them with DecoArt Americana Chalk Finish Paint and used the new Simply Creative Decoupage sheets to decorate the front.


I painted them with a coat of Chalky Finish paint and then coated the roof with Weathered Wood Medium. 


I used Americana Chalky Finish Refreshing to paint the bird house with and then used the  Dragonfly Bloom Papers on the front.


I painted this one with Innocent Americana Chalky Finish paint and then coated the roof with Weathered Wood Medium before painting over the top with Smitten Chalky Finish paint. I used Pink Ditsy Papers on the front and finished off with a bit of lace.


I painted the bird house with Serene Chalky Finish paint and coated the roof with Weathered Wood Medium. I then used Refreshing as the second coat. I used the Wild Flower Decoupage papers on the front and finish with a bow.


Thank you for visiting

Monday 21 March 2016

Trimcraft Simply Creative My Guy Cards

Hi all 

I am back with some male theme cards using the new Simply Creative My Guy paper pads.


I used the Vintage Gentle Man dies set for the top hats


I used the DecoArt Incognito stencil by Andy Skinner on the background and added the layers over it.


I think the mint works so well with the grey


Add a layered bow for interest


I used the Fiskars 2 in 1 tag punch to create the tabs.


Group die cuts in threes for effect.

Thank you for visiting


Friday 18 March 2016

Trimcraft Simply Creative Introducing Folk Song

Hi all

I am showing off the new Simply Creative paper pads by Trimcraft. There are 6 different pads Folk Song, my guy, made with love, flower girl, so chic and Happy Days. I will start with the Folk Song paper pad first as it is my favorite.


I layered the papers up and then used the butterfly stamp set from Floral Muse and coloured them in. I used pink foil on the sentiment.


For this card i layered several sheets of paper in the corner of the card and added stitching to the layers before sticking it down.


I used a mixture of DecoArt products for this mixed media card. I used the Pixelated stencil with white gesso and flicked Yellow and Turquoise Media Misters over the card.

Thank you for visiting and you can find more inspiration at www.trimcraft.co.uk


Tuesday 15 March 2016

Gecko Galz Design Team More Shabby Chic Easter and A Free Digi Stamp


Hi all

I am back with another blog post for the Gecko Galz Design Team. I have made a Easter Card using the Spring Gems Stamp Set


I used the Gypsy Gypsy paper pad by Craft Consortium and cut the topper out using a circle die.


The flowers i dyed yellows and greens to match the theme.


I added a bit of lace and some pearls to finish the card


And here is the free stamp for March

Thank you for visiting and if you do use the free stamp please add a link to you project in the comments. 


Sunday 13 March 2016

Things to Alter Followers Discount


Hi all

I am able to offer a 10% discount to all my followers new and old. All you have to do is be a follower of my  blog and drop me an email at katielamb20@hotmail.co.uk and i will send you the code for this month. If you know me on Facebook you can Pm me for the code too.


Here are a few of the latest products avalible


Steampunk


Owls


Things with wings


There is much more available at http://thingstoalter.co.uk/

Friday 11 March 2016

Things to Alter Cage Doll Tutorial

  HI all

I am back with the step by step tutorial on hoe to make my cage doll. The Kit is available on the Things to Alter website and costs £3. All new followers to my blog will get 10% off in shop until April. All you have to do is follow and send me an email using the link in the corner and i will send you a code to use.


Here is the kit


Take the lolly pop sticks and line them up together and draw a line across the top and bottom. Cut off the round edges with scissors.


 Using a heat gun, glue the lolly pop sticks around the seadhead flourish wheel and hold in place while it sets.


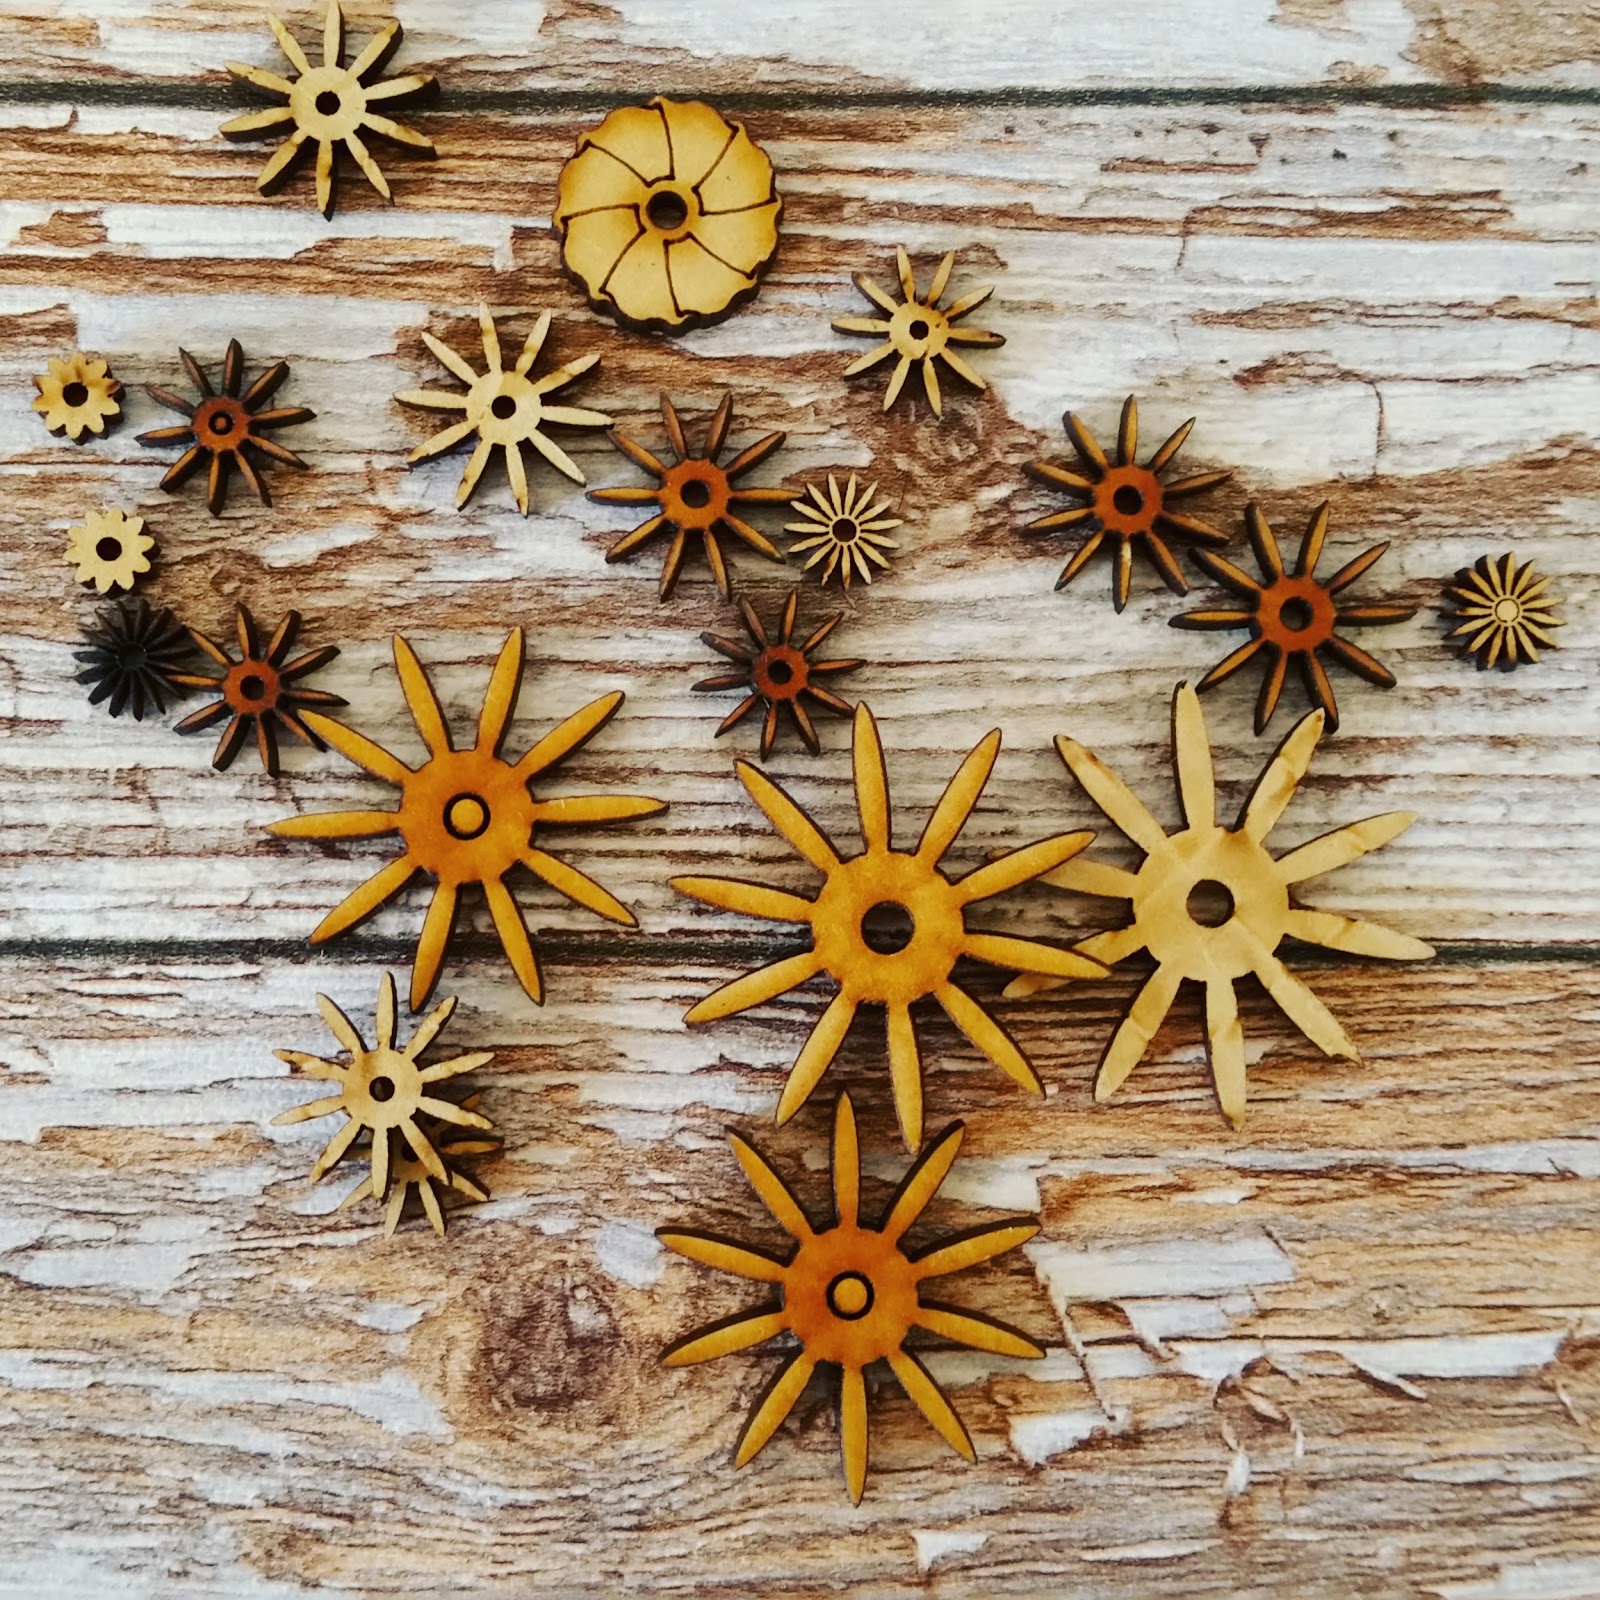
 Glue the top on by using hot glue and balancing the 4 inch cartwheel on top.


 To decorate the cage, mix orange and brown paint together to get a rust colour and paint the whole base. Add texture by sprinkling with cinnamon powder and by dabbing paint over the top to hold it in place.


Paint the head and cogs with the same technique and leave to dry


I attached the head with a big blob of hot glue and let it set fully before i tied the copper wire onto the body.
 I used Deco Patch papers to decorate the 4 inch dress form. Add a patina effect by rubbing over the rust with blue paint. I used the DecoArt Antiquing Cream Patina Green and rubbed it off with a baby wipe to get a rusty oil look.


Here is the base painted


I created a halo using copper jewelry wire and added the cogs by punching two holes through with a Cropadile.


I decorated the dress with some denim trim and a resin flower


Here is the finished doll. I added a few of the Flure de Lis shapes to the front which i painted with bronze paint.


Thank you for visiting and if you have any questions pop them in the comments and i will get back to you


I am entering my make in the SASPC March Challenge