Followers

Showing posts with label Fiskars. Show all posts

Friday, 13 April 2018

Remember When Blog Hop


Hi all

We are doing a blog hop and the idea is to use something from your stash that is 10 years or more old. So i have chosen the patterned edged scissors which were one of my first craft tools.


Comment on each blog to win a prize:

Anita Scroggins - https://goo.gl/WRGz6V


I am offering a word stamp from The Blank Page Muse and something i handmade as a prize.


Cover a 6 x 6 blank with purple paper and then cut a strip from black paper.

Use the deckle edged scissors along the edge and then cut a large rectangle from grey paper. Use the torn edge scissors around the edges and ink with dark red ink.

Grue the black strip to the back of the grey piece and then stick it to the card.

Take a topper and use 3D foam tape to secure it to the edge of the card and then add a sentiment.  


Cover a blank 5 x 7 card with black paper.
Glue lace across the bottom of the card to hide where the paper joins. I used two sheets of 6 x 6 paper so i had to cover the card in two parts.
Cut out a large rectangle from purple paper and use the patterened edged scissors around the edges. Ink it in purple and stick it to the centre of the card.
Cut put a wide strip of patterened paper and use the patterened edged scissors around then glue it down the edge of the purple layer.
Add the topper to the centre and a sentiment to finish


Friday, 2 December 2016

The Vintage File World War 2 Scrapbook page

Hi all

I have a war themed scrapbook page to share today from my article in The Vintage File magazine. I have a photo of my Great Uncle Victor and his troops in their uniforms. I don't know a lot about the photo or if he ever fought overseas. He was one of the lucky ones who survived the war and i wonder how many of his troop made it back. If you have any war stories please share in the comments as i would love to hear them weather you are from the UK or overseas.


I am lucky enough to still have my Nan's Ration book which i scanned onto the computer and printed out onto card stock. I Scan all of the old photos as they deteriorate over time and sometimes the glue from the old albums turns them yellow and brittle. I used the Madame Payraud's paper collection by Docrafts for this layout as it is full of vintage advertisements which i cut up and layered together.


The poppy is from the Trimcraft First Edition Layered Flowers set and i just used textured card stock to cut the bits out of. 


Here is the inside of a ration book from the 1940's. My Nan used to tell me how the sirens would go off and everyone would have to go own to the bunker of cellar if they had one. It's  hard to imagine what that must have been like as it could go off at anytime and everything would be pitch black as the cities would turn the lights off. My Nan was 19 years old at the time and worked in the factories making ammunition parts before the war it made hair clips. It was common practice for factories to convert to making goods for the troops and this is the time when Women were allowed to go to work for the first time. A strange idea nowadays.


I have a thing for bunting and i had to add it as part of my title. I used a 2 in 1 tag punch from Fiskars and stamped the letters on. If you smudge it by mistake then stamp onto card first and cut them out or use a circle punch if it will fit over the letters.


Thank you for visiting and i hope to hear some of your war stories soon.


Saturday, 16 April 2016

Introducing First Edition Pick n Mix by Trimcraft

Hi all

I have some makes to share using the lovely and bright First Edition Pick n Mix collection.


For this card i covered half the card in the starburst pattern and then the bottom with rainbow stripes. Next i cut a flag from the glitter stars paper and cut out a large circle and trimmed off one edge before layering it all together. The flowers and gems are from the Simply Creative Collection.


This bright card is quick to make. I covered a 6x6 blank with yellow paper and cut out two strips off patterned paper at different widths. I don't measure my layers i sort of rough cut them by eye. Next i cut out the square parenthesis using a die and stuck it to the centre. I cut out the sentiment using pink paper and the Varsity Die Set. I finished the card off by using the Fiskars 2 in 1 Flag and Artisan punch to create the tabs.

7

I decided to play with the Cupcake  Die set and made this sugary sweet card. Doesn't the background remind you of sprinkles?

Thursday, 24 March 2016

Fiskarettes Guest Post: Jellyfish Layout

Hi all
I am guest designer for Fiskarettes this week and i have a layout to share. 


I used DecoArt Media Sprays on the background and used a Stencil over the top once it had dried.


I used the 2 in 1 Artisan Tag Punch for the little tabs and the Square Shape Cutting Stencil for the layers.


I layered up some ribbon and ric rac before adding a tab on the top


I decorated the page with die cuts from the new Under The Sea die set  and sequins.


Thank you for visiting and if you would like more inspiration pop over to the Fiskarettes group https://www.facebook.com/fiskarettes.uk/?fref=ts


Monday, 21 March 2016

Trimcraft Simply Creative My Guy Cards

Hi all 

I am back with some male theme cards using the new Simply Creative My Guy paper pads.


I used the Vintage Gentle Man dies set for the top hats


I used the DecoArt Incognito stencil by Andy Skinner on the background and added the layers over it.


I think the mint works so well with the grey


Add a layered bow for interest


I used the Fiskars 2 in 1 tag punch to create the tabs.


Group die cuts in threes for effect.

Thank you for visiting


Wednesday, 9 March 2016

Trimcraft Introducing Floral Muse

Hi all

I am showing off the gorgeous Floral Muse Collection. This Beautiful Collection comes in three sizes 6x6, 8x8 and 12x12 with lots of coordinating embellishments. You can see more of this collection over on the Trimcraft blog www.trimcraft.co.uk


I used the new butterfly stamps and coloured them with the First Edition Markers. I love the doilies they are so versatile.


Floral Muse pairs up well with the new First Edition Butterfly dies set and soft pink ribbon


I used a mixture of the new First Edition Decorative Boarder dies and Fiskars Interchangeable boarder punches to create this layered look. The First Edition Butterfly die set comes with the little butterflies which are great for embellishing cards


Here is a simple card i made using layers of paper and ribbons

Thank you for visiting


Wednesday, 24 February 2016

Trimcraft Scrapbook Feature Mum Layout using Stitching


Hi all 
I am back with my layout i made for the Trimcraft Blog and you can see the full tutorial here http://www.trimcraft.co.uk/articles/mother-s-day-stitched-scrapbook-craft-workshop


This is the lovely Folk Song 12 x 12 pad which is part of our new Simply Creative Range


I have used stitching to add texture to the page but as i cant use a sewing machine i had to do it by hand.


I created the tag using the Kraft card and the Fiskars Tags Shape Template


                    The alphabet die set is varsity and is a good size for scrapbook titles


The stitched layers are easy to make, i first tore the corner off a 12x12 page and then used three different patterns and tore them at different lengths and glued together. I then stitched along the bottom.

Monday, 18 January 2016

Fiskarettes Tutorial: Basic scrapbooking


                                                                        Hi all
                                I have a new tutorial for all those new to scrapbooking


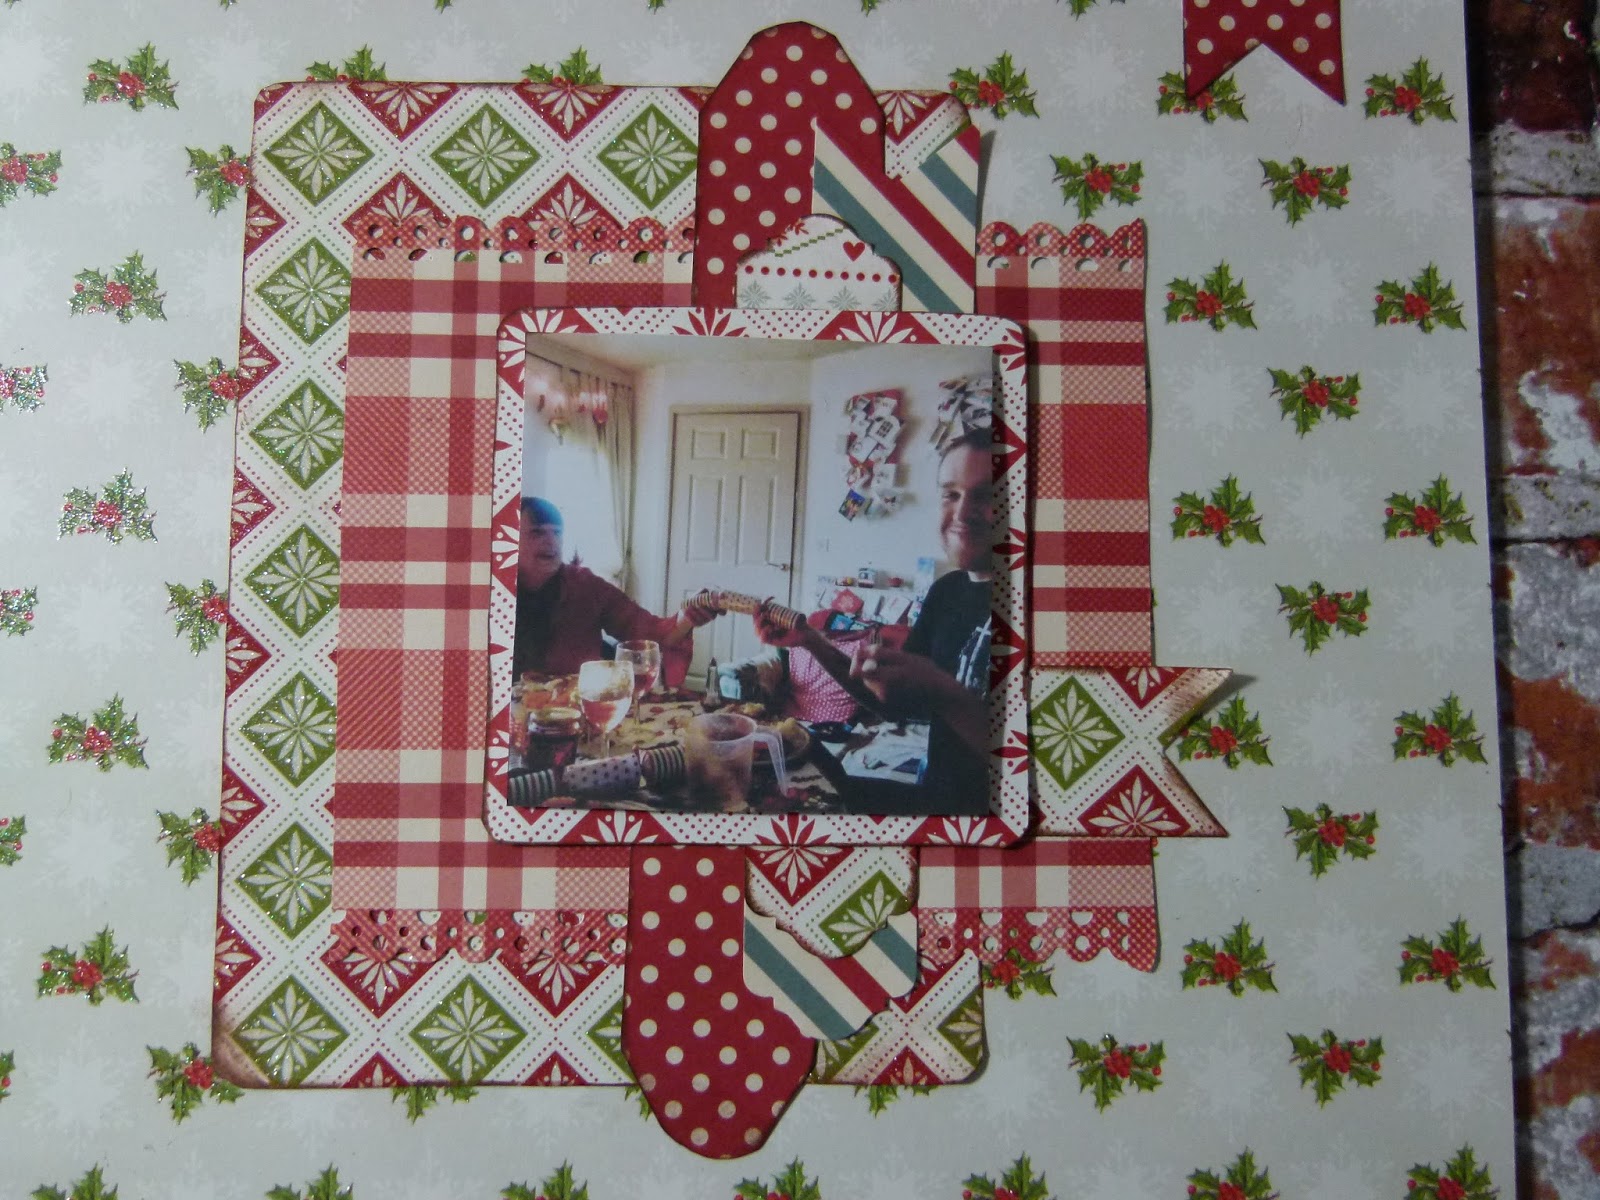
1) cut out a square from the extra large shape template and mat photo onto it using 3d foam pads


2) cut out a larger square, rectangle and tags from the shape cutter templates.


3) using the interchangeable border punch and the lace border, punch along the top and bottom of the large square.


4) position your shapes over the page and once you are happy with their placement stick them down.


5) use the Banner and Artisan tag maker to punch out more tags. Layer these over the larger tags to add body to the page.


6) Decide on a title for the page and stick it to the page


7) use a banner punch out in the corner of the page to display the date of the event in the photo. 


8) finish page by adding embellishments such as gems and buttons around the page.