Followers

Showing posts with label 12 x 12 Scrapbook Layout. Show all posts

Saturday, 31 March 2018

Cherish The Memory Lemoncraft Gossamer Blue Heritage Mixed Media Scrapbook Page


Hi all

I have another mixed media page using the Lemoncraft papers available from Cherish The  Memory.

I used a photo of my Mum for this one.


On the background  apply crackle paint with a palette knife and leave to set before adding a few texture stamps and stencils. Spray blue ink onto the background and allow some of it the drip down the page.


Mount the photo onto one of the 6 x 4 ephemera cards to save time cutting out a piece of card.
Cut up strips of paper from the Gossamer Blue paper pad and layer them up on the page. Before gluing the pieces down. Experiment with bits of fabric and lace, slot them amongst the paper layers and ephemera pieces.


Cut out the butterflies and flowers from the ephemera sheets. Glue the photo onto the page and then layer up a mixture of the cut outs and paper flowers around the photo. Add more blue ink to dye some of the white flowers.


Finish off by adding clear dots and a title.

Thank you for visiting.


Saturday, 17 March 2018

Cherish The Memory Lemoncraft House Of Roses Mixed Media Layout


Hi all

I have a new scrapbook page to share.
 I don't normally  use photos of myself but this is one of the better ones that wont scare people away.


I used mist spray down the centre of the page and then added s few texture stamps. I then added a couple of stencils using modeling paste and once this had set i added more mist sprays.


For the layers i ripped and cut strips of the House of Roses paper pad up. I layered these together and added a few interlinked rectangle die cuts, lace  and other bits. i then glued down some cut up paper straws and covered them in gesso before gluing them down,


I added purple thread under the main section of the layers and added matching flatback pearls.


I added a litter gesso to the layers and spritzed lightly with ink.. I then mounted the small photo onto one of the large ephemeria sheets and added it to the page.
I then cut out the bit from the Ephemera sheet and i began adhering them around the photo  adding paper flowers and buttons amongst the layers.


I used mist sprays to ink white paper flowers so that they match the layout. I then added pearls to he centres of the butterflies and then used heavy gel medium to add micro beads to the page.


Thank you for visiting.


Saturday, 13 January 2018

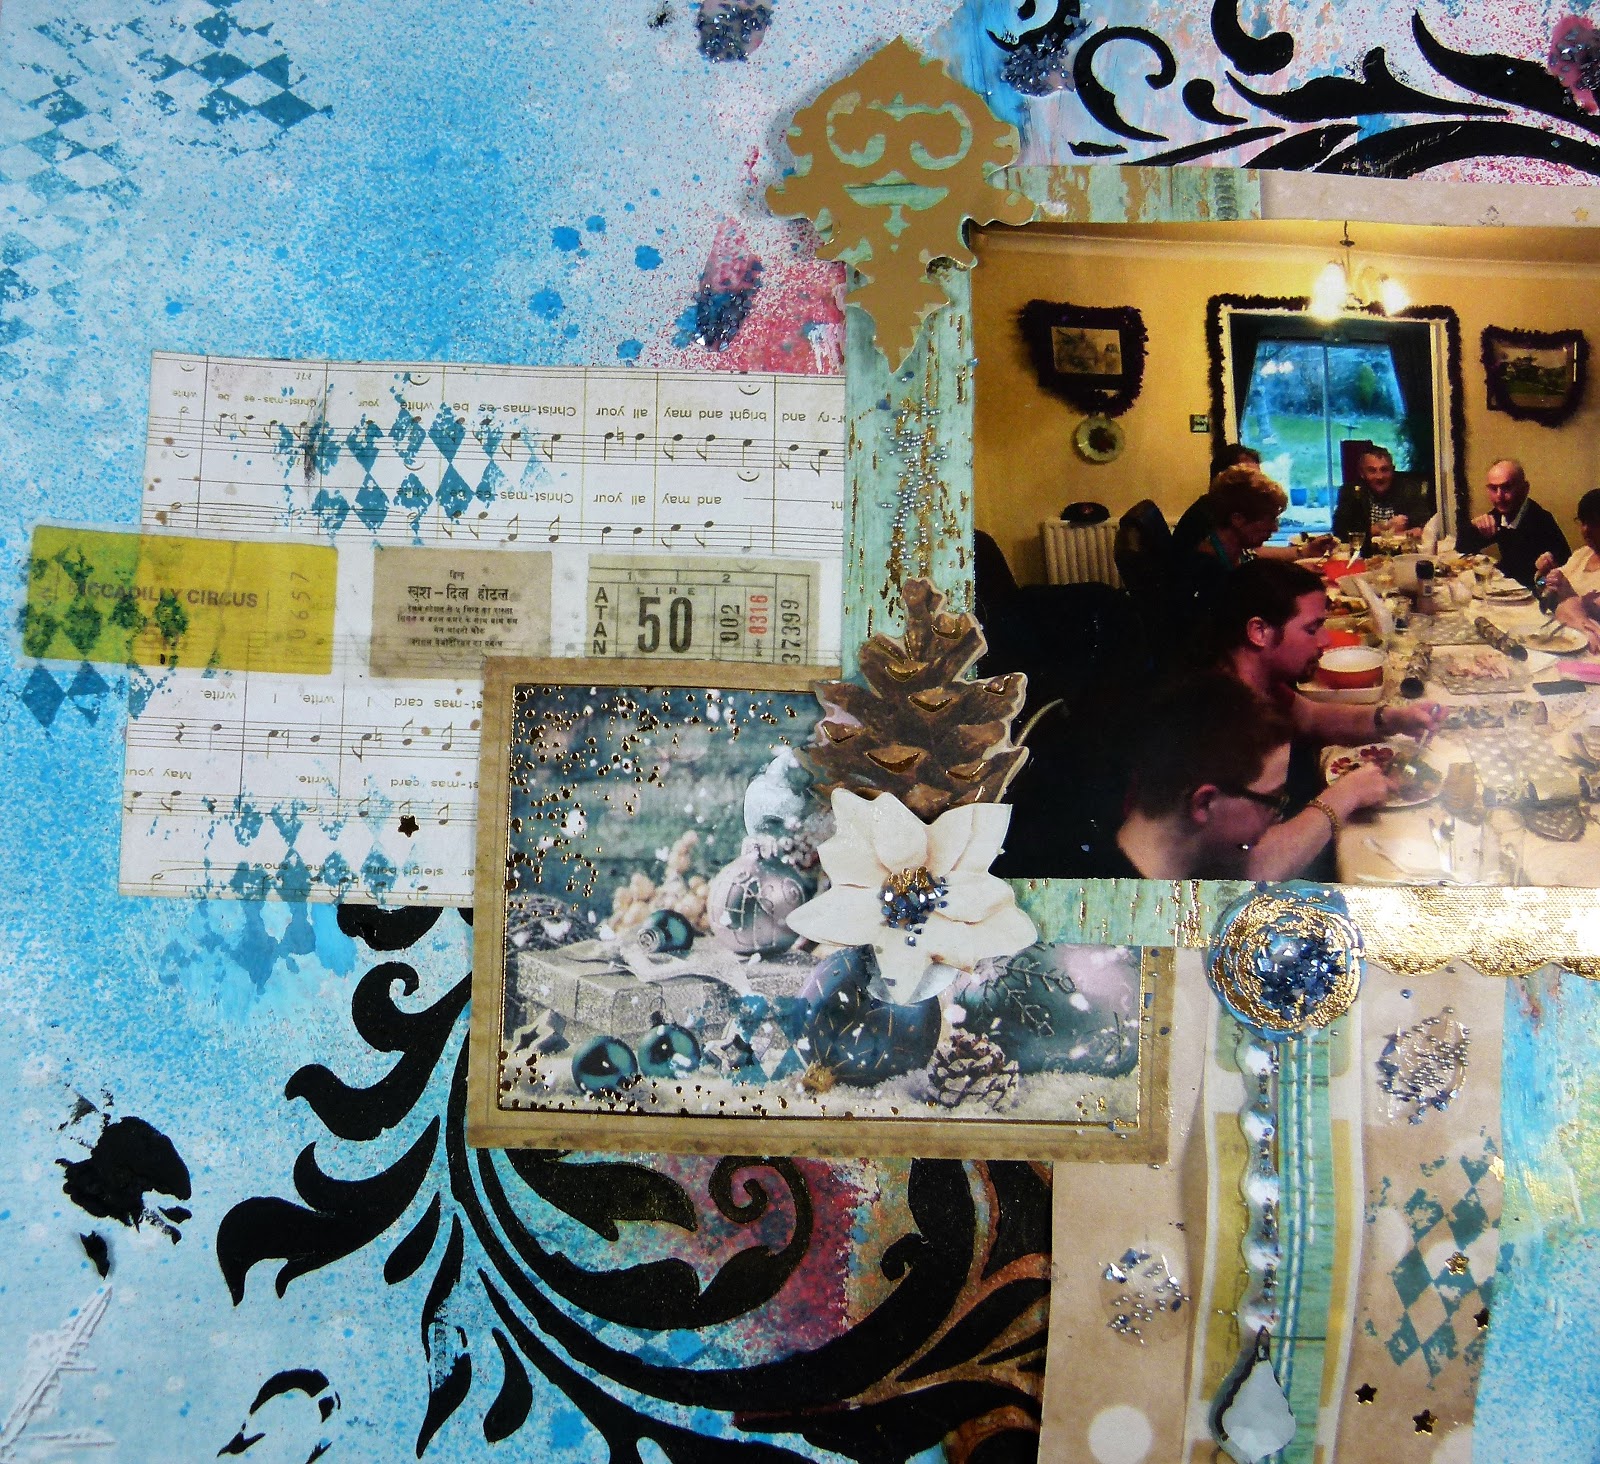
Cherish The Memory Merry Christmas 12 x 12 Christmas Layout

Hi all
I am back with a scrapbook page using  the  Sweet Winter Season Collection available at Cherish The Memory.

Products


I started off by applying a stencil mask to the base of the page and then spritzed and few inks over. I then stamped a background stamp over the page randomly.


I used one of the A6 cards from the card kit to matt the photo on and then i cut up some of the other A6 cards to use as layers.


The die cut pieces are perfect for adding layers and embellishments 


Thank you for visiting


Saturday, 16 December 2017

Live Love Laugh 12 x 12 Scrapbook Layout With Gummiapan

                                                                     Hi all

I have a mixed media layout to share with you today. I wanted to show how you can use your Gummiapan stamps and dies on scrapbook layouts.


Products used
Click on the links to buy

Live Love Laugh http://bit.ly/2fVnd5s

Coffee Stain http://bit.ly/2fUSmpD

Film Negative http://bit.ly/2ycVrfi

Worn Chessboard http://bit.ly/2gfYYlb

Butterfly Monarch Large http://bit.ly/2ybgZsM

Integrated Rectangles http://bit.ly/2AvP4BI

Doodled circle die http://bit.ly/2gfd0Uf

Chevron Line http://bit.ly/2gMeOnW

Chevron Line http://bit.ly/2gMeOnW


Once you have chosen your photo and papers. Take a palette knife and smooth gesso onto the background page. Next spritz the area with sea green ink and then stamp some texture around the page using blue ink.


Cut up your papers and layer them onto the page. Add bits of trim and washi tapes to add more texture and apply stencils using modeling paste. Then cover the lot in gesso. paint over the top with green and blue inks and allow some to drip down the page.


Cut out a circle and the interlinked rectangles out of card. Paint with gesso and then ink before adding them over the top of the first layer


Add more stamps around the page using Black and dark blue ink. mount the photo onto plain paper and then stamp around the frame with a butterfly stamp.  Add a few clusters of flowers and paint ink over the top so they match the page.


Create embellishments using modeling paste and a silicone mold, This takes between 24 and 48 hours to fully set so i make these in advance.

Thank you for visiting


Monday, 11 December 2017

Thompson Crafts Kaisercraft Letters To Santa Mixed Media Layout

Hello all

I was putting up the Christmas tree when it dawned on me that this is more than just a tree. More than a tradition we just do over and over again. As i reached into the box of decorations i pulled out a memory and put it on the tree. I pulled out the memories of those who we have lost, the times we spent together as a family and the adventures we shared together. I recalled where we had bought them and the memories of those days searching the shops and markets came flooding back. The memories from childhood spent playing under the tree, the smell of fresh pine even though the tree has more plastic on it than a Kardashian. I then cracked open a bottle of wine and let the festive spirits flow ;)

This layout shows one of the many market stands we have visited in search of that one special tree decoration to keep in memory of the year past .

I used

Kaisercraft Letters To Santa 12 x 12 papers

Kaisercraft Collectibles  Letters To Santa

Assorted paper flowers

Prima Marketing Glass Glitter Green

all available at Thompson Craft Supplies


I stared by adding gesso to the background and then texture stamps. Then i added a few stencil masks using modeling paste and spritzed ink over the background.


I added a thick layer of modeling paste and then added glass glitter to it. I then cut strips from the Letters to Santa and layered them up before matting the photo onto psper and gluing it to the page.


I finished off by gluing the die cuts around the photo and adding paper flowers/
Thank you for visiting


Saturday, 9 December 2017

Swedish House Crafts Pion Design Legends Of The Sea Mixed Media Page

Hi all 

I have a new layout to share using stamps and dies by Gummiapan.
Links are below

Get 5 % off on all the items used on this project for the whole of December using this code this PKQX6773KH


Start off by applying gesso over the page and leave to dry. Next  stamp over the page with the Worn Circles and Worn Net stamps. Apply a stencil mask using clear modeling paste and allow to set. 
Cut out three lots of the Integrated Circles Die from white card and then glue these to the page. Spritz the page with lime green and turquoise and let it run down the page.


Cut the blue wood effect paper up into strips and place them  side by side and then crop the photo to fit.  Stamp along the bottom edges of the page and apply a stencil and inks.


Spritz some cheese cloth with ink and dry with a heat gun. Glue this around the photo and then glue a few clusters of glass glitter on the page.


Add a few art stones and a title to finish


Thank you for visiting


Thursday, 7 December 2017

Creating Mixed Media Backgrounds With Brusho Powders

Hi all

I have a mixed media layout to share today. It's has been a while since i shared any layouts but i am hoping to do at least one a month until my mojo comes back.


Start off by covering a section of the page with gesso and using a pallet knife, drag the gesso across the page until it spreads thinly at the edges. Let that dry and then  add a few stamps around the page before applying  a stencil mask using modeling paste. Once this has set you can spritz it with Sea Green Brusho Mist Spray and then spray over the top with water to dilute the ink. Dry with a heat tool and then sprinkle Lime Green over the top and add water to spread the color. Allow some of the ink to run down the page before leaving it to settle.

Pin Me


Die cut shapes from card stock and adhere to the page.  Next Cut out A rectangle from patterned
 paper and apply the stencil over the top with modeling paste. Add Brusho powder over the top and then adhere it to the page. Cut another rectangle and layer it over the top and then add the photo.

Tip: Use 3D Foam tap on the top layers so you can add more bits behind them later.


Add a length of green trim and  groups of paper flowers around the photo.


Finish off by adding foam alphabet stickers. If you don't have any in your stash you can use craft foam and alphabet dies to create a similar effect.


Thank you for visiting


Saturday, 19 August 2017

Learn How To Create This Stunning Sea Side Layout


Hi all 

I have a new layout made using the lovely Summer Feelings collection available at Cherish the Memory.


Start off by mounting the photo to a background and trimming it to fit. Mark out where the photo will be on the layout  and then apply gesso using a palette knife. Next apply a stencil using black modeling paste and once it has dried, Spritz with Turquoise and sea green mist sprays.


Apply stamps around the layout and then take a few sheets from the matching 6 x 6 paper pad and cut into strips. Place the strips into position and glue down once you are happy with the layers. I added  die cuts and bits cut out of the empheria sheets.


I added some cheese cloth around the edges of the page and added micro beads with a little more blue ink on top. I spritzed some white flowers with blue ink and added them to the page.


I finished the page by adding a title and a few half pearls.

Thank you for visiting