Followers

Showing posts with label Artful Days. Show all posts

Sunday, 31 March 2019

Artful Days Altered Steampunk Box

Hi all

Today i am posting my final project for Artful Days. I have enjoyed creating may projects using the products and it has been a great team. Here is my altered box i made and the full tutorial is on the team blog Artful Days.


Products used
MDF Cog & Gears
Steampunk Flying Hearts Frame
Steampunk Cogs Charms
Resin Faces


Thank you for visiting

Wednesday, 20 March 2019

Artful Days Fairy ATCS


Hi all

I have these fairy ATCs to share today. Full details are on the Artful Days Blog Here 


  1. Stamp out the coffee stain stamps onto the base, cover with embossing powder and apply heat.
  2. Use watercolor paints to paint over the background.
  3. Apply a texture stamp over the ATCs
  4. Glue on sisal and apply heavy gel medium, sprinkle over embossing powder and melt with a heat gun.
  5. for the fairies, paint the body with Prima Texture Fantasy Paste. Apply heavy gel medium to the wings and use embossing powder to create the vibrant textures.
  6. Once the fairy is glued down, add Art balls, Sand, Deco Sprinkles and a word charm.


Tuesday, 5 March 2019

Friday, 15 February 2019

Bleeding Art Challenge Show Us The Love

Hello all

i am back with my entry for the February challenge over at The Bleeding art challenge.


The cube was covered in tissue paper and then a stencil was used over the top. The whole thing was then painted using DecoArt Fluid Acrylic in Magenta.

The Hearts were stamped onto card and then stamped over with a texture stamp before being coloured in with water paints.


I like to use small alphabet beads to add words to mixed media projects.
I added Art balls around the top and painted up a small wooden house which i stamped on.
I then stamped out the large hearts doing two of each so i could sandwich the copper wire into the center. 
You need plenty of strong glue to hold the hearts up.
I then sprinkled on loads of pearls.


I used products from these brands
StencilGirl(R)
The Blank Page Muse
Artful Days
DecoArt

Thank you for visiting

Wednesday, 13 February 2019

Artful Days Mixed Media Heart Canvas

Hello all

I have a new mixed media canvas to share with you today. It's coming upto Valentine's Day so it will be hearts all the way until the 14th.  So here is my project for Artful Days.


  1. Paint the heart with gesso
  2. Apply Crackle Paste with a spatula and leave to set.
  3. Add the md shapes and paint them with Texture Sand Paste
  4. Glue on pebbles, art sand and art balls. (I used white aquarium gravel)
  5. Glue on a large heart, add a word to the centre and then glue on a resun cupid.
  6. Spritz with Red ink.
  7. Paint everything in Polished Coral Metallic Luster Wax.
  8. Dry drush light pink acrylic paint over the textured areas


Product List


Thursday, 31 January 2019

Steampunk Purple heart canvas


Hello all
I am sharing my mixed media art i created for Mixed Up Magazine. You can see the whole process there and you can download it as a PDF file so you can print it to keep like the many other projects available.


Product list

Artful Days

Prima Marketing available at Artful Days

DecoArt
Black Gesso
Metallic Luster Majestic Purple
Metallic Luster Copper Kettle
Fluid Acrylics Quinacridone Gold


SamanthaK

Saturday, 26 January 2019

Artful Days Spring Hearts Decorations

Hi all
I have had these hearts in my stash for about 6 years and this year i am determined to use up my old stash. I was a bit bored with the usual pinks and reds of the season so i went with a Spring theme. 


  1. Paint the hearts with gesso and then texture sand paste.
  2. Paint them with pastel colours.
  3. Glue Sisal onto a few of the hearts and decorate with paper and silk flowers.
  4. Add a few small glitter Easter Eggs.
  5. Paint small resin birds with matching metallic paint and adhere to hearts.
  6. Add Art Balls around hearts.


Products Links

Website and Shop http://www.artfuldays.co.uk


Tuesday, 15 January 2019

Bleeding Art January Anything Goes Heart Jewellery Box

Hi all

It's time for our first challenge of 2019 and it is anything goes!!
Here is a link to the challenge


  1. Paint with gesso
  2. Stamp over texture background stamps
  3. Apply a stencil mask
  4. glue on mdf shapes,resin wings, art sand, and glass chips
  5. Sprinkle on Lindsey's Magicals Oumpah Pah pink and apply water so it can be used as a paint.
  6. Use metallic luster on wings,add sand and glass glitter.
  7. Finish with art balls and a charm.


Thank you for visiting


Sunday, 16 December 2018

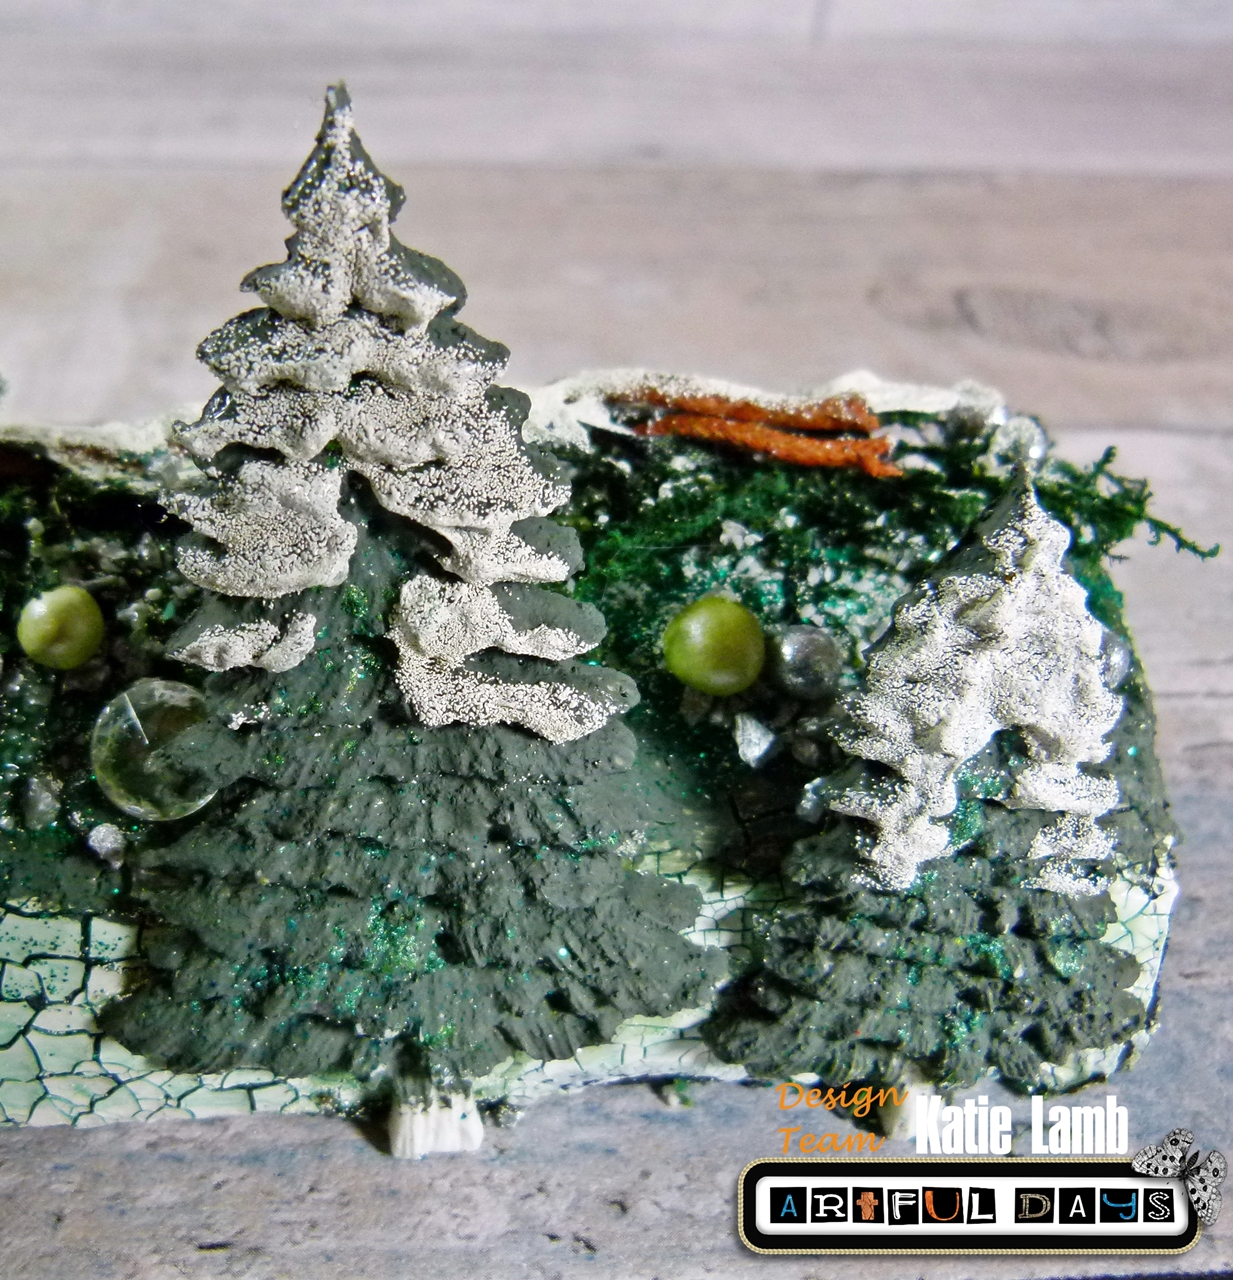
Artful Days Yule Log Decoration

Hello all

Christmas is almost upon us and i am finishing off the last of the Christmas projects. I can't believe how fast this year has gone. This is my project for Artful Days, I have held onto this battered old yule log i made when i was still at school. It did have little wooden ornaments and candles on but those broke off over the years so i decided to reuse the log that was left.


Product list


Paint a log with black gesso and once dry and a layer of crackle paint. 
Once set,sprinkle on Cathedral Pines magicals.
add a heavy gel medium on the top and use green glitter embossing powder
Add more heavy gel medium and add the fake moss on top.
Add more heavy gel medium and sprinkle on dec sprinkles, art sand and pearl art balls.
Add heavy gel medium to the top of the log and then sprinkle on white embossing powder.


Coat the resin reindeer with heavy gel medium and then sprinkle on embossing powder, heat carefully to melt powder.


Paint the threes with Green Texture Fantasy Paste, Dry it off and then add white embossing powder to the treetops.
Glue pieces to log to finish

Thank you for visiting

Tuesday, 27 November 2018

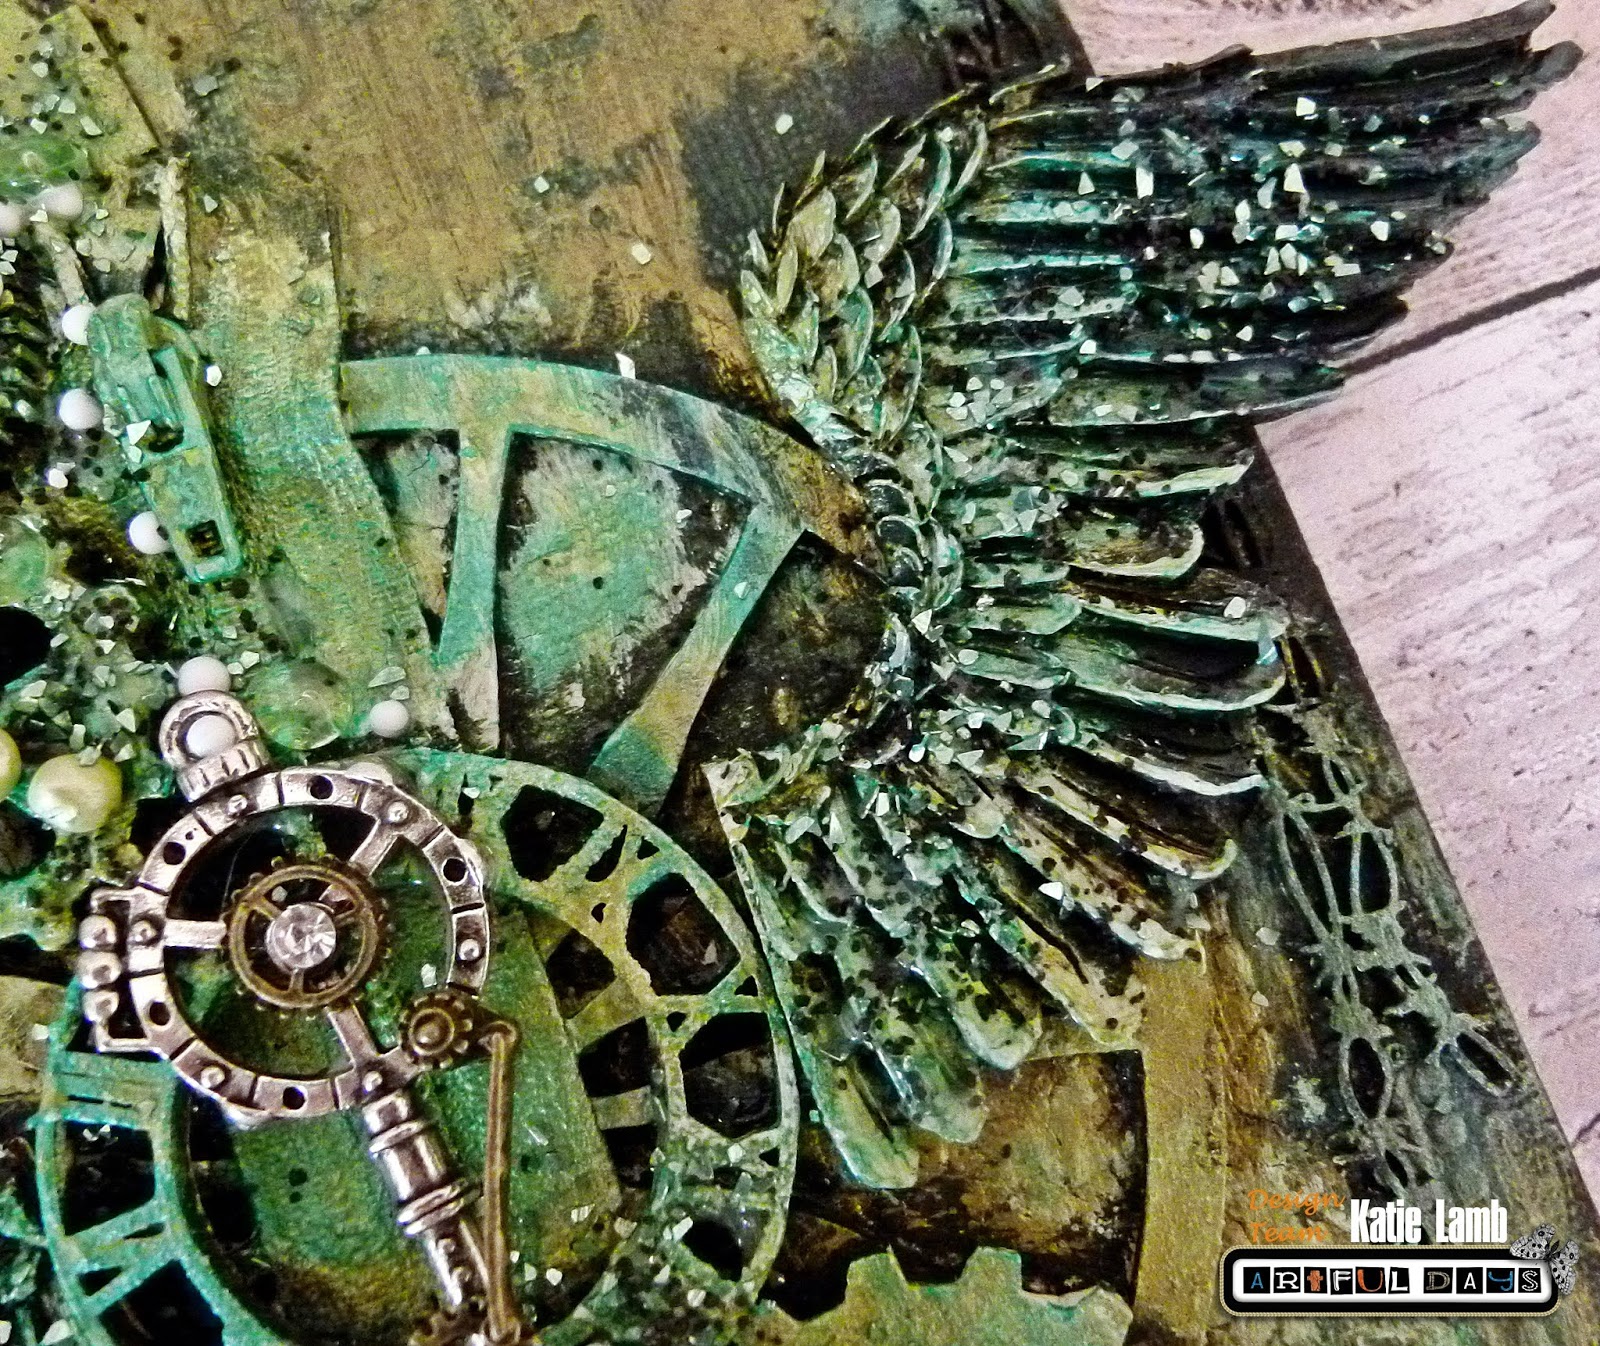
Artful Days Green Steampunk Wings Canvas

Hi all

I am back with a new mixed media canvas using products available from Artful Days


Prima Glass Glitter Green
DecoArt Black Gesso
DecoArt Metallic Lustre  Emerald Green and Lime Green


place all the pieces onto the canvas and give everything a coat of black gesso.
Paint a pair of large resin wings in black gesso and glue to canvas.


Paint everything with light green metallic luster and then dry brush with dark green metallic luster.
Apply heavy gel medium to the canvas and sprinkle on Art balls, poly balls and glass glitter. 
Add a few green dew drops too.
Add a large steampunk key to the canvas to finish


Thank you for visiting


Sunday, 11 November 2018

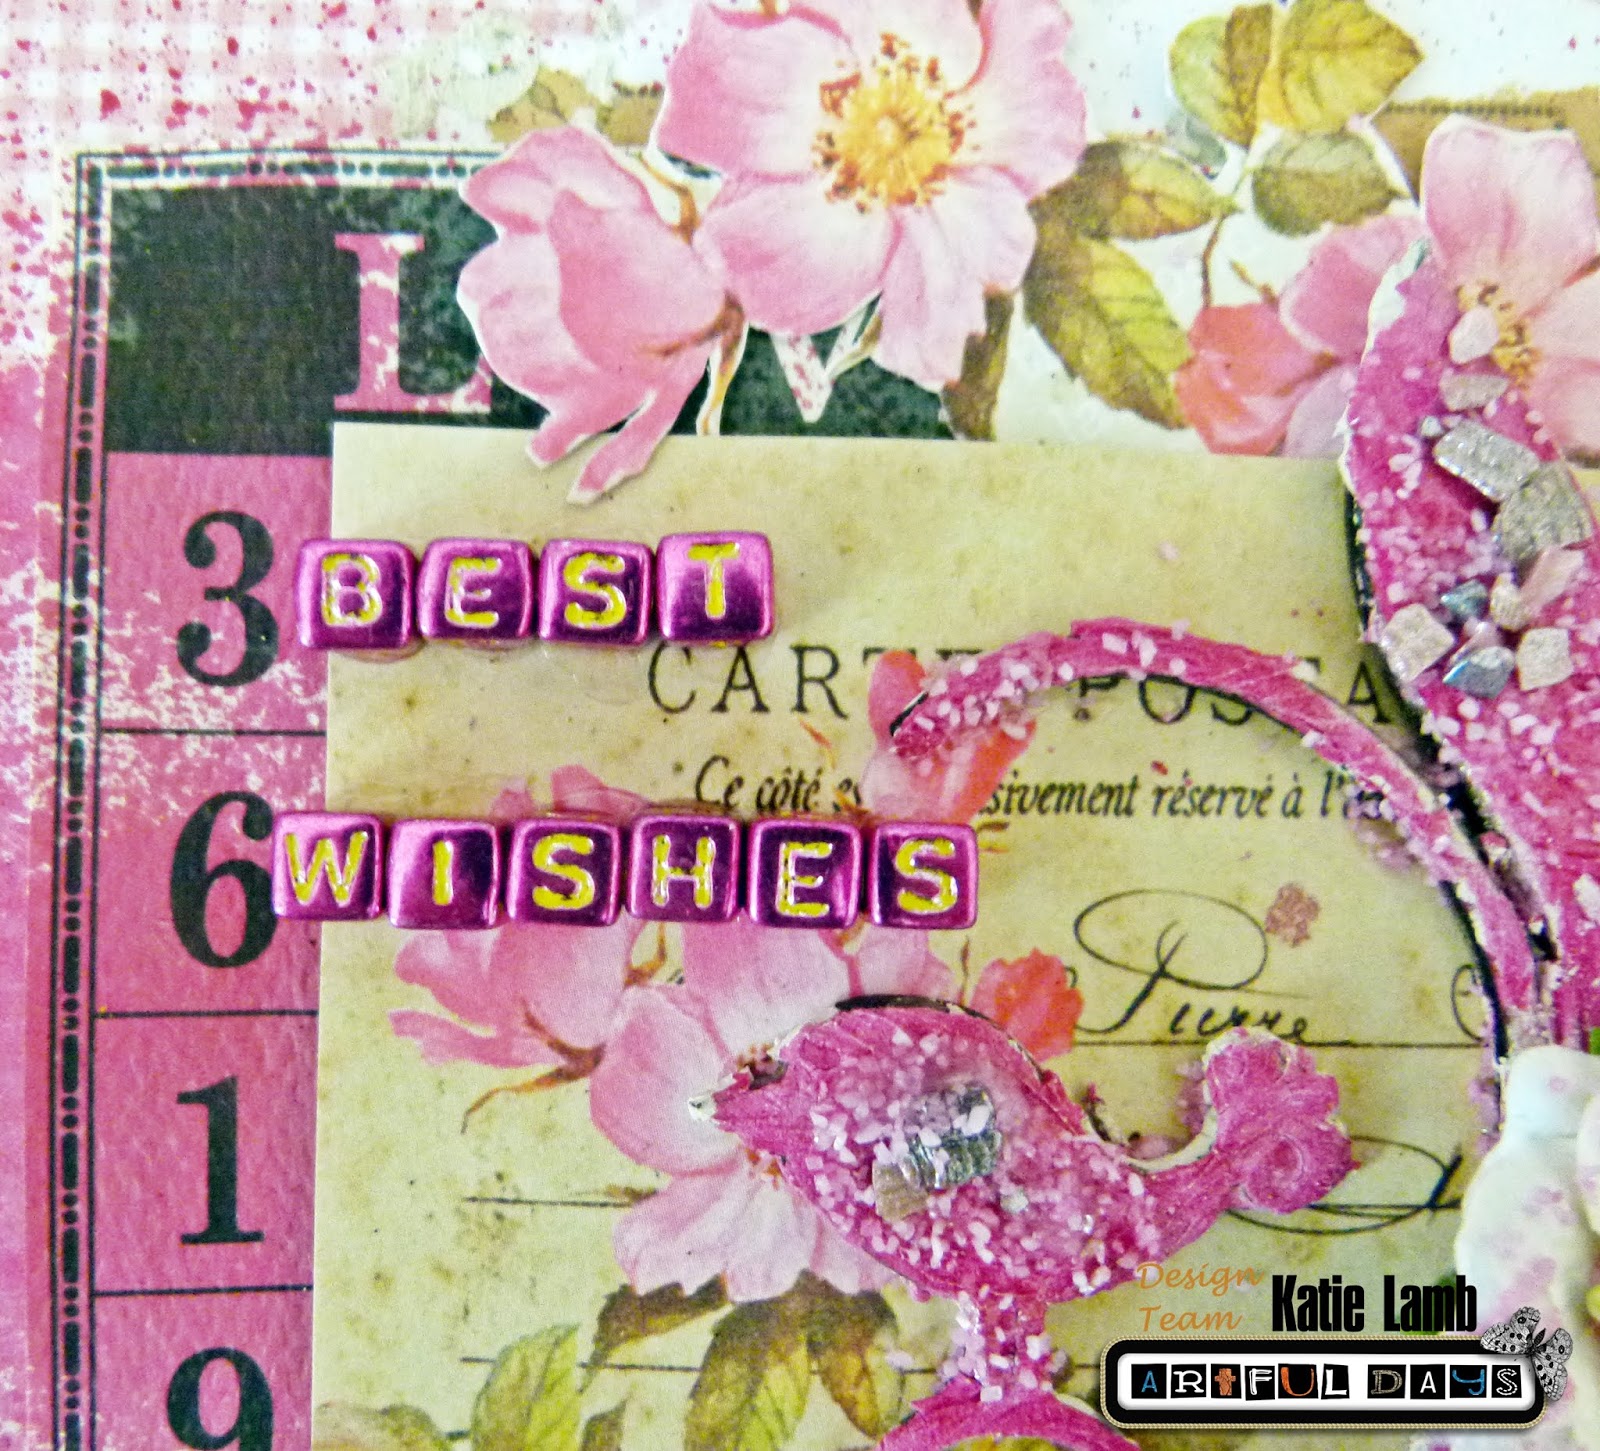
Artful Days Best Wishes Card

Hi all

I have a mixed media card to share using bits available from Artful Days.

Product list
6 x  6 Paper Pad Lemoncraft House Of Roses
Ephemera Lemoncraft House Of Roses


Cover a 6 x 6 card with House Of Roses paper and use the Clocks Stencil over the whole base.
Spritz with magenta mist ink and once set add a few layers of ephemera. 
Next add a postcard using 3d foam tape so that things can be tucked behind it later.
Spritz over more ink and then paint the bird flourish pink. 
Use heavy gel medium to add pink sand and crushed shells to the wooden shape.


Fussy cut some paper flowers out and tuck them behind the ephemera. 
Add a few paper flowers and coat with heavy gel medium. 
Add more pink sand to the flower petals.
Add a few glitter domed cabochons around the focal point.
Finish off card by using Alphabet beads to spell out the sentiment.


Thank you for visiting


Monday, 29 October 2018

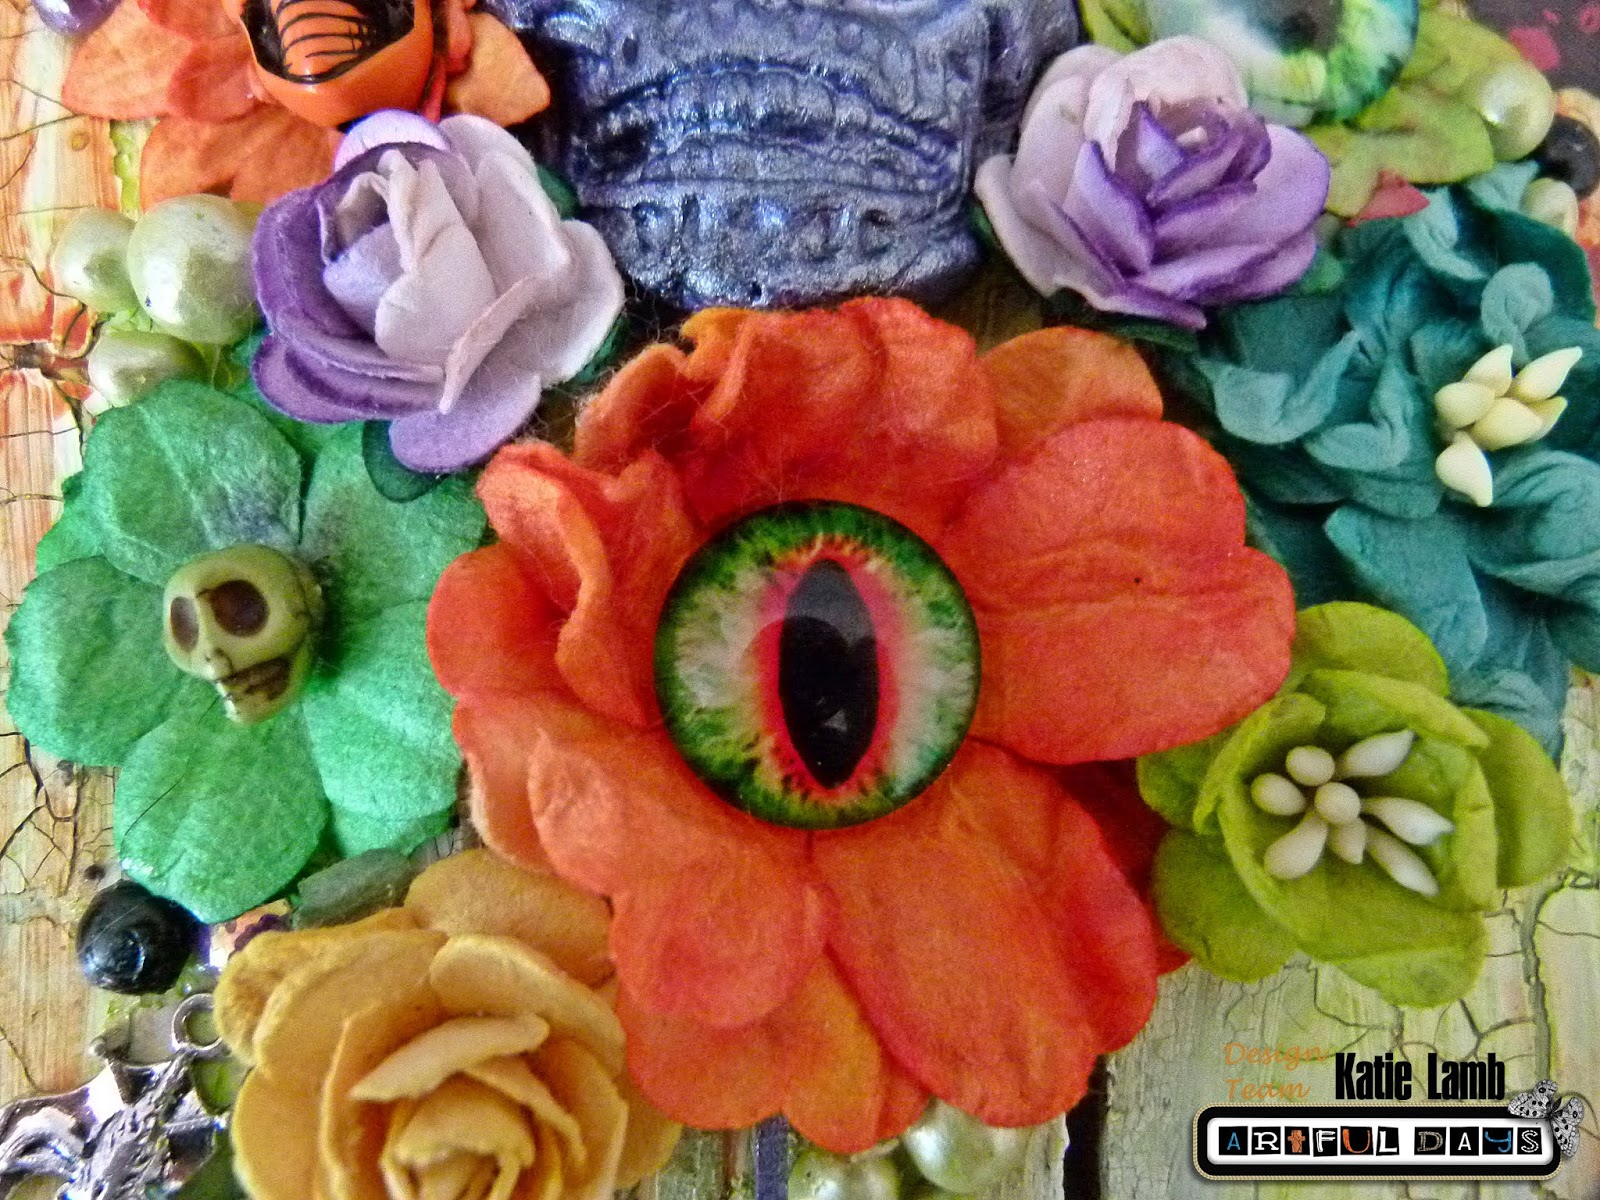
Artful Days Tombstone Wall Hanging

Hello all

This project began as a wooden Halloween wall plaque from Poundland, i stocked up on a few from last year and have been creating my own shop of horrors with them. I look forward to my annual rummage to see what i can find to alter.


I find that black gesso will cover over all the writing and print so that something like a pre-printed wall hanging can be redecorated. If you can't get hold of any black gesso then a few layers of black paint will do the trick.

This video will show you how to get the cracks. You do not need crackle products but can get the same effect by applying a thick layer of PVA glue to the base first, Allow it to go slightly tacky before applying the paint and then leave it to set.


Product list

DecoArt Weathered Wood Medium
DecoArt Crackle Paste
DecoArt Fluid Acrylics Quinacridone Gold
DecoArt Black Gesso
DecoArt Acrylic Spray Yellow Green
DecoArt Modeling Paste


I used ink to spray white paper flowers, these are the flat mulberry type so to get them to look like flowers i layered three flowers together and then crumpled them up while wet. I added glass eye cabochons and skull beads to the middle. The skull in the center is made using a mould and paper clay. It was then painted purple with a layer of metallic paint over the top.


The chipboard spiders have been painted and then decorated with gems,the  Pear Drop Marbled Gems just happen to be the right shape for the spider's body.


I added the pearl balls and charms around the project with a few paper die cuts.


Thank you for visiting and please join us 

Website and Shop http://www.artfuldays.co.uk
Facebook Group Artful Play Days https://www.facebook.com/groups/1897689496969127/