Followers

Showing posts with label Steampunk. Show all posts

Sunday, 1 September 2019

Gecko Galz Steampunk Artist Trading Cards

Hello all
It's time for a new challenge theme over at the Gecko Galz customer challenge and this month the theme is Steampunk. I have a set of ATCs to share.


Products used


Thank you for visiting
For more inspiration visit us here

Saturday, 17 August 2019

Emerald Creek Crafts Steampunk Wall Hanging

Hi all
I have a new tutorial showing you how to create this steampunk wall hanging.


Paint the wings with black metallic paint and sprinkle on the embossing powder before it dries. Repeat this process with the cogs and word.


Paint the base and then add a texture paste before adding the embossing powder and melting it.


Keep adding layers of embossing powders and then start adding micro beads into the mix to layer up the texture. once everything has set, start gluing down the layers of cogs and the wings. Add pearls, charms and beads to the project to finish it.


Thank you for visiting


Thursday, 1 August 2019

Emerald Creek Crafts Steampunk Altered Box

Hello all
I am showing off these lush embossing powders off with this altered box for Emerald Creek Crafts


Product used
DecoArt Texture Sand Paste
DecoArt Heavy Gel Medium
DecoArt Premium Acrylic Quinacridone Gold
Wooden box


The cogs are die cut from card and then i covered them in heavy gel medium before sprinkling on chunky rust embossing powder. 


I used Pertina on the clock and added some to the large rusty cog. i added more heavy gel medium to the parts that i wanted to add another colour to.


The box was painted and then i used decoupage paper over the top and sides. Then i painted over it with Quinacridone Gold acrylic paint. Then i glued the pieces onto the box.


I added texture sand paste to the edges of the box and then painted over it with Quinacridone Gold paint to add more rust.


Thank you for visiting

Monday, 3 June 2019

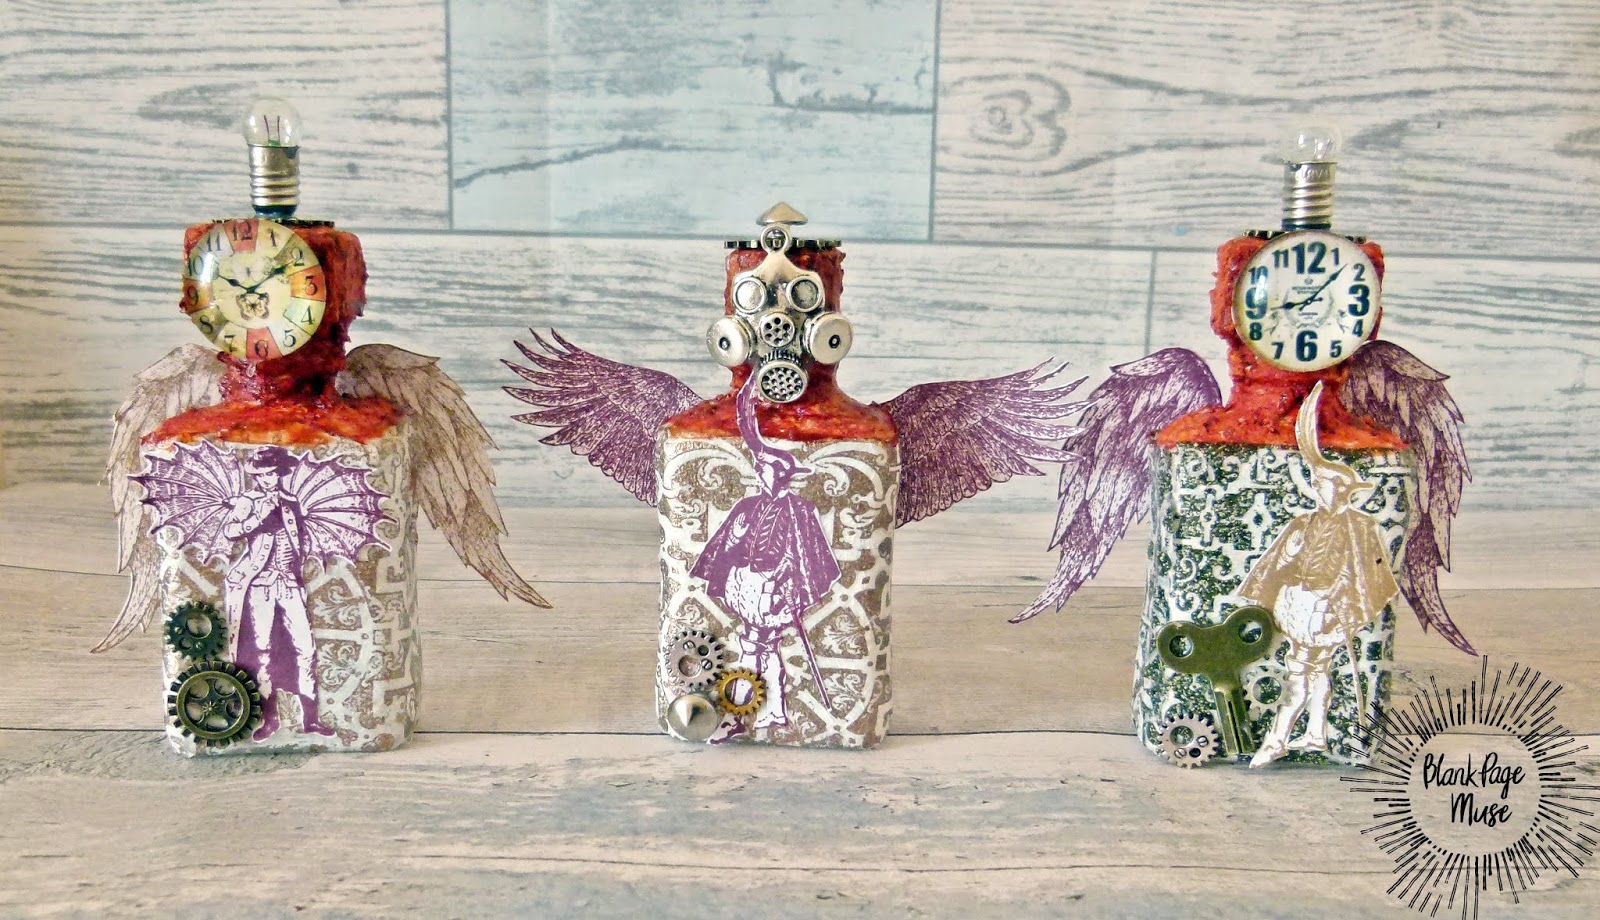
The Blank Page Muse Steampunk Bottles

Hi all
These started out as little liquor bottles. They were empty when I got them before you ask lol.


Copper Embossing Powder
DecoArt Gesso
DecoArt Texture Sand Paste
DecoArt Premium Acrylics Quinacridone Gold.


Start off by covering the bottles in a thick layer of gesso.
Next cover the bottle tops with texture sand paste and leave to fully dry.
Paint tops with rust coloured paint like Quinacridone Gold.


Cut up white tissue into smaller sheets and then ink the Iron Works stamp with embossing ink. 
Stamp this into the tissue paper and add embossing powder.


Use adhesive on the bottles and carefully add the embossed paper onto the base of the bottles.

Stamp out the wings and steampunk men onto card. 
Cut them out and glue wings to the back of the bottles and the steampunk men onto the front.
Decorate bottle tops with charms and tiny light bulbs.


Thank you for visiting

The Blank Page Muse Blog https://blankpagemuse.blogspot.com/...

The Blank Page Muse Shop http://blankpagemuse.com/

That's Crafty  UK And Worldwide here http://www.thatscrafty.co.uk/blank-page-muse.html


Thursday, 30 May 2019

Craft Consortium Steampunk Gentleman Card

Hello all
I have been playing with the new Metal Effects paper pad by Craft Consortium. It is part of the new collection of The Essential Craft Papers range being launched this month.


  1. Cover 5 x 7 card with paper
  2. Cut out a 6 x 4 piece of plain card and paint with red acrylic paint
  3. Once dry tear the edges and glue to card
  4. Add a stencil and texture stamps
  5. Cut out the ephemera and layer the pieces up on the card.
  6. Die cut a few cogs and other pieces, then layer those over each other
  7. Add red thread over the center of the card.
  8. Cut out one of the old photos and adhere it to card using 3d foam pads
  9. Decorate with embellishments.


Monday, 27 May 2019

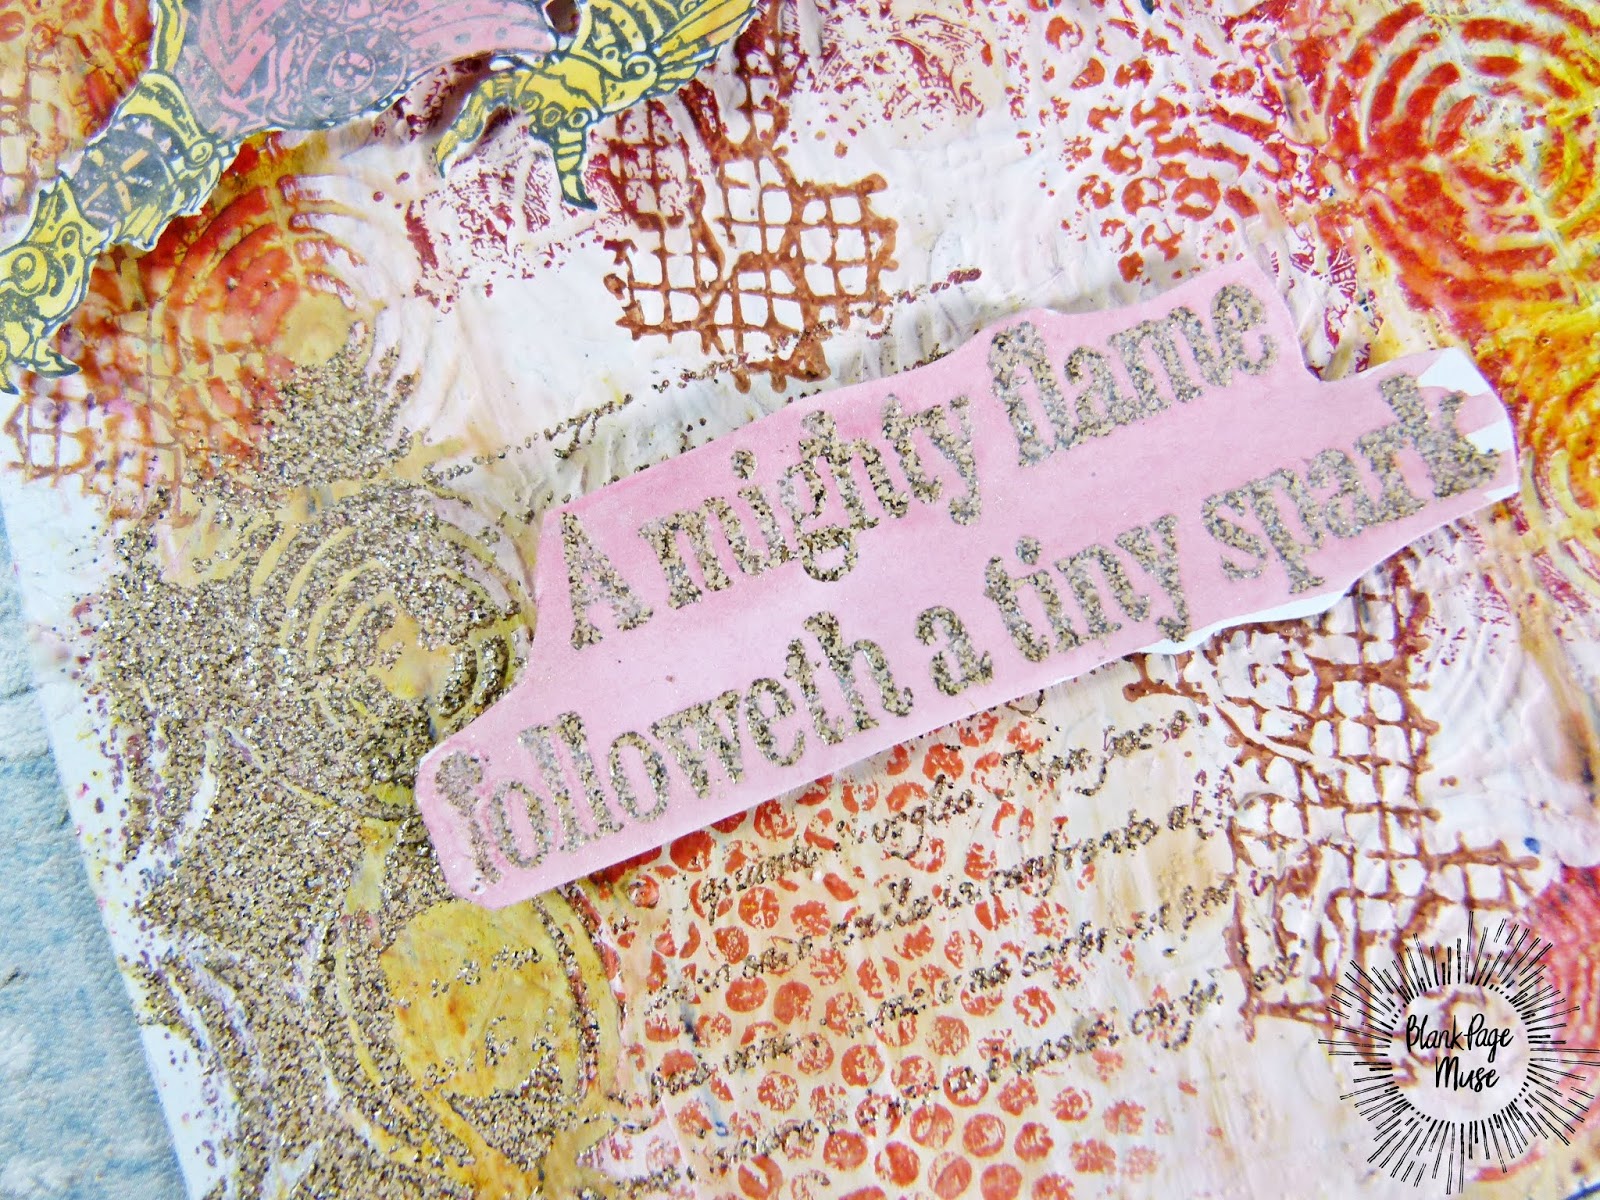
The Blank Page Muse Mighty Spark Art Journal Page

Hi all
I am back with a layered art journal page using The Blank Page Muse Stamps.


Products used 
Lindy's Magicals California Poppy, Oktoberfest Orange, Oomp papah Pink, 
Ranger Archival inks Burgundy, Vermillion, Black
DecoArt Gesso, Modeling paste

Use a stencil mask on the blank page.
Apply texture stamps to the background.


Apply a layer of gesso
Add red and yellow inks to the page.
Apply another layer of gesso.


Add more texture stamps and emboss some of them with embossing powder.
Stamp out the steampunk dragon and spray with ink.
Cut out and add to page


Finish with a sentiment.


The Blank Page Muse Shop http://blankpagemuse.com/
That's Crafty  UK And Worldwide here http://www.thatscrafty.co.uk/blank-page-muse.html
FB Fan Page https://www.facebook.com/groups/bla...


Thursday, 23 May 2019

Craft Consortium Steampunk Card

Hello all
I have a card to share using the new Essential Craft Pads by Craft Consortium. 


The Essential Craft Papers Metal Effects 


  1. Use a 5x7 Kraft card as the base.
  2. Cut the base paper down to 5x7 and then cut off 10mm around each side roughly.
  3. Glue this onto card and you should have a Kraft card boarder.
  4. Next tear up a few strips of the metal textures and then cut out the ephemera from the Vintage Emporium pad.
  5. Layer these up and use 3D foam pads to make them stand out from the page.
  6. Cut some cogs out using card and the scraps of paper. 
  7. Decorate the card cogs with texture sand paste and then add rust coloured paint.
  8. Slot the cogs and ephemera amongst the layers and use 3d foam pad to build up dimension.
  9. Finish off by adding charms and enamel dots 

Thank you for visiting


Wednesday, 15 May 2019

Bleeding Art Challenge Rusty Picture Frame

Hello all

It is time for a new challenge over at Bleeding Art and this month the theme is Anything Goes.
I altered a picture frame which must of been lying around the house sor 4 years lol. I am determined to use up all this stuff.


I used DecoArt Texture Sand Paste, Quinacridone Gold Acrylic, Black gesso and Americana Decor Metallics Bronze.


First paint the whole frame in black gesso as this will stop the paint coming unstuck.
Once that has fully dried,Paint over a coat of bronze paint. It doesn't matter if a bit of the black gesso is showing as this adds to the grungy look. Finally take the texture sand paste and add it to the details on the frame. Paint the textured bits with quincodone gold paint.


 Thank you for visiting

Tuesday, 14 May 2019

Gecko Galz Steampunk Artist Trading Block

Hello all
This week i have a Artist Trading Block to share using digital papers and collage sheets from Gecko Galz.

Products used
DecoArt Texture Sand Paste
DecoArt Quincodone Gold Premium Acrylic Paint
ATB 3 inch and 5 inch Fernli Designs


I started off by using a square cutting die to cut out the paper pack to fit the ATB.
Next i added texture sand paste around the edges of the block and once set, i painted it with Quinacridone Gold Acrylic Paint.


I repeated the previous steps with the wings and clock parts too.
I then cut out the clocks and glued them on.
 Then added the rusted embellishments.


I reused a cotton bobbin that i had lying around from an old project. Ijust painted the top and base before adding the doll to the top. I added a large blob of texture sand paste and then pressed a piece of MDF in so i could prop the doll up.


Thank you for visiting