Followers

Showing posts with label Studio Light. Show all posts

Saturday, 1 September 2018

Monday, 20 August 2018

Cherish the Memory Frozen Forest Card Kit Samples


Hi all

Yep the Christmas  makes have started!!.
I have a few cards made using the Studio Light Frozen Forest Card Kit available at Cherish the Memory . I still have alot of bits left over even after making up all the cards.


Thank you for visiting 


Saturday, 18 August 2018

Cherish The Memory Summer Feelings Bottles Card

Hi all

I have a card to share using the Summer Feelings Card Making and Scrapbook Kit


I followed the instructions in the kit a little bit and then changed a few things around to get a better design. I then added some flowers and bits from my stash to bring it all together.


Thank you for visiting

Saturday, 11 August 2018

Cherish The Memory Summer Feelings

Hi all

I have a card to share using the Summer Feelings card making and scrapbook kit.


I constructed this one using the different bits from the kit so it doesn't follow any of the instructions. I then added my own embellishments to finish it off


Thank you for visiting
Saturday, 23 June 2018

Cherish The Memory Summer Feelings Boat Card

Hi all

I am just sharing a card i made up using the Summer Feelings Die-cut pad available at Cherish The Memory.


                                                         Thank you for visiting


Wednesday, 13 December 2017

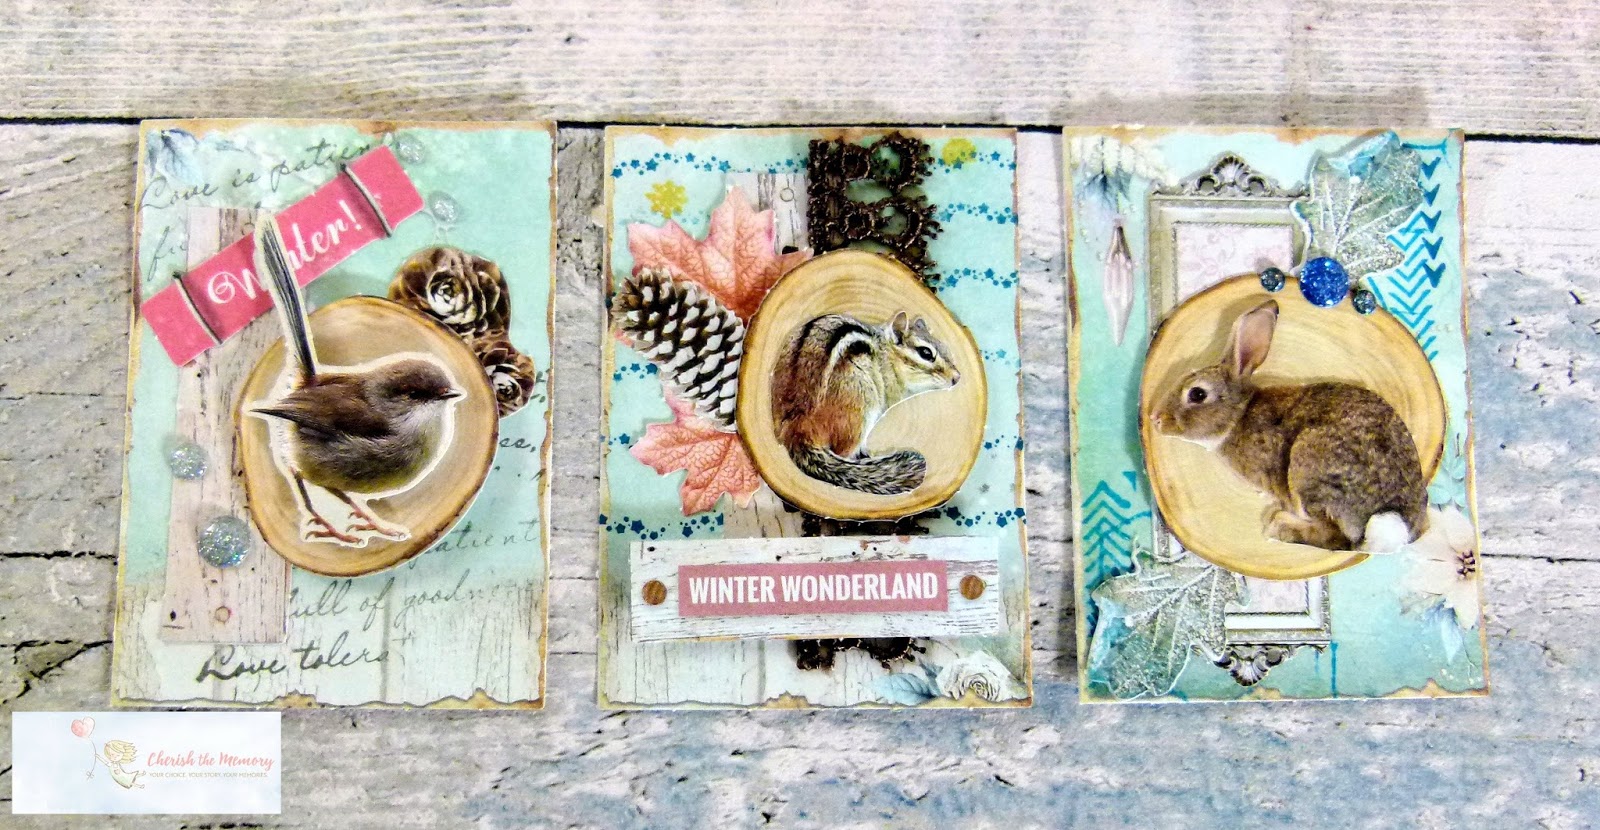
Cherish the Memory Wonderful Woodland Winter ATCs

Hi all

I have a set of Woodland themed ATCS using the various Christmas collections by Studio Light.


I used the Die Cut ATCs as the base and added stamps and stencils over the top


I then used the die cut shapes from the die-cut sheet and layered them up


I added trims and enamel dots to finish off the ATCs


Thank you for visiting


Saturday, 25 November 2017

Saturday, 23 September 2017

Cherish the Memory Woodland Winter Christmas Cards

                                                                Hi all

I have made up a few cards using the card kits available at Cherish the Memory. They are easy to make up and come with lots of extra bits which can be used on other projects. This one is called Winter Woodland https://www.etsy.com/uk/listing/556329215/woodland-winter-die-cut-block-for-card?ref=shop_home_active_3


The kits are designed to fit most 6 x 6 and A6 cards


I love the golden foil accents with this kit.


There are many different pieces which can be mixed and matched to make the cards more unique.


Use 3D foam pads to add dimension to the cards


Thank you for visiting


Sunday, 27 August 2017

How To Create A Dream Catcher Mixed Media Tag

Hello crafty friends

I have another mixed media tag to share and i have been playing with one of the new dies  that have just come into the shop this month. This one is the Dream Catcher  and is a two part thin metal die that should work on most die cutting machines.


I started off by using Brusho powders to  create the background by mixing a  few green and blue inks together. I then applied a stencil using modelling paste and dry brushed silver paint over the top and then added a few texture stamps.


I cut both parts of the die out using the blue wood effect paper from the Summer Feelings 6 x 6 paper pad and then spritzed with blue in and  dabbed over the top with blue metallic paint.


I finished off by adding some fibers and pearls to the tag.

Thank you for visiting


Saturday, 19 August 2017

Learn How To Create This Stunning Sea Side Layout


Hi all 

I have a new layout made using the lovely Summer Feelings collection available at Cherish the Memory.


Start off by mounting the photo to a background and trimming it to fit. Mark out where the photo will be on the layout  and then apply gesso using a palette knife. Next apply a stencil using black modeling paste and once it has dried, Spritz with Turquoise and sea green mist sprays.


Apply stamps around the layout and then take a few sheets from the matching 6 x 6 paper pad and cut into strips. Place the strips into position and glue down once you are happy with the layers. I added  die cuts and bits cut out of the empheria sheets.


I added some cheese cloth around the edges of the page and added micro beads with a little more blue ink on top. I spritzed some white flowers with blue ink and added them to the page.


I finished the page by adding a title and a few half pearls.

Thank you for visiting


Saturday, 12 August 2017

How To Create A Stunning Summer Shaker Card

Hi all

Today i have a fun summer themed shaker card to share today. The papers are from the Summer Feelings collect avalible from Cherish the memory.


Start off by covering a 6 x6 card with blue paper and then half the card with the wood effect paper.

To create the shaker box you just need a set of nesting dies. Choose the size you want the box to be and pop the smaller nesting die inside the larger one to make a frame. Cut out two frames from paper and craft foam. If the craft foam is a distracting colour you can paint over it with acrylic paint.

Next cut out a sheet of pattetened paper for the base using the largest die and again out of acetate for the window.

Glue the craft foam frame to the base and leave to dry before adding micro beads and glitter shapes.

Seal the bax with the acetate top and once that has dried, add the frame cut from pattetened paper.


Adhere the bix to the catd and then glue cheese cloth around it like a frame.

Add micro beads, craft stones and die cuts around the cheese cloth frame.


You can leave the chese cloth as it is or dab blue ink over it to add a bit of colour. I used watered down acrylic paint on mine.


Thank you for visiting