Followers

Showing posts with label Kaisercraft. Show all posts

Monday, 27 November 2017

Vlog Thompson Crafts December Kit Reveal and Mixed Media Card Tutorial

Hi all

I have a new video for you today.

I am guest designer for Thompsons Craft Supplies and i have the Letters to Santa collection by Kaisercraftto play with so my first project is a quick mixed media tag.

Products

12 x 12 Letters to Santa by Kaisercraft
Letters to Santa Collectibles
DecoArt Metallic lustre Gold Rush
Colourcraft Soft Foam Relief Paste Clear


Thank you for visiting


Saturday, 12 August 2017

How To Create A Stunning Summer Shaker Card

Hi all

Today i have a fun summer themed shaker card to share today. The papers are from the Summer Feelings collect avalible from Cherish the memory.


Start off by covering a 6 x6 card with blue paper and then half the card with the wood effect paper.

To create the shaker box you just need a set of nesting dies. Choose the size you want the box to be and pop the smaller nesting die inside the larger one to make a frame. Cut out two frames from paper and craft foam. If the craft foam is a distracting colour you can paint over it with acrylic paint.

Next cut out a sheet of pattetened paper for the base using the largest die and again out of acetate for the window.

Glue the craft foam frame to the base and leave to dry before adding micro beads and glitter shapes.

Seal the bax with the acetate top and once that has dried, add the frame cut from pattetened paper.


Adhere the bix to the catd and then glue cheese cloth around it like a frame.

Add micro beads, craft stones and die cuts around the cheese cloth frame.


You can leave the chese cloth as it is or dab blue ink over it to add a bit of colour. I used watered down acrylic paint on mine.


Thank you for visiting


Thursday, 1 December 2016

Things to Alter Craft Stamper Feature Christmas ATC Shrine


Hi all

I can now share my make that is published in Craft Stamper Magazine.


I painted each part with DecoArt acrylic paint and then used texture stamps to add detail.


I painted each of the pieces


Yes that is white glitter. Yes i sometimes use glitter


Full details are in the December issue of Craft Stamper and thank you for visiting.

Tuesday, 22 November 2016

Sin City Stamps Design Team Application


Hi all

This is my application for the Sin City Stamps Design Team Call.


Art Journals


Decoart white modeling paste
Decoart white gesso
Dry wall tape
Kaisercraft  Texture Stamps Edges, Film Edges,36
7 Gypsies Steampunk set
Lillli Bot Crafts Gothic Rose Stamp Set
Banana Frog Alphabet stamps
13arts Yellow green Mister
Colour Chemistry Sepia mist spray
That Craft Place Clock Stencil


DecoArt crafters acrylic island blue
Clearsnap Colour Pop Minis Kiss, Night, Fresh, Black and Ice
Susan k Weckesser Co Branded Unity A Little Bit Love Stamp Set
Julian Vance Grunge Love
Tando Creative Mini Sequin stencil
DecoArt Pixlated Stencil
Susan K Weckesser Doodles Stencil
DecoArt Black modeling paste
DecoArt white modeling paste

Mixed media card


DecoArt Scale 12 x 12 Stencil
DecoArt Media Mister Magenta
DecoArt Pixlated Stencil
DecoArt White Modeling Paste
Kaisercraft Crackle Stamp
Kasercraft Harlequin Stamp
Prima Rossibelle Paper Collection

Altered Steampunk Lamp


DecoArt Chalky Finish paint Lace 
DecoArt Chalky Finish Treasure
Oak House Studio Colour Chemistry Sea Blue
Oak House Studio Sea Life stamp set
Things to Alter MDF Anchor 4 inch 
Things to Alter MDF Cogs and Washers
One Old wooden Lamp

ATC


This one hasn't been blogged yet so here is a tutorial on how to make things look rusty


MDF ATC blank from Things to Alter
MDF cogs Things to Alter
DecoArt black and white gesso
DecoArt Metallic Lustre Turquoise, Rose Gold and Copper Kettle
DecoArt Crafters acrylic Oatmeal


Mixed Media Art Journal The Beginning


Hi all 

I have a new art journal to show you and i have included a tutorial too. I have been spending time developing my mixed media style and i am going towards bright and grungy which is going to be interesting.


I started off by applying texture using stencils and modelling paste which i applied around the edges. I then painted the whole page with white gesso and added bits of dry wall tape. You need to add more gesso over the tape as it is smooth.


Next i painted the pages over with Crafters Acrylics starting with Oatmeal and then building up the paint layers using Early Spring green and Island Blue. I blended the colours together and then spritzing misting ink over. I applied some with a brush to get darker patches of ink.


I then used the Kaisercraft Edge stamps to build up a boarder and added texture around the edges.


I used the Kaisercraft 36 stamp to build texture up starting from the top corner


I stamped the skull onto the page first as a place mark and to get the details on the page that would be lost in the next step. I stamped the skull onto white card and cut it out before adhering it to the card and added some cogs.


I highlighted the stencils by dry brushing paint over them and the dry tape.


I finished the layout off by stamping my quote out onto card first and then cutting the words out. I did this so i didn't accidentally smudge them words on the page.


Wednesday, 12 October 2016

The Crafter's Palette DT DecoArt Madness Mixed Media Card

                                                                      Hi all

I am back with another blog post and tutorial for The Crafter's Palette DT. The theme is to create a project with a Favorite DecoArt  technique so i have used lots of mixed media layers.


I started off with a 6 x 6 card blank and used the DecoArt  12 x 12 Fish Tail stencil with white modeling paste and covered the whole card with the pattern. Once dry i used Very Berry Crafters Acrylic an added a little water to the paint before covering the whole card.


I then cut a 4 cm x 10 cm rectangle from Kaisercraft Ma Cherie Paper and glued it to the card before going over the top of the first layer with the Pixleated mask. I then used a blending tool and dabbed over the top with Tim Holtz Rusty Hinge ink. I then cut a strip off music sheet paper from the Ma Cherie paper and adhered it to the center of the first layer. I then cut a strip of white tissue paper and used a paint brush to paint Magenta Media Mister over it and glued it in place. I then added a bit of the tape measure washi tape over the top.


I then used the chipboard shapes from the Prima Rossibelle  kit and the die cuts from the Kaisercraft Ma Cherie Kit . Which i layered up in the center of the card.


I inked around the edges of the letters to create a sentiment and added them to the center of the card.  I took a few white paper flowers and inked them using DecoArt  Magenta Media Mister and dribble white paint over the top.


I finished the card off with a few sequins and chipboard shapes. I created a bow with the pink distressed ribbon and added a flower to the center.


                                                            Thank you for visiting


Wednesday, 5 October 2016

Crafter's Pallet Design Team: Fun Scrapbook Layout with Kaisercraft Kaleidoscope Collection


Hi all
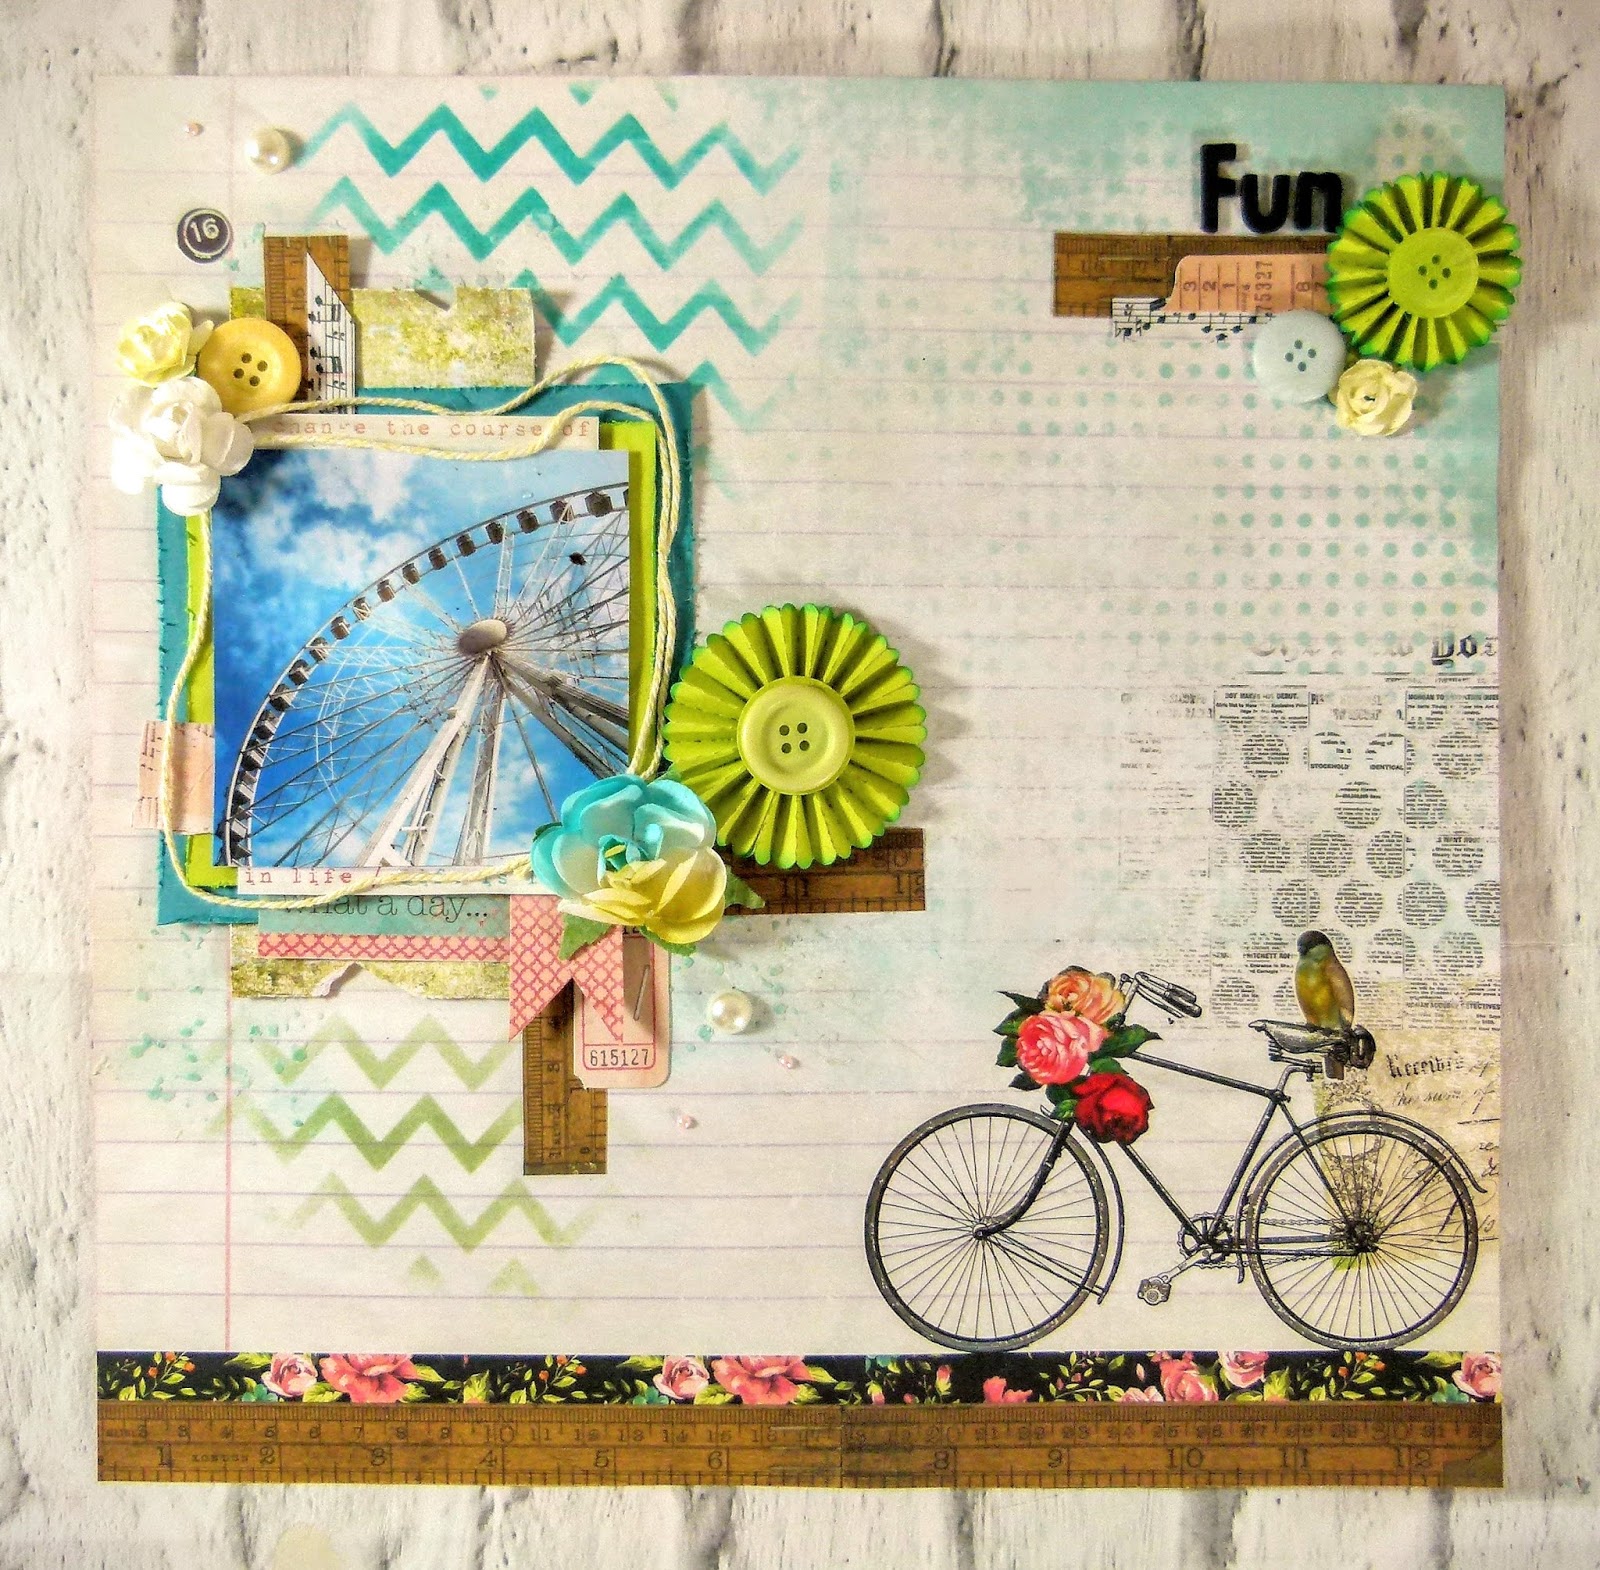
I am back today with a new layout made using the Kaisercraft Kaleidoscope Collection which is available at Crafters Palette.


Choose your background sheet and apply modelling paste using a stencil.
Take another stencil and using a blending tool, Apply Distress ink onto the page around the area where the photo will go.
Cut two squares from cardstock and distress edges with scissors and Layer them together with 3d foam pads. Cut out and adhere one of the ATC cards over the top.  Next adhere photo over the layers.
Cut a strip of patterned paper and distress with scissors before adhering to page.
Stick the photo and layers over the strip and then glue a length of twine around the photo.


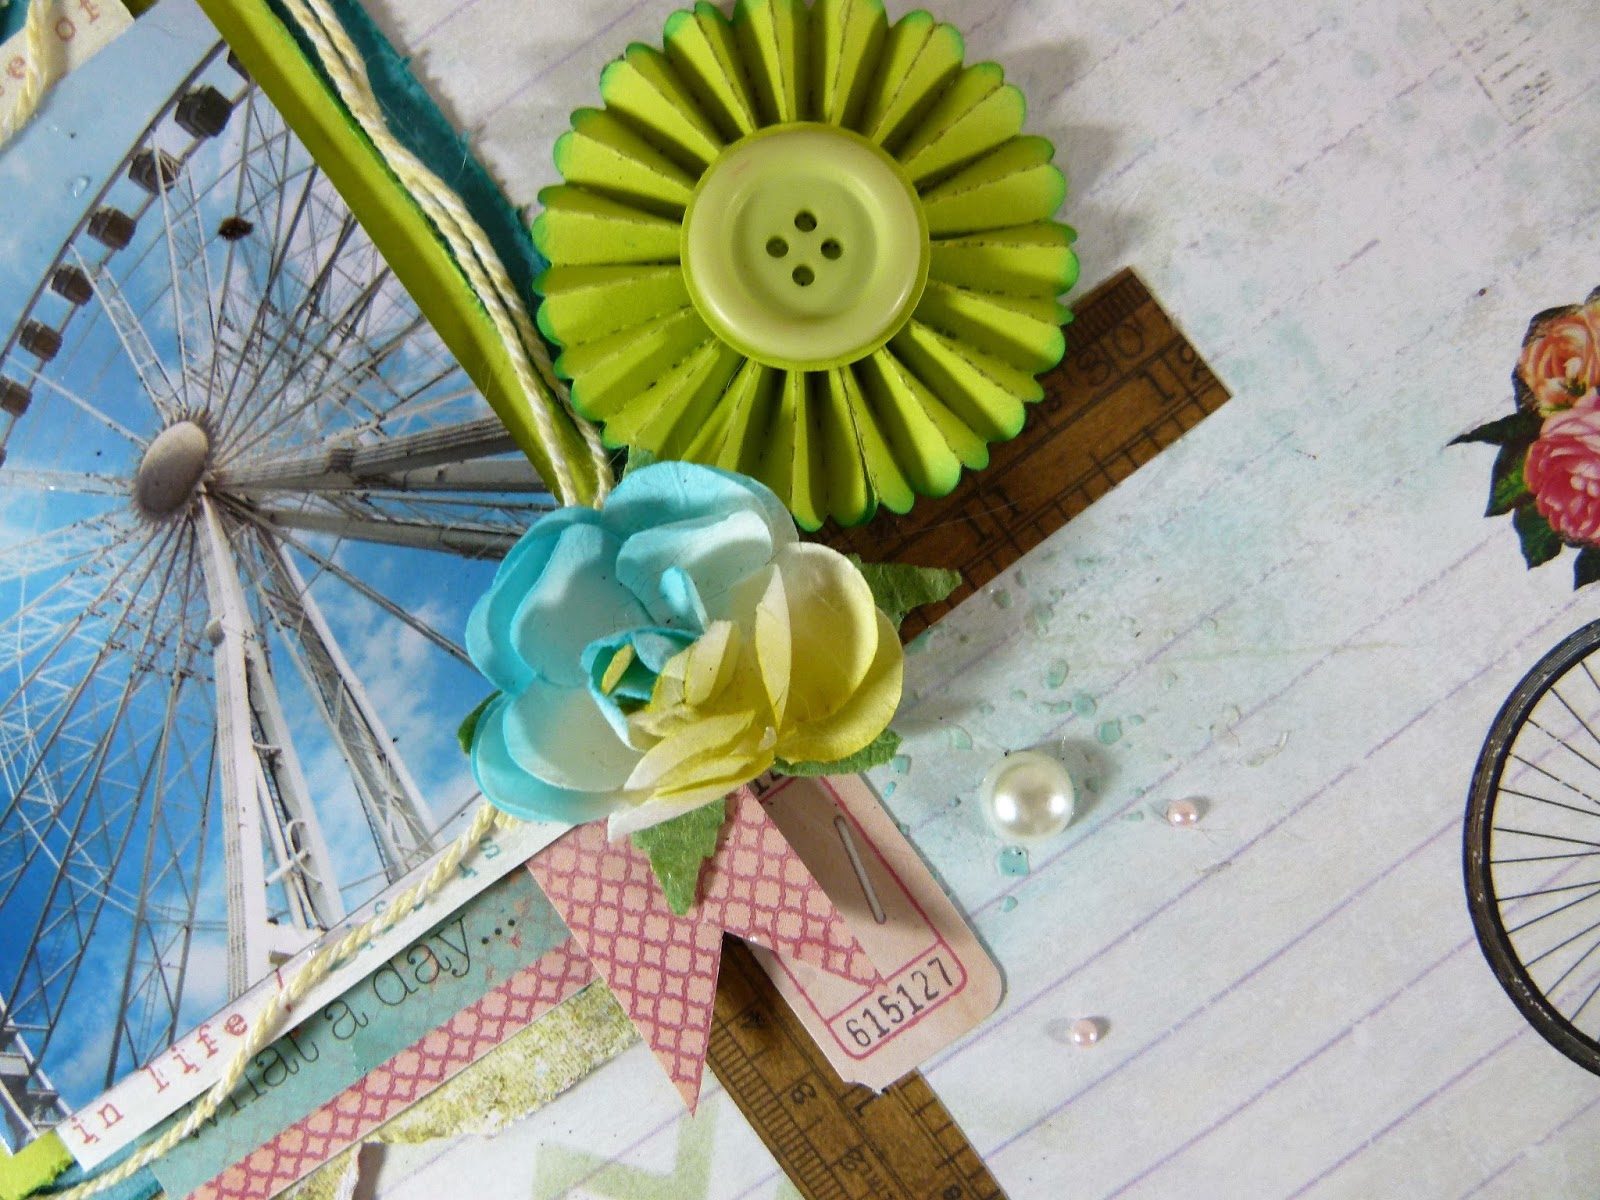
Cut up a few strips of patterned paper of different sizes and slot them in between the layers.
Add a few bits from the Tales of you and me Ephemera pack
Decorate around the photo with paper flowers and rosettes
Add a few strips of paper at the top corner of the pager and add a title
Finish by adding pearls.


Thank you for visiting

Tuesday, 4 October 2016

Life in a Snapshot Torquay Mixed Media Layout


Hi all here is my scrapbook page for the October sketch challenge. I am experimenting with DecoArt Acrylic paints which i used to create a mixed media background. 


I used Trimcraft Back to Basics True Blue for the paper layers and Kaisercraft texture stamps on the background,


I applied a couple of stencils using DecoArt Modeling Paste to add texture and then flicked white ink over the page.


I then decorated the page woth resin flowers and sequins

Here is the Sketch and you can add your project to the link here http://whatkatiedid2.blogspot.co.uk/2016/10/life-in-snapshot-october-sketch.html


Thank you for visiting


Sunday, 28 August 2016

Crafters' Palette DT: Scrapbook Tutorial Using Kaisercraft Ma Cherie Collection.


Hi all 
Here is my first project and tutorial for the Crafter's Palette team. I used a mixture of Tim Holtz and Kaisercraft products which are tow of my favorites. 


Take a 12 x 12 sheet of pink Brazil Basics Card Stock and apply modelling paste around the edges using the Tim Holtz Gothic Lace Stencil.
Once dry, Rub over with Victorian Velvet Distress Ink and rub a bit along the edges of the page and corners.
Stamp over the corners and edges using Kaisercraft Texture Stamps in Black Soot and Worn Lipstick
Cut a 7 x 5 rectangle and mat your photo onto it
Cut a larger rectangle about 9 x 7 and adhere to page
Adhere photo to edge of rectangle using 3D foam pads


Cut a few strips from patterned paper and trim in half, Slot these behind the photo.
Take the Ma Cherie Collectibles pack and slot the large flower die-cuts along the side of the photo. Cut the largest one in half and slot either side of photo.


Take a tag die-cut and slot it at the top of the photo, Spritz a few white paper flowers with magenta mister and adhere in clusters around page. Add a few Butterflies with pearls in the centers.
Cut the strip off the bottom of the 12 x 12 sheet and use the patterned side to create a few paper ribbons. Adhere these to top and bottom of page.
Finish layout with a sentiment topper for the title and a few more flowers.


Thank you for visiting.

Thursday, 28 April 2016

Spring themed ATCs

Hi all

I am back with a cute set of ATCs i made for a swap 


This one i made by spritzing the card and stamping the background. I then layered up strips of paper and ribbon. The honeycomb is part of an MDF mask i cut up.


I was trying out the new Geometric stamp set from Docrafts for this one and stamped the background.


I used the DecoArt Metallic Lustre to colour the MDF pieces


Thank you for visiting and i will be back to show you the ATCs i have received

Here are the ones i was given


.