Followers

Showing posts with label Prima. Show all posts

Tuesday, 14 February 2017

Prima Marketing Rossibelle Love Heart Mixed Media Canvas

 Hi all

I have a new canvas i made using the Prima Rossibelle Collection. This started off as a £3 wooden blank from The Works which i painted with DecoArt white gesso.

Products used

Tim Holtz Stencil Gothic


I covered the base with a Tim Holtz stencil Gothic and then painted it all over with DecoArt Crafters Acrylic Tutti Frutti and left it to dry.


I then spritzed it with DecoArt Magenta Media Mister which when it dried created the darker patches. I then rubbed DecoArt Titanium White Antiquating Cream around the edges. I then added another stencil over the top.


I cut the Prima Rossibelle papers up into strips and cut up the sheet with all the journal boxes on. I layered them up and added ribbon and different textured papers together and just experimented with the position before gluing it down.


I then added the chipboard shapes and added sequins around the base.


Add a few pearls


Finish off with a bow


Monday, 26 December 2016

Prima Sweet Peppermint Christmas Day Layout

Hello crafty friends

I hope you all had a great Christmas and took loads of photos of the big day. I have a layout using the Prima Sweet Peppermint Collection to show off my Christmas snaps.


I took a sheet of green card and cut it roughly to 8 x8 and stuck it to the centre of the page.

I then used a stencil mask to add the snow flakes with DecoArt Modeling paste

I then used the natural distressed ribbon across the middle of the layout,


I cut a 4 cm wide strip of red striped paper and adhered it along the side of the square using foam tape.

I then cut a small square and tucked it under the strip and added a piece of white web trim over it.

Next i matted the photo on to patterned paper and placed it over the strip.

I wrapped some twine around the photo and added a chipboard embellishment and flowers.


I cut out another small strip of paper and added this along the photo.

I added one of the dates from the calendar sheet as my title.


Thank you for visiting 

Tuesday, 20 December 2016

Prima Sweet Peppermint Mixed Media Christmas Card


Hi all

I have recently been trying out a new style of card design and trying to go with a more layered mixed media style. It is a bit hit and miss at the moment but i will keep trying. Have you tried anything new this week?


To make this card i first covered a black card in snowflakes using a stencil and DecoArt Modeling paste. I then too a DecoArt Media Mister in Green-Yellow and added a bit to my pallet with some water to create a wash and i used this to add the color to the card.


Next i used the Prima Sweet Peppermint Kit and cut a strip of green card and inked it with Frayed Burlap Distress Ink.


I then cut a square 4 x 4 and adhered it over the strip and added a bit of brown web trim over the square.

I added a thin strip of paper i cut from the bottom of the page.


Then used one of the sheets with the toppers on, and cut out a few to add as another layer and then added the ticket on top as a sentiment.


                      I finished off the card with the matching paper flowers and sequins.

                                           Thank you for visiting


Wednesday, 12 October 2016

The Crafter's Palette DT DecoArt Madness Mixed Media Card

                                                                      Hi all

I am back with another blog post and tutorial for The Crafter's Palette DT. The theme is to create a project with a Favorite DecoArt  technique so i have used lots of mixed media layers.


I started off with a 6 x 6 card blank and used the DecoArt  12 x 12 Fish Tail stencil with white modeling paste and covered the whole card with the pattern. Once dry i used Very Berry Crafters Acrylic an added a little water to the paint before covering the whole card.


I then cut a 4 cm x 10 cm rectangle from Kaisercraft Ma Cherie Paper and glued it to the card before going over the top of the first layer with the Pixleated mask. I then used a blending tool and dabbed over the top with Tim Holtz Rusty Hinge ink. I then cut a strip off music sheet paper from the Ma Cherie paper and adhered it to the center of the first layer. I then cut a strip of white tissue paper and used a paint brush to paint Magenta Media Mister over it and glued it in place. I then added a bit of the tape measure washi tape over the top.


I then used the chipboard shapes from the Prima Rossibelle  kit and the die cuts from the Kaisercraft Ma Cherie Kit . Which i layered up in the center of the card.


I inked around the edges of the letters to create a sentiment and added them to the center of the card.  I took a few white paper flowers and inked them using DecoArt  Magenta Media Mister and dribble white paint over the top.


I finished the card off with a few sequins and chipboard shapes. I created a bow with the pink distressed ribbon and added a flower to the center.


                                                            Thank you for visiting


Wednesday, 5 October 2016

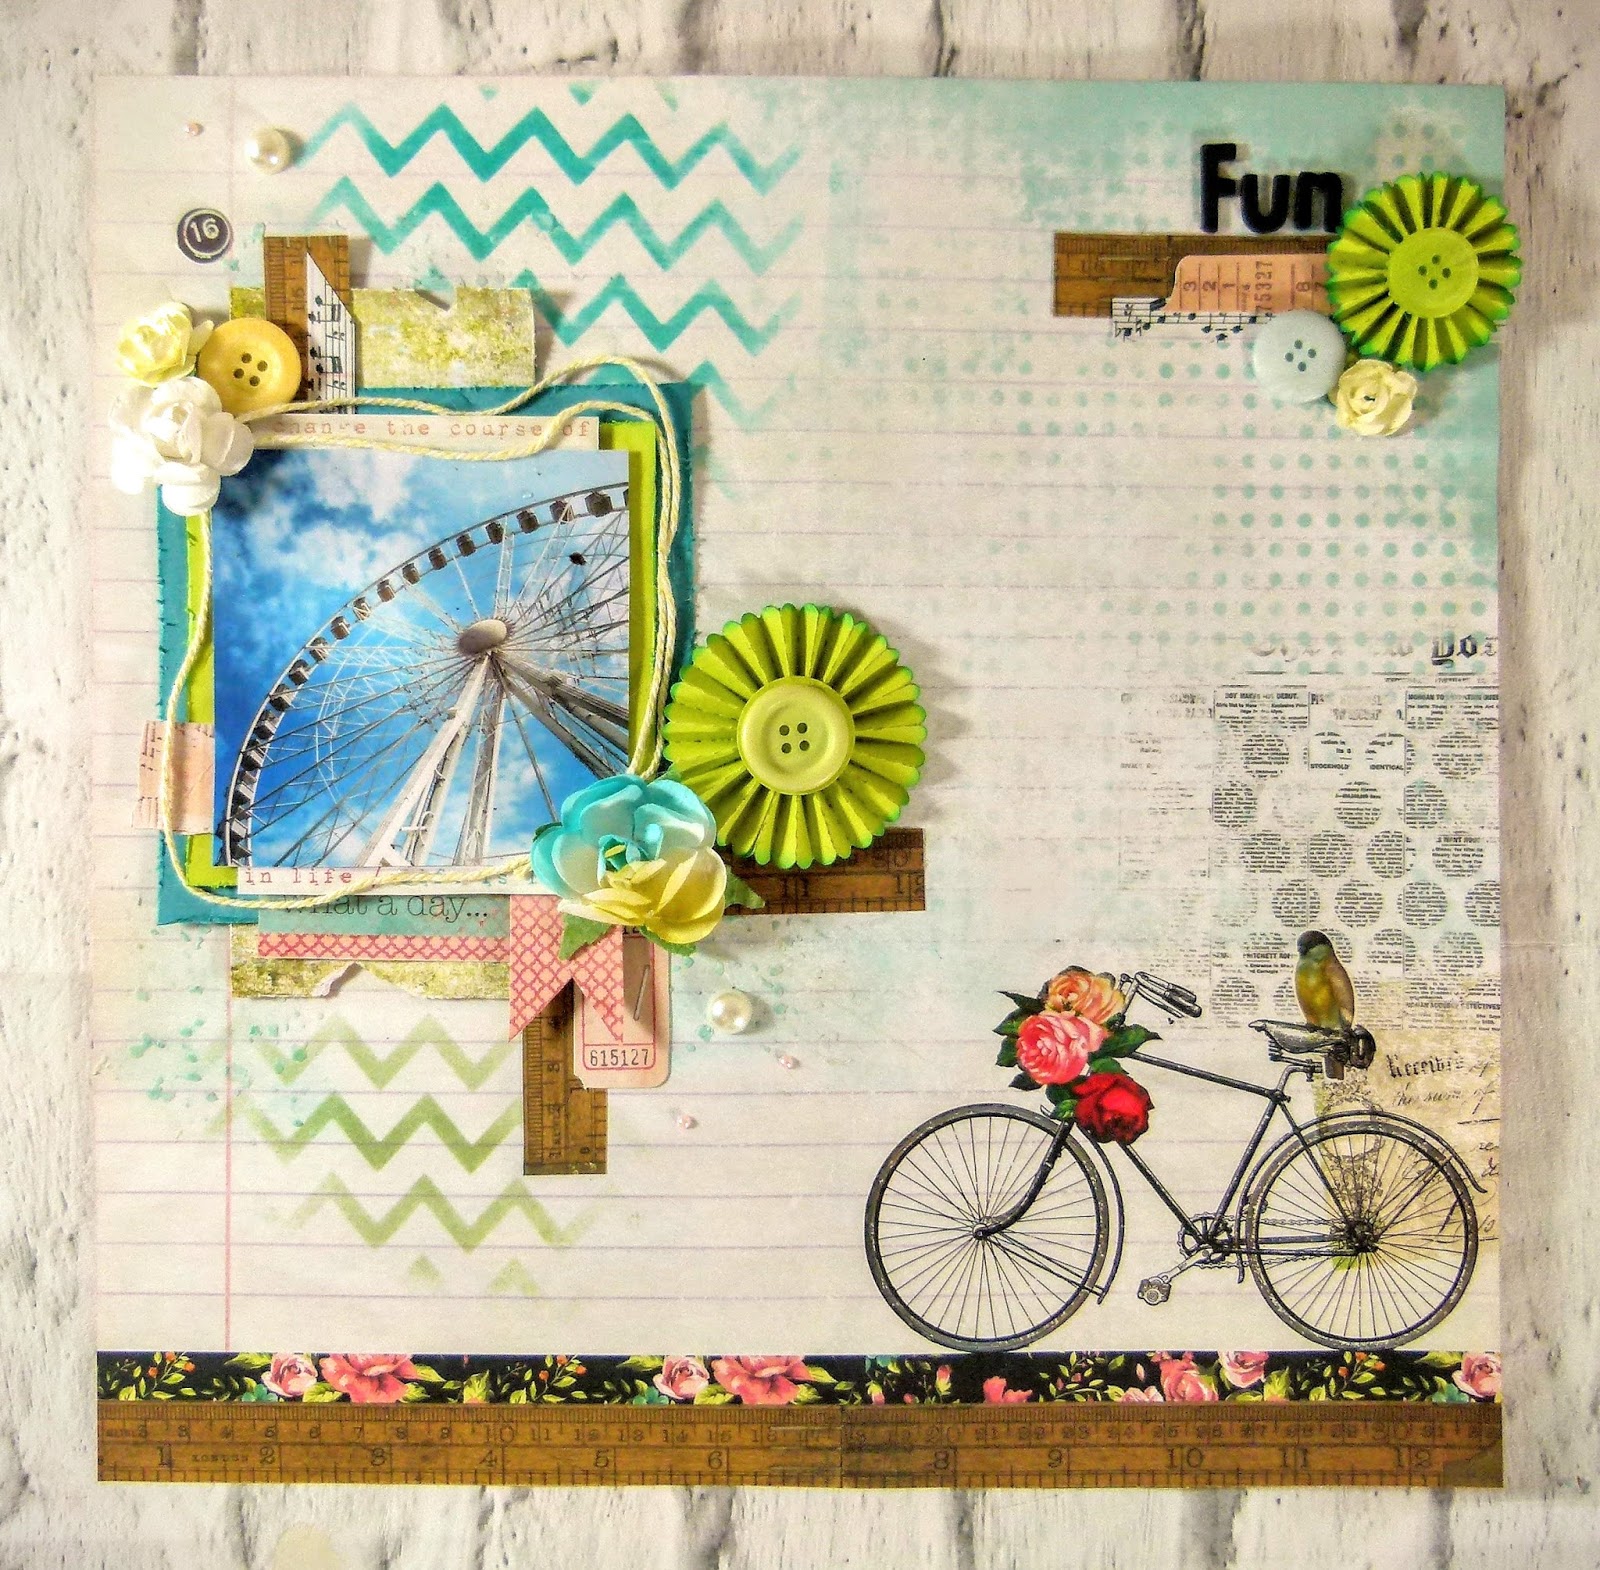
Crafter's Pallet Design Team: Fun Scrapbook Layout with Kaisercraft Kaleidoscope Collection


Hi all
I am back today with a new layout made using the Kaisercraft Kaleidoscope Collection which is available at Crafters Palette.


Choose your background sheet and apply modelling paste using a stencil.
Take another stencil and using a blending tool, Apply Distress ink onto the page around the area where the photo will go.
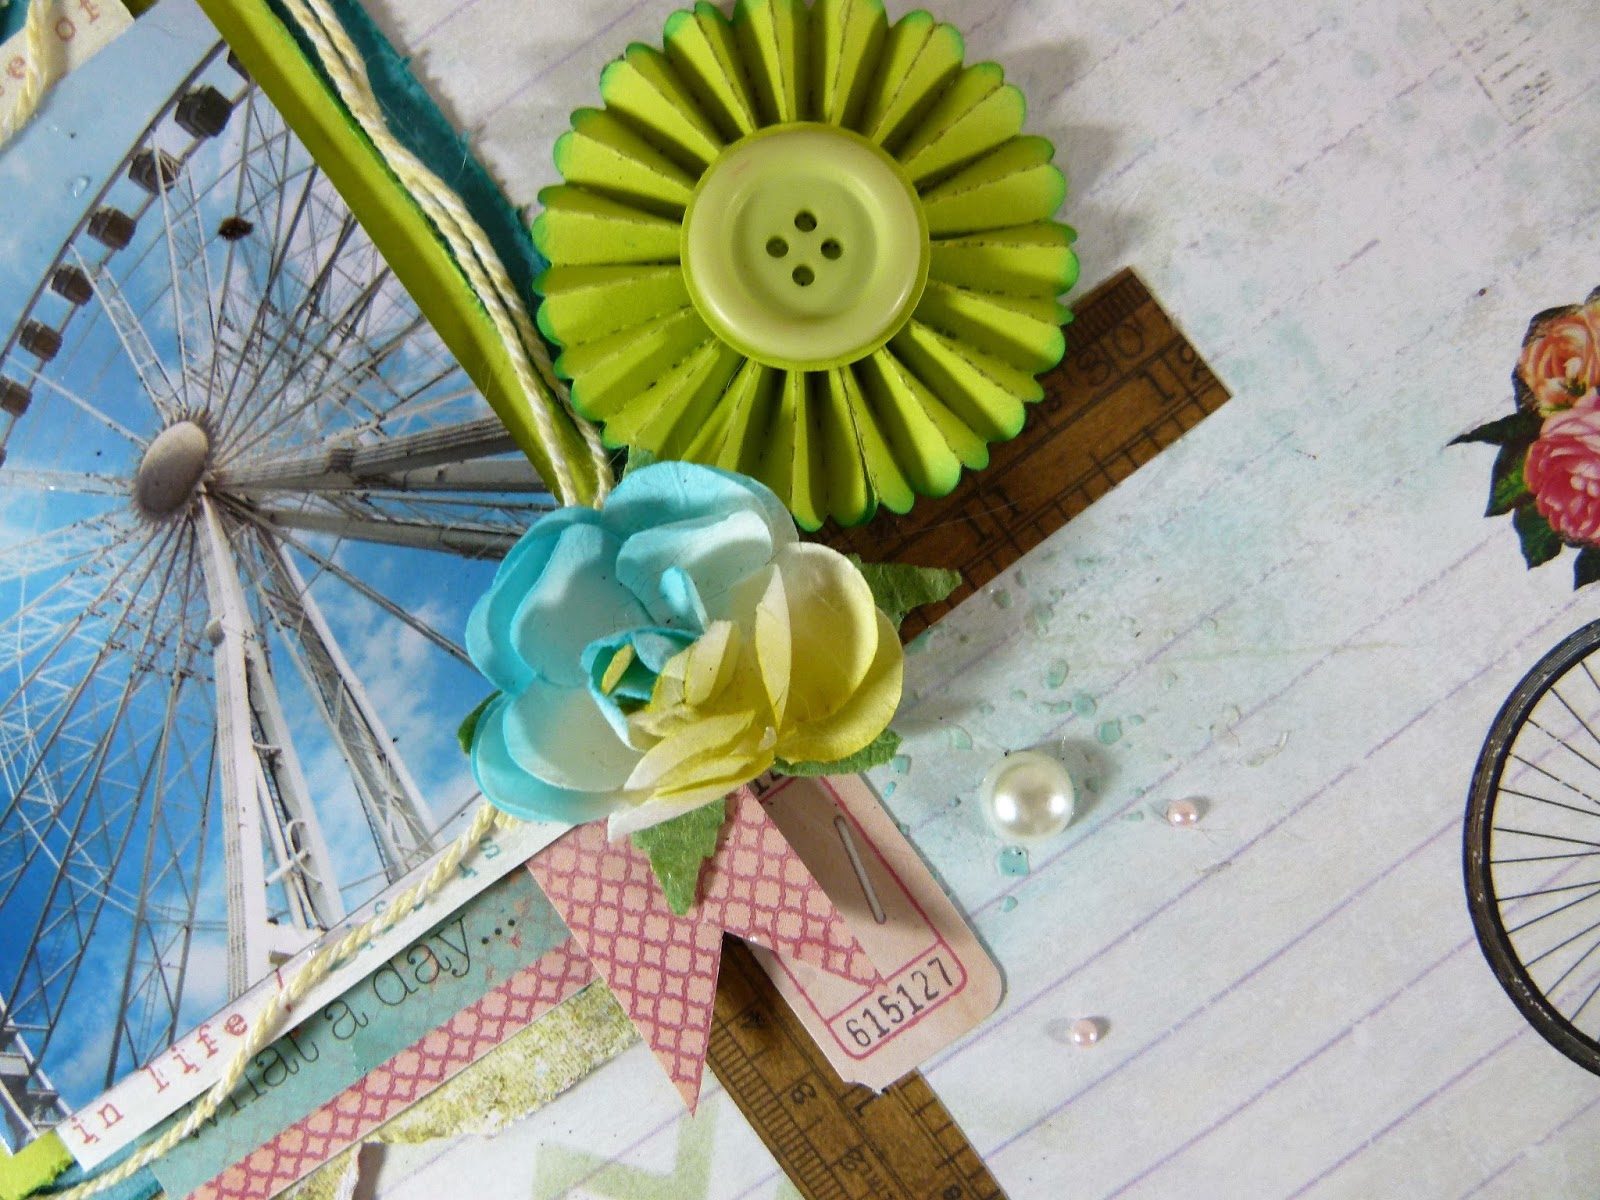
Cut two squares from cardstock and distress edges with scissors and Layer them together with 3d foam pads. Cut out and adhere one of the ATC cards over the top.  Next adhere photo over the layers.
Cut a strip of patterned paper and distress with scissors before adhering to page.
Stick the photo and layers over the strip and then glue a length of twine around the photo.


Cut up a few strips of patterned paper of different sizes and slot them in between the layers.
Add a few bits from the Tales of you and me Ephemera pack
Decorate around the photo with paper flowers and rosettes
Add a few strips of paper at the top corner of the pager and add a title
Finish by adding pearls.


Thank you for visiting