Followers

Showing posts with label Divine Twine. Show all posts

Wednesday, 12 July 2017

How To Create This Stunning Tag Card

Hi all

Just sharing my project for Whisker Graphics using the lovely Tell The Bees Paper pad. The Gold Divine Twine works really well with this pad too.


Cover a card blank with patterned paper
Cut another piece of pattered paper out and use a boarder punch along the edge before gluing to card.
Cut a doily on half and glue along the center.


Wrap gold twine around the center of the card and fix in place with tape.
Cut out a tag and glue a small chipboard tag to the center
Add a paper flower to the center


 Add a bow to the top of the tag and glue to card.
Add a bit of gold washi tape to the bottom and add a sentiment


Tuesday, 20 June 2017

How To Create An Amazing Serene Floral Art Journal Tutorial

Hello crafty friends

Learn how to create this serene art journal page using stamps from Sin City Stamps.


Products used
DecoArt Media Mister Purple 
Tattered Angels Chalk Board Blue
Green ink
Trimcraft First Edtion Marker pens
A5 Drawing pad ( The Works)
Water
Dry Wall Tape
Dry baby wipes
Divine Twine Solid Aqua
PVA Glue
Brusho Powders Purple, Ultramarine
The Works Enamel Dots
 Archive Black ink pad
Oak House Studio Navy blue ink pad
That Craft Place Mini Stencil


1) Spray purple ink along the side of the page.
2) Spray water over the page and allow ink to run down it.


3) Spray the page with blue ink and spritz with water to blend inks.


4) Use a texture stamp and stamp along the edge of the page.


5) Apply modeling paste to page using a stencil
6) Ink over embossed area with a ink pad.


7) Make a few rough circles using twine and glue to page

8) Cut up the dry wall tape and dry baby wipes. 
Glue over the twine.


9)  Stamp out your images onto cardstock and colour in,

10) Cut out images and glue into position.


Thank you for visiting and visit our fan group for more inspiration and prizes https://www.facebook.com/groups/sincitystampsfangroup/


Tuesday, 13 June 2017

How To Bind Books Using Divine Twine

Hi all

I have been meaning to make a junk journal and discovered a simple way to bind books with Divine Twine.

1) Take and old hardcover book and cut out the page using a sharp knife.

2) Depending on how many signatures you want to create will depend on how much twine you will need but it always works out at double  the number of signatures. I used 5 on my journal so i did 10 lots of twine that where the length of the book i used. Leave a extra length or two at either end so that the book can be tied together.


3) Once you have your lengths of twine, tightly wrap them around the spine.

4) Take the left end of the twine and thread it through the signatures at the back of the book. Gather the right end of the twine and tie a knot.

5) Next gather up your papers and any interesting mail and fold it all into a booklet. This is then threaded through the signatures and held in place with the twine.


6)  Fold a few Itty Bitty Bags in half and thread through the twine with the papers. These make great mini books and pockets.


7) Decorate your pages with bits and pieces.

Thank you for visiting

Wednesday, 19 April 2017

Scrapbook layout Wonderful

Hello crafty friends

I wanted to get back into scrapbooking and spotted the new 12 x 12 paper pads from The Works. This one is called Magic Moments and has mixed media backgrounds.


1) Add gesso to the base using a brayer to get the distressed and smudged look.


2) Add a few stencils to the background using modeling paste.

3) Cut up a strip of drywall tape and place around page randomly.

(4 Spritz and flick media misters over the page.


5) Using the Journaling stamp set from Sin City Stamps, Apply textures randomly around page.

6) Paste strips of white tissue across the page using gel medium. Think paper mache and that is sort of the idea here.


7) Begin chopping up a few 12 x 12 sheets of coordinating papers. There are no rules or measurements involved in this bit just pure experimentation. Try adding different textures and scraps to the layers to achieve a different look.


8) Mount your photo onto cardstock and build the final layers around it.


9) Decorate the page and add a title

I used white divine twine and spritzed it with different inks to create a rainbow effect.


Thank you for visiting


Friday, 7 April 2017

How To Create Cute Easter Tree Decorations

Hello crafty friends

I have another Easter make to share using Divine Twine.


Products used

Divine Twine Solid Yellow
Divine Twine Knots pink and White
Divine Twine Knots Aqua and White
Divine Twine Knots Solid Aqua
Divine Twine Solid Pink
Polystyrene Easter Eggs
PVA Glue
Mini Eye hooks
Hat pins
Lace
Ribbon
Ricrac
Resin Flowers


Apply a bit of PVA to the top of a polystyrene egg and hold the end of the twine in place with a pin.


Carefully wrap the twine around the egg while applying more PVA to the egg.


Use a small eye pin to secure a piece of twine through the top.


Decorate the eggs with ribbons and resin flowers.


Thank you for visiting


How To Create Quick and Easy Wedding Decor

Hi all

Spring and Summer are normally the peak seasons for planning that special wedding. With so much to organise and plan it is easy to find it all over whelming. In this post i am going to show you how to turn a simple tea light into stunning table decor.


Products used

Divine Twine Knots Brown and White
Divine Twine Knots Natural
Paper Flowers
Berries
Small wooden tea light holders


1) Wrap the bakers twine around the middle of the candle holder
2) Fix into place with a bit of glue
3) Gather your berries and glue them to the centre of the candle
4) Glue clusters of paper flowers to the centres. 
 These also make great gifts and home Decor

Thank you for visiting


Tuesday, 7 March 2017

How To Create A Cute Button Easter Card With Whisker Graphics

 Hello crafty friends

I have a new tutorial showing you how to create this easy button card.


Products used

Papermania Button Pack Pastels
Xcut Egg Nesting Die
Fiskars Boarder Punch Lace
 First Edition Pretty Poesy 6x6 Paper Pad


1) Cut out the egg shape from cream card stock.


2) Glue Green Apple Divine Twine around the edges.


3) Thread twine through the button holes.


4) Tie some small bows from the twine and adhere to buttons.


5) Glue a mixture of buttons and resin charms inside the egg. 
Fill as many gaps as you can.


6) Adhere a sheet of 6 x6 paper to a square card blank.
7)  Cut on of the 6x6 sheets in to half and use a boarder punch to create a frilly edge.
8) cut a small doily into half and adhere to the top and bottom corner of card.


9) Finish off with a few buttons and a sentiment.


Thank you for visiting. 


Thursday, 2 February 2017

How To Revive Valentines Decor Using Divine Twine

             
Hello all

Learn how to revive this Valentines themed  decor by adding a tassel. Once you get the hang of making these you can make any colour and use them on anything.


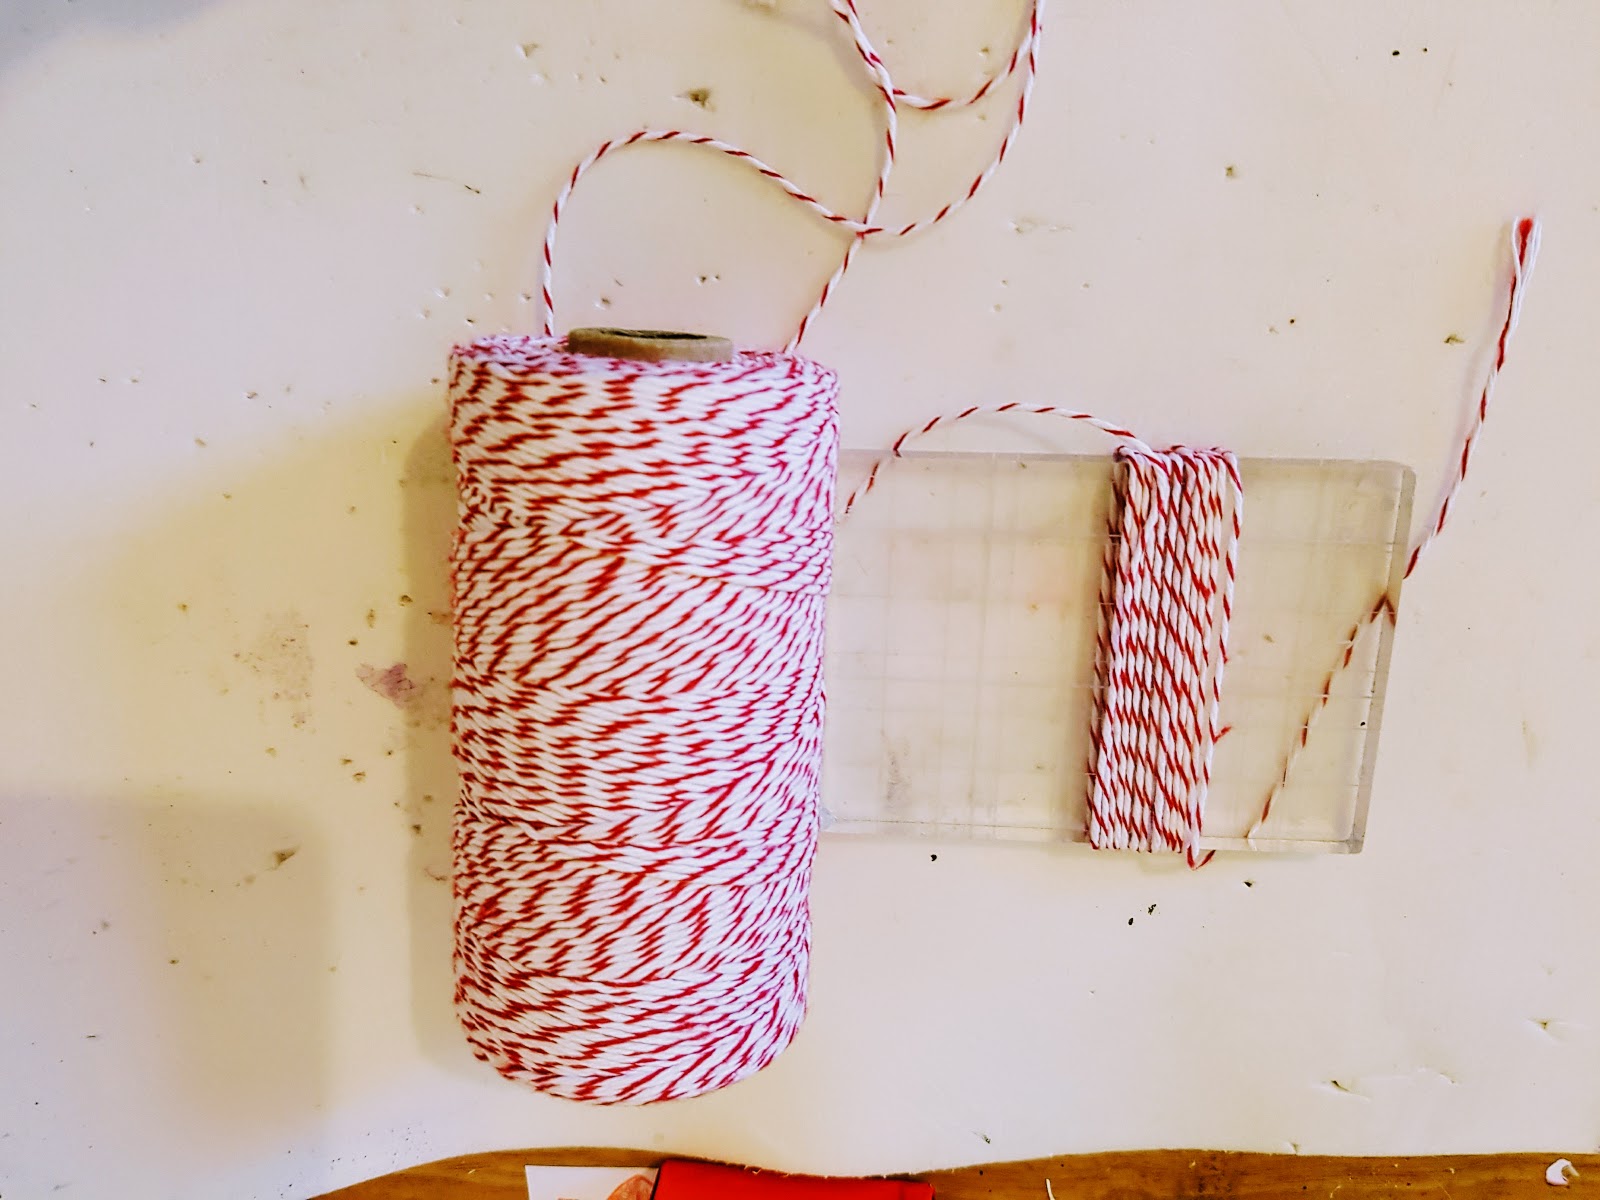
Using an Acrylic block or card, Wrap the twine around it until you have the thickness you want.


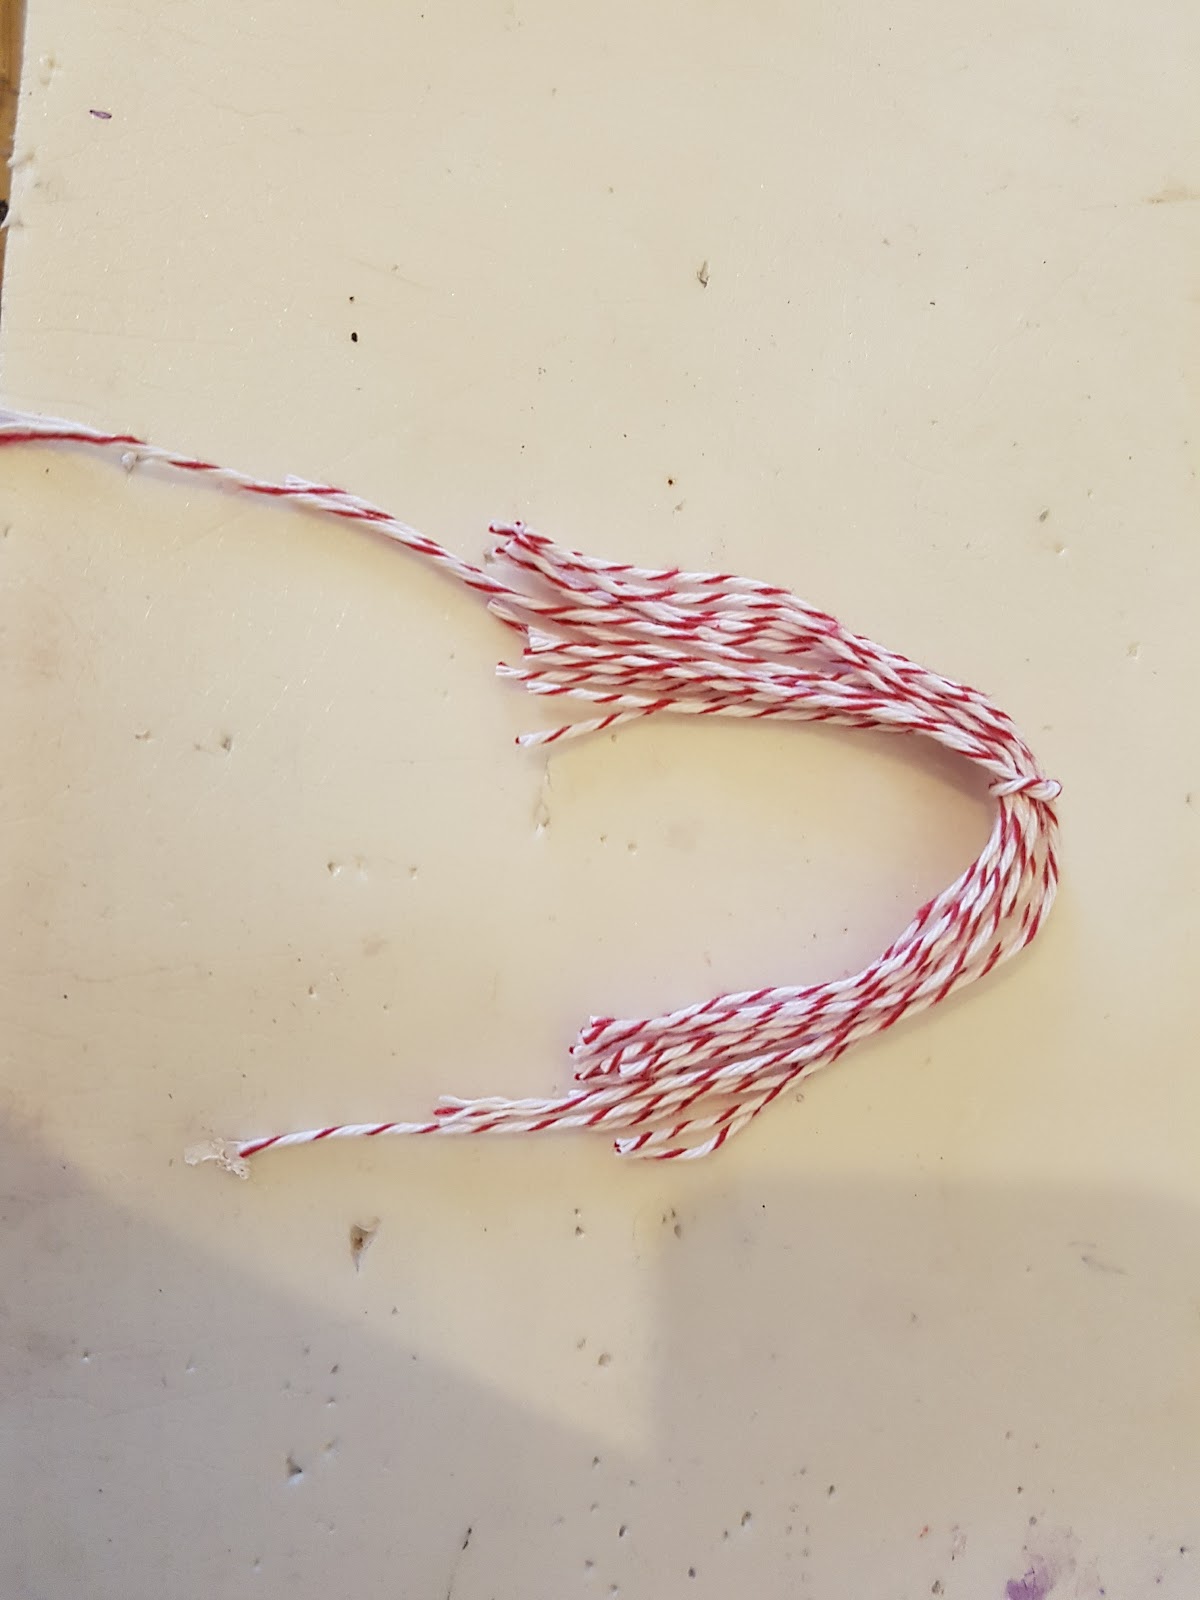
Cut a length of twine and tie it around the middle of the folds and cut the bottom.


Gather the threads together and hold them in a bundle. Cut a length of twine and wrap it around the middle of the bundle and tie together.


Thread twine through the middle and tie it onto your ornament