Followers

Showing posts with label Altered. Show all posts

Thursday, 30 August 2018

Artful Days Altered Steampunk Sewing Hoop Preview

Hello crafty friends

i am up on the Artful Days blog today and i have an altered piece to show you. Please pop in to see the full project and follow the links below.


Thank you for visiting

Saturday, 16 June 2018

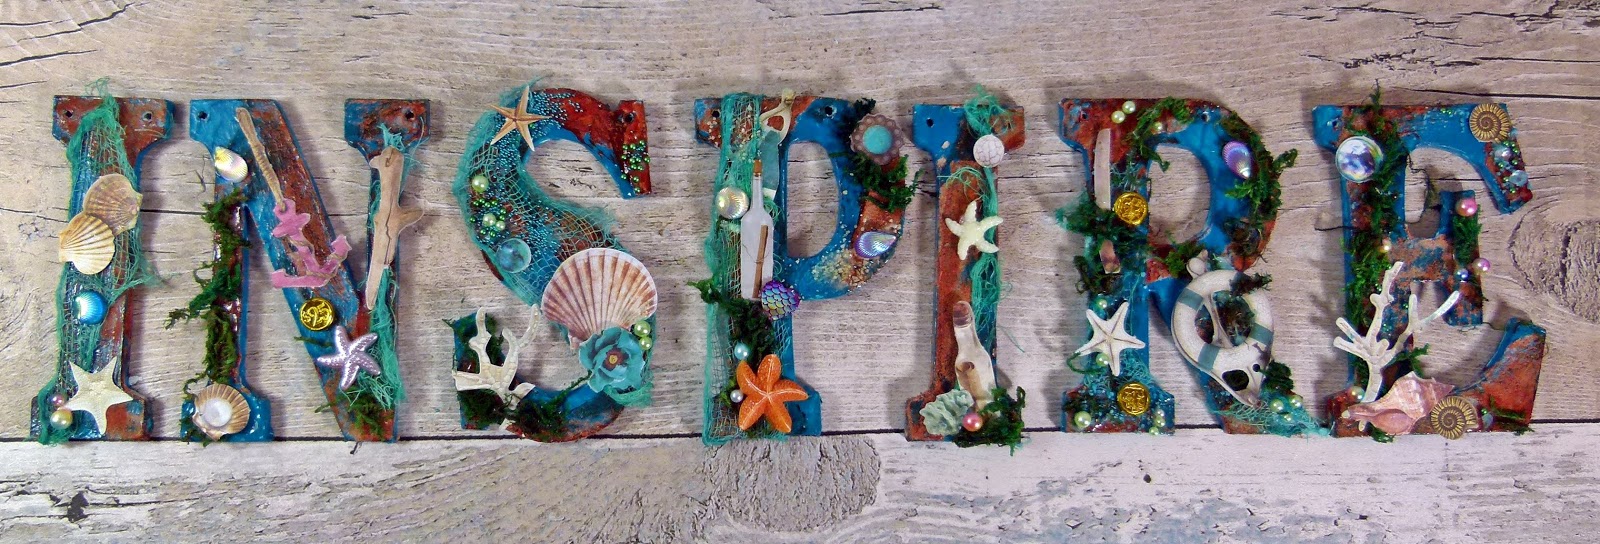
Cherish The Memory Inspire Seaside Themed Altered Letters

Hello

I have a new make to share using the Summer Feelings paper pads available at Cherish The Memory.
https://www.etsy.com/uk/listing/614685279/studiolight-summer-feelings-card-making?ref=shop_home_active_20


I started off by painting each letter with white paint as an under coat and once that had dries i then painted over the top with DecoArt Premium Acrylic Turquoise. Then i applied DecoArt Texture Sand Paste and let it set.


I painted on Quinacidone Gold Fluid acrylic to get the rust. I wasn't sure to go steampunk on these or not so i met in the middle and went for a water worn look.


Next dye some cheese cloth. 
I used blue and light green to get this colour, This stuff is great as it gets disstressed when you heat dry it so you get this worn net look.


I used heavy gel medium to paste down the cloth and then i started decorationg the letters using the die cuts from the Summer Feeling Die Cut pad.


I also added gems and beads to the letters.


I used fake moss to create this underwater look. I was thinking about the things you find in the rockpools  after the tide has gone in.


Product List
Studio Light Summer Feelings A4 Die-cut Pad
Studio Light Romantic Summer A4 Die-cut Pad
Unbranded MDF Letters
DecoArt Heavy Gel Medium
DecoArt Premium Acrylic Turqoise
DecoArt Fluid Acrylic Quinacidone Gold
DecoArt Texture Sand Paste
Imitation Beads
Fake Moss
Cheese Cloth
Colour Chemistry WaterFall and Bramley Apple (Discontinued)
Resin Starfish, Shell flatbacks and palstic coins.
Micro beads 
Artful Days Glass Sand Yellow and Blue.

Thank you for visiting

Sunday, 29 April 2018

ScraPerfect Planner Clips Months Of The Year

Hi all

To celebrate Earth Day the team are making their own clips. Pop in each day for new inspiration.


The Challenge


Come join our party and enter the "challenge"!
In honor of the first Earth Day celebrated on Arbor Day in 1970, check out this Earth-Friendly Project and use your paper scraps. Make a beautiful, almost-free gift for yourself or your friends, and receive a coupon code from us!
HOW TO GET YOUR COUPON 1-2-3:
1. "FOLLOW US BY EMAIL" on our blog. Be inspired by our design team's videos, tutorials, and creative ideas featuring a whole array of Altered Paperclip Tags.
2. Try it! Make an Altered Paper Clip Tag and upload it to your blog, FB Page, Instagram, Pinterest or other social media site. Copy the URL from the address bar.
CAUTION: These tags are an addicting but healthy way to use up SCRAPS!
3. UPLOAD your Tag. Watch your email for the FREE S/H code (U.S only) or $5 off (International)
Fine Print: Uploading your tag is giving permission to be added to our contact list. We NEVER share your info. Un-subscribe at any time.
HOW TO WIN FREE PRODUCT :
Simply leave a comment below or on any Design Team related post to let us know which product you want to win. Closes 5/31/18
**See ScraPerfect's blog posts from April 19-April 30 for ideas, tutorials, and different creative takes on this Earth Day Inspired ALTERED PAPER CLIP TAGS!


Here is the shop link so you can check them out just click the icons


I forgot to add in the video that i used gloss enamel on the tops of the clips to make the tops more robust. I painted the clip part and used a matte medium to seal it but whether the paint will stay on is another thing.

The Crafting pouch is good for untacking the glue and the Embellie Gellie makes picking up little bits easier.


I created these planner clips to mark the months out in my planner book.  
Here is a tutorial video


And here are some close ups.


Visit the ScraPerfect Blog throughout the month for more chances to win prizes.


Sunday, 14 May 2017

How To Create Whimsical Stationary Using Susan K Weckesser Stamps

                                                                                 Hi all

I love cute stationery and have been collecting bits here and there for a while now so it was only a matter of time before i created my own whimsical stationery using the Gone Wild Stamp Set by Susan K Weckesser and Unity Co Stamps.


Product list

Trimcraft First Edition Marker Pens
White pen
Large paper clips
Hot Glue
Sentiment stamps
Note book 


I started off by stamping out my favorite two characters on to thick card stock and coloring them in. I then bought some large paper clips and glued the characters to the back with hot glue. You could put them through a laminator to make them more durable.


The Note book was altered by stamping the main image at the bottom corner and then stamping a boarder around it. I added a few feathers to break the pattern a bit.


I wanted to include something in the center so i choose a few inspiring words.


I colored in the details with a white gel marker


Thank you for visiting


Saturday, 25 February 2017

Canvas Corp Brands Gypsy Moments Altered Can

Hello crafty friends

I have a new tutorial showing you how to alter a food can using DecoArt Chalky Finish Paint for glass and Canvas Corp Brands 7 Gypsies Gypsy Moments papers.


Products used


1) Paint a food can with DecoArt Chalky Finish pain for Glass.

2) Take the Gypsy Moments 8 x 8 pad and cut a 7 cm wide strip of paper and glue to the tin

3) Cut a 5 cm wide strip and glue to the center of the tin

4) Wrap 7 Gypsies Paper Tape Global around the middle.


5) Wrap a wide strip of ribbon around the center of the tape

6) Tie a bow from 3 mm ribbon and glue to the center

7) Finish with a flower in the center


Thank you for visiting

Thursday, 2 February 2017

How To Revive Valentines Decor Using Divine Twine

             
Hello all

Learn how to revive this Valentines themed  decor by adding a tassel. Once you get the hang of making these you can make any colour and use them on anything.


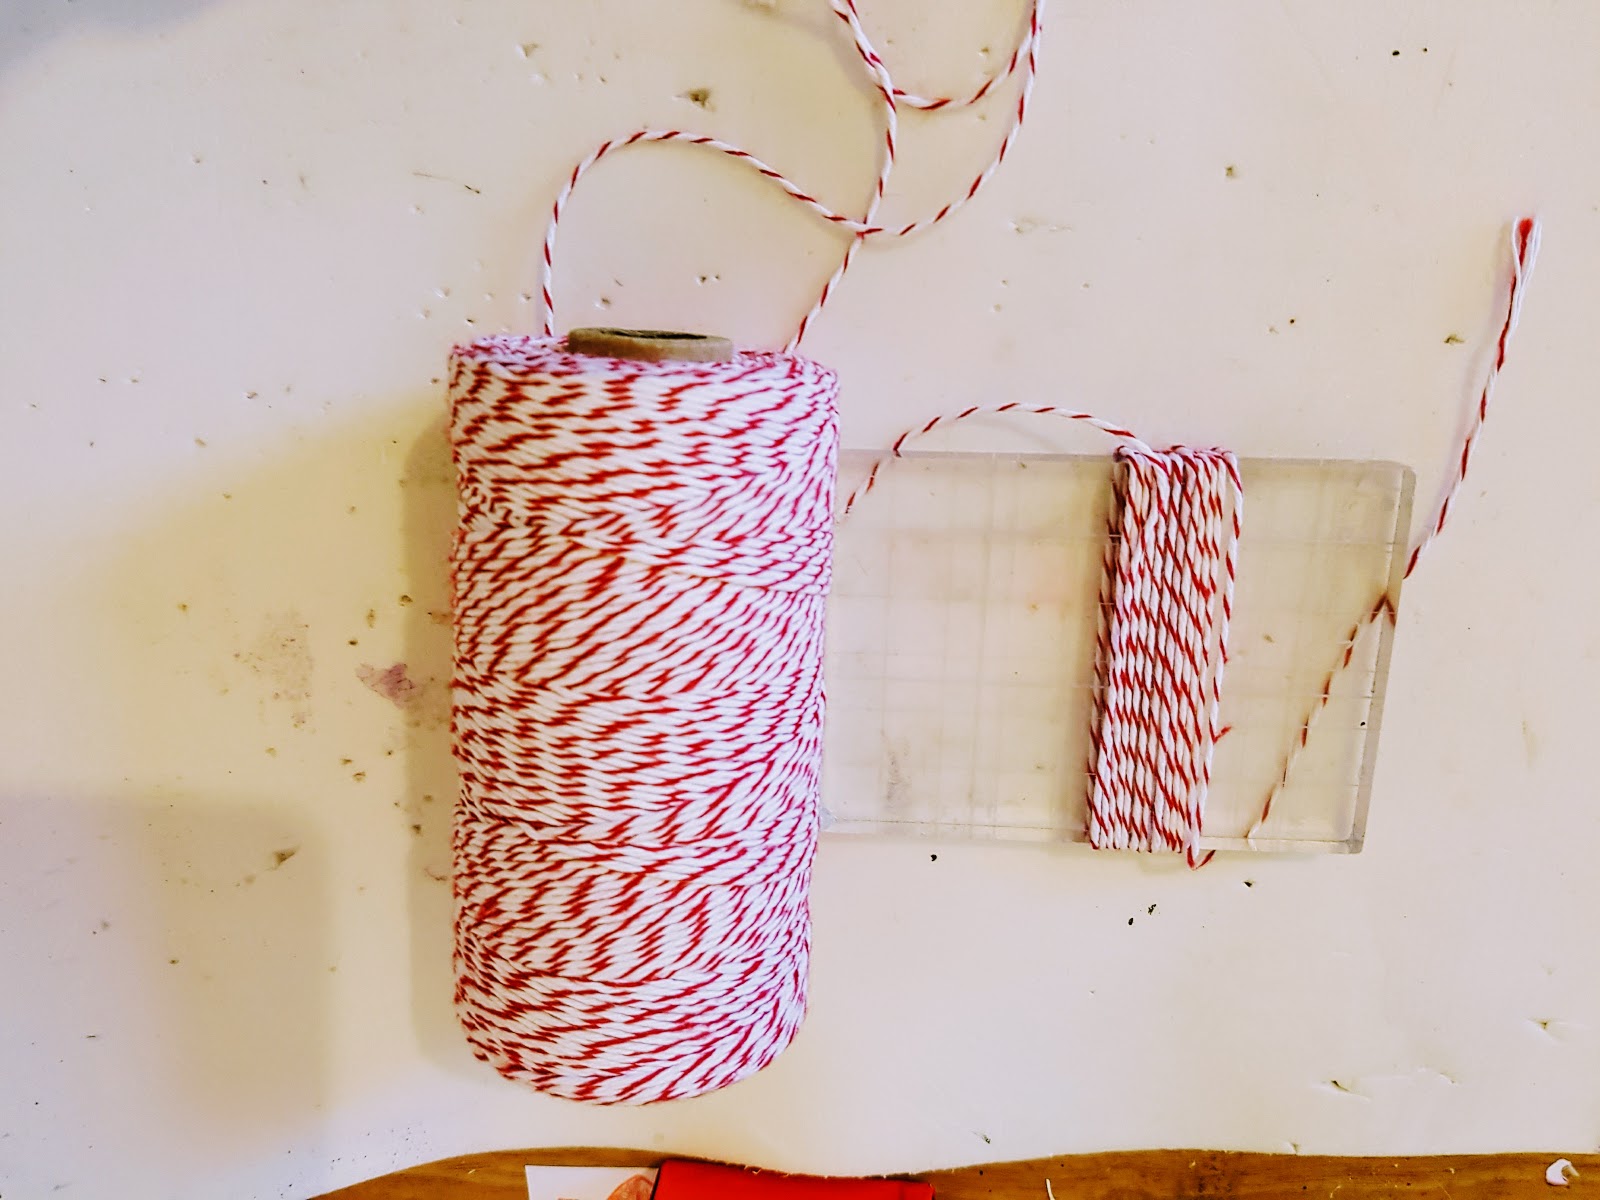
Using an Acrylic block or card, Wrap the twine around it until you have the thickness you want.


Cut a length of twine and tie it around the middle of the folds and cut the bottom.


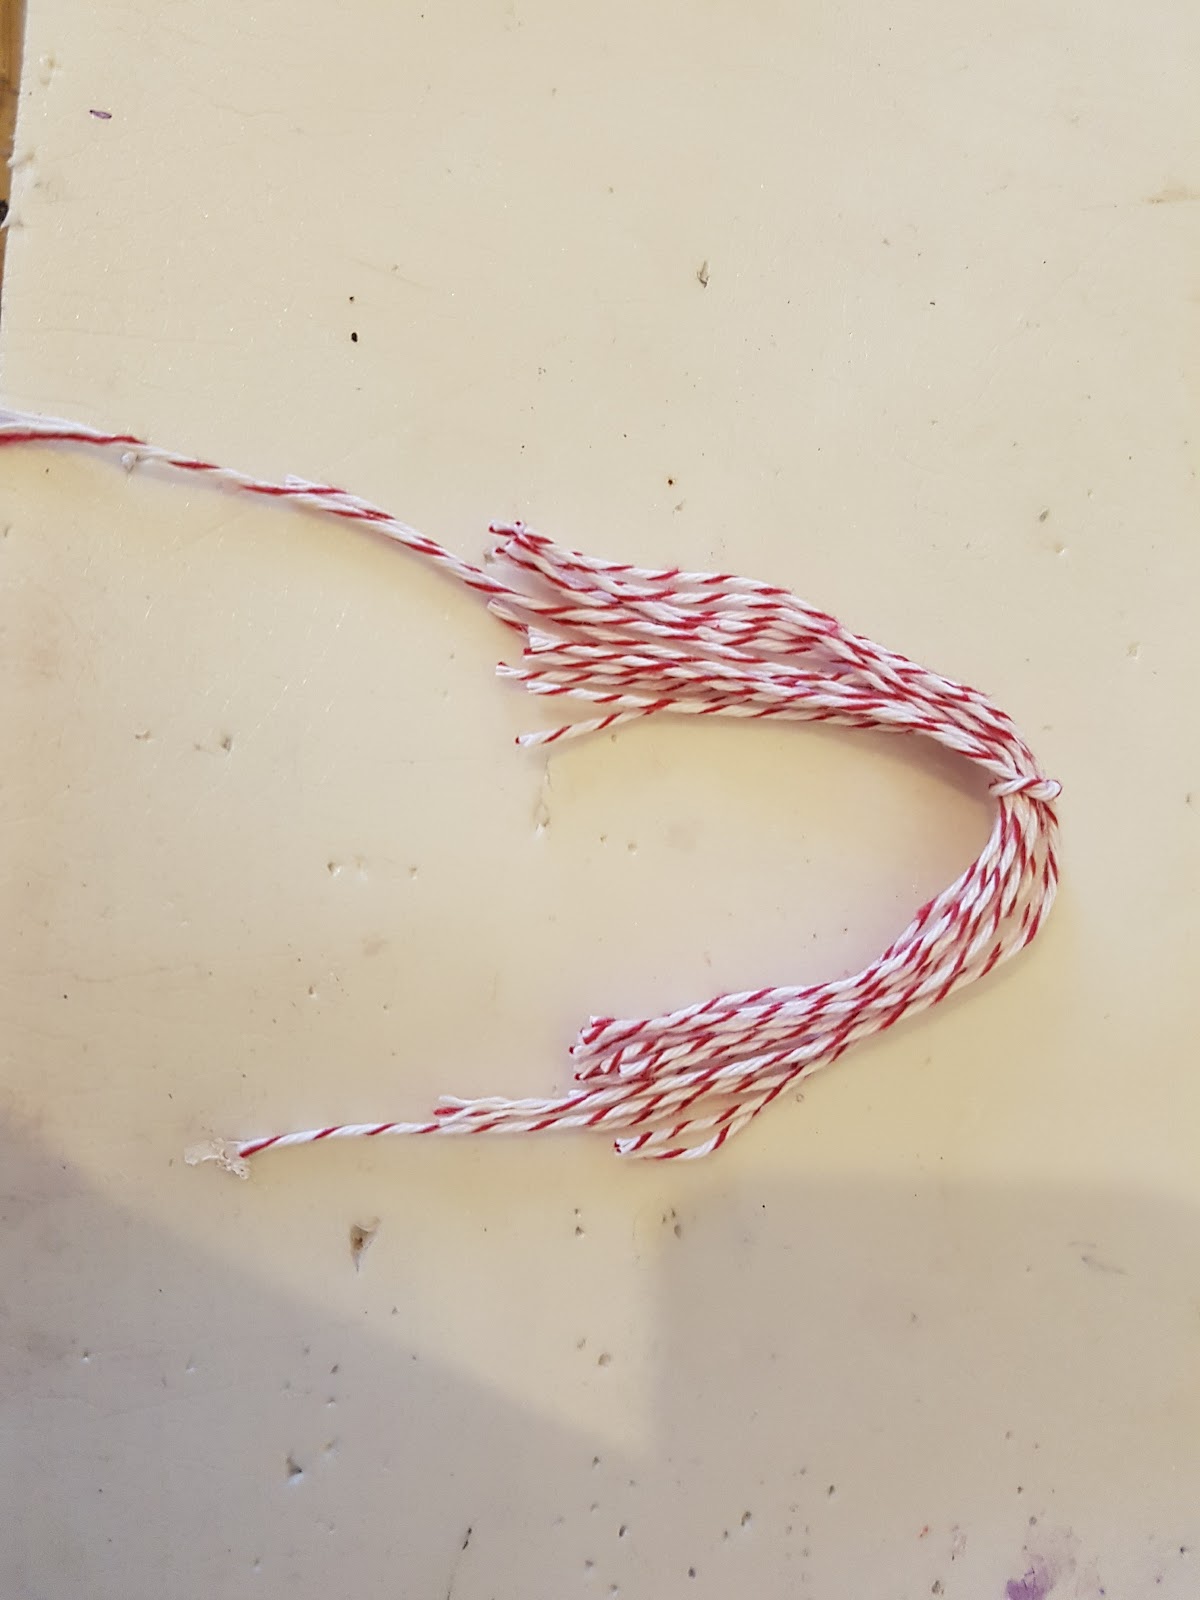
Gather the threads together and hold them in a bundle. Cut a length of twine and wrap it around the middle of the bundle and tie together.


Thread twine through the middle and tie it onto your ornament


Sunday, 11 December 2016

Things to Alter Shabby Chic Christmas Tree and Tutorial

Hi all

Today i am going to show you how to create this shabby chic Christmas tree.


Coat the mdf with white gesso or cheap white acrylic paint.

Using a stencil apply the pattern onto the base once the gesso has dried. Scrap off any of any excess medium.


Apply a couple of coats of pink acrylic paint. I mixed DecoArt Oatmeal and candy pink to get this colour


Make sure that the holes are free from paint 


Add 8 mm pearls by threading hoop pins through them and hooking the wire through the hole.


Put a blob of glue near the top of the tree and wrap beaded wire around the tree


Finish the top of the tree by adding a lace bow and embelishment


Tuesday, 15 November 2016

Things to Alter Festive Fireplace

Hello everyone


I am back with an altered Christmas Fireplace from Things to Alter 


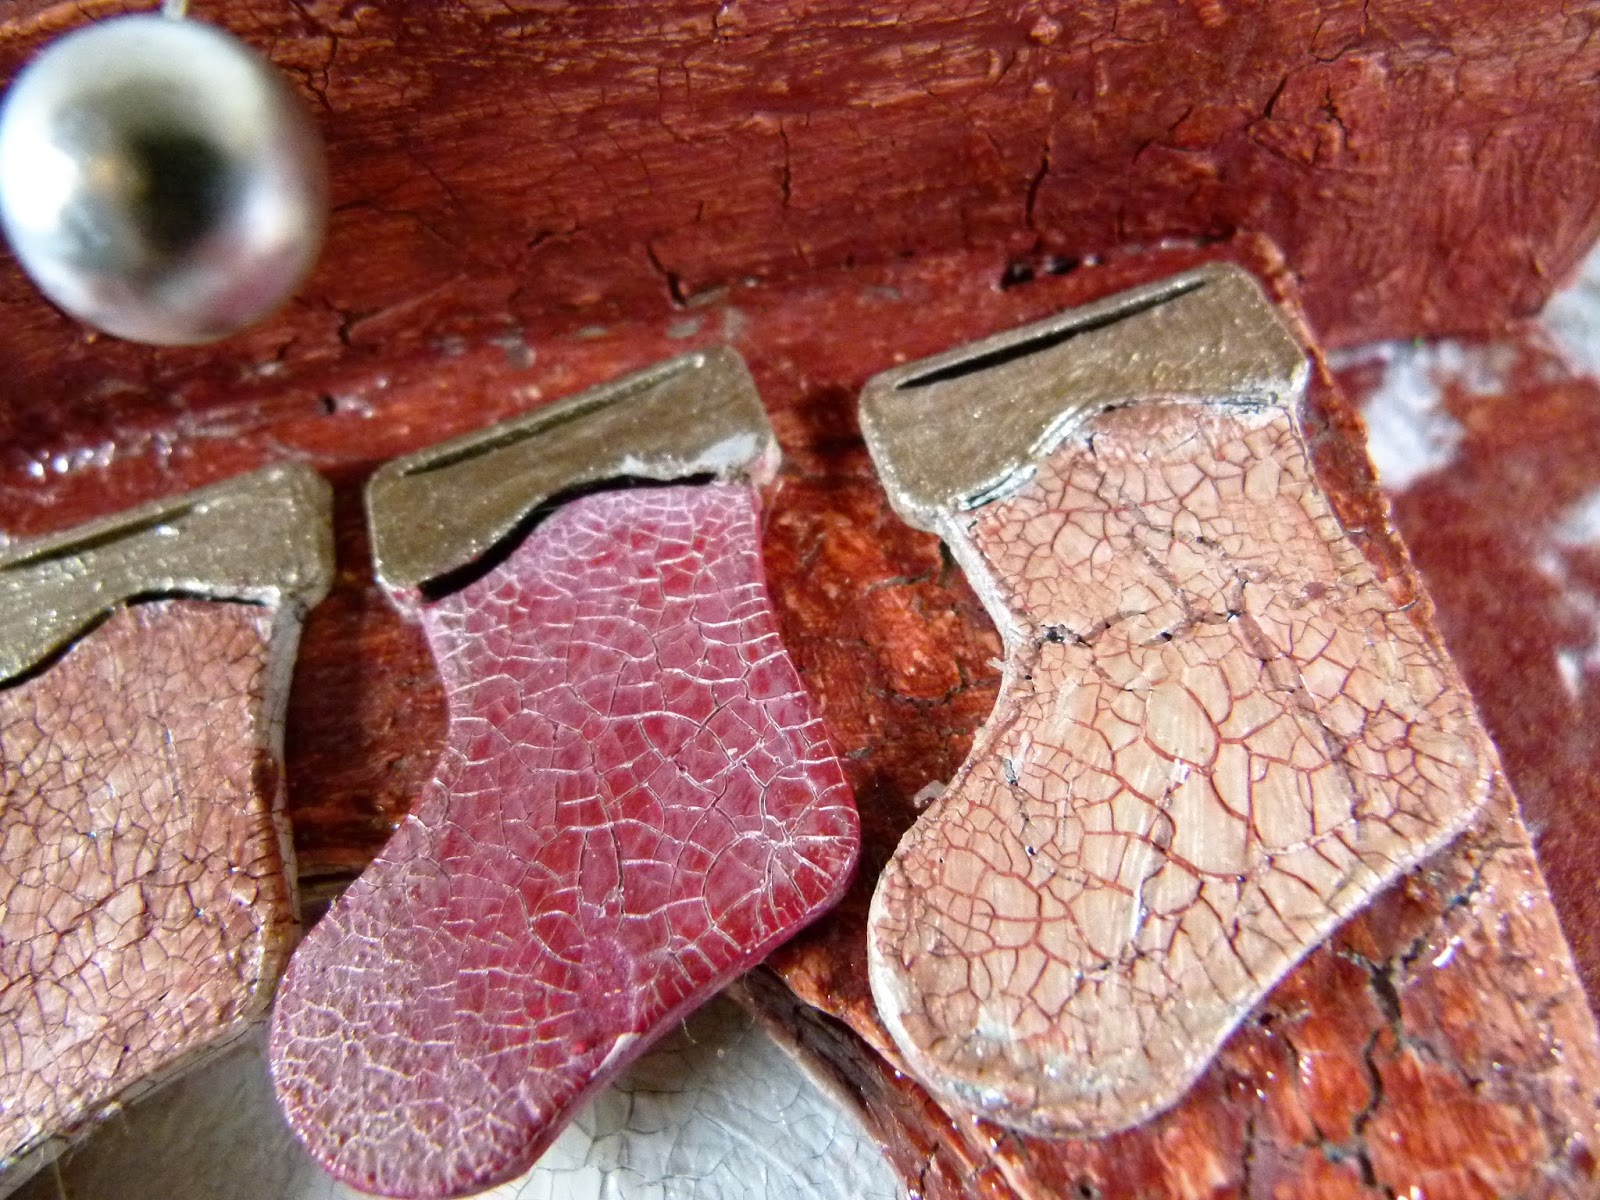
I coated the whole thing in gesso first and then painted it with black gesso. Then i coated it with weathered wood medium and then crackle paste. Once dry it leaves this deep crackle effect. Once it has all dried i painted it with English Red Oxide Antiquating cream and sealed it with crackle medium.


I decorated the top of the fireplace with some green tinsel trim and little berries which when hooked on look like baubles. 


The stockings are painted with acrylic paint and then painted with crackle medium. I then rubbed antiquating cream into the cracks.


I added mini pine cones and a tree


Thank you for visiting 


Sunday, 1 May 2016

Things to Alter May Challenge Altered Box

                                             Hi all

I am back with another project for Things to Alter, Today i have an altered box to share which i painted first and then used a brand new First Edition Deco Mache Paper over it. I used FEDEC195 Garden Bloom.


I used the MDF Circles and painted them with DecoArt Chalky Finish paint before coating them with crackle paint. I then rubbed them with Metallic Lustre.


I added a few pearls and a MDF Lock which i painted gold


I 'm going to keep my crystals in them, I've been collecting them since i was small so i have a good few.


Thank you for visiting and i will be back later with more projects