Followers

Showing posts with label Wedding. Show all posts

Tuesday, 25 July 2017

How to Create Wedding Themed Tags With Hearty Doodles Stamps

Hi all

More makes from Janet today using my Hearty Doodles stamps avalible at Sin City Stamps.

How to Create Wedding Themed  Tags With Hearty Doodles Stamps

Cut the tag out of card and ink the surface. Cover sections of the tag with patterned paper and ink the edges.

How to Create Wedding Themed  Tags With Hearty Doodles Stamps 1

Stamp out the label from the Wings stamp set and wrap twine around it. Adhere to bottom of tag and stamp a sentiment into the middle. 
Decorate with mini gems.

How to Create Wedding Themed  Tags With Hearty Doodles Stamps 3

Stamp out a few hearts and cut them out. Adhere these along the middle of the card and add gems to them.

How to Create Wedding Themed  Tags With Hearty Doodles Stamps 4

Ink up a white doily and glue it to the top of tbe tag. Trim to fit and then thread twine through the top. Stamp out a mini heart and attatch to top of tag.

How to Create Wedding Themed  Tags With Hearty Doodles Stamps 5

Create your own  print look background by using a sentiment stamp and stamping along the background.

Stamp out a large heart and add to tag 

How to Create Wedding Themed  Tags With Hearty Doodles Stamps 6

Use a texture stamp from the Hearty Doodles set to create a pattern at tbe top of the tag. Cover the rest of thr tag with patterned paper and place half a doily in the centre of the tag.


How to Create Wedding Themed  Tags With Hearty Doodles Stamps 8

Add a row of hearts to the top and add gems to them.

Thank you for visiting


Friday, 7 April 2017

How To Create Quick and Easy Wedding Decor

Hi all

Spring and Summer are normally the peak seasons for planning that special wedding. With so much to organise and plan it is easy to find it all over whelming. In this post i am going to show you how to turn a simple tea light into stunning table decor.


Products used

Divine Twine Knots Brown and White
Divine Twine Knots Natural
Paper Flowers
Berries
Small wooden tea light holders


1) Wrap the bakers twine around the middle of the candle holder
2) Fix into place with a bit of glue
3) Gather your berries and glue them to the centre of the candle
4) Glue clusters of paper flowers to the centres. 
 These also make great gifts and home Decor

Thank you for visiting


Wednesday, 20 April 2016

Trimcraft Simply Creative Made With Love Cards


Hi all
I am sharing my cards i made with the Simply Creative Made With Love Paper Pads.


for this card i used the Dovecraft Essentials Photo Frames to create a topper. I backed it on to pattered paper and placed a wooden frame in the centre.  Then used some felt hearts for the centre.


Another way of using the photo frames but this time i used the First Edition  Wedding  die set.


I used an origami heart for the focal point


Another card that makes use of the First Edition Wedding Die Set


for this card i decided to place the layers at an angle instead of in straight lines

Thank you for visiting


Tuesday, 28 July 2015

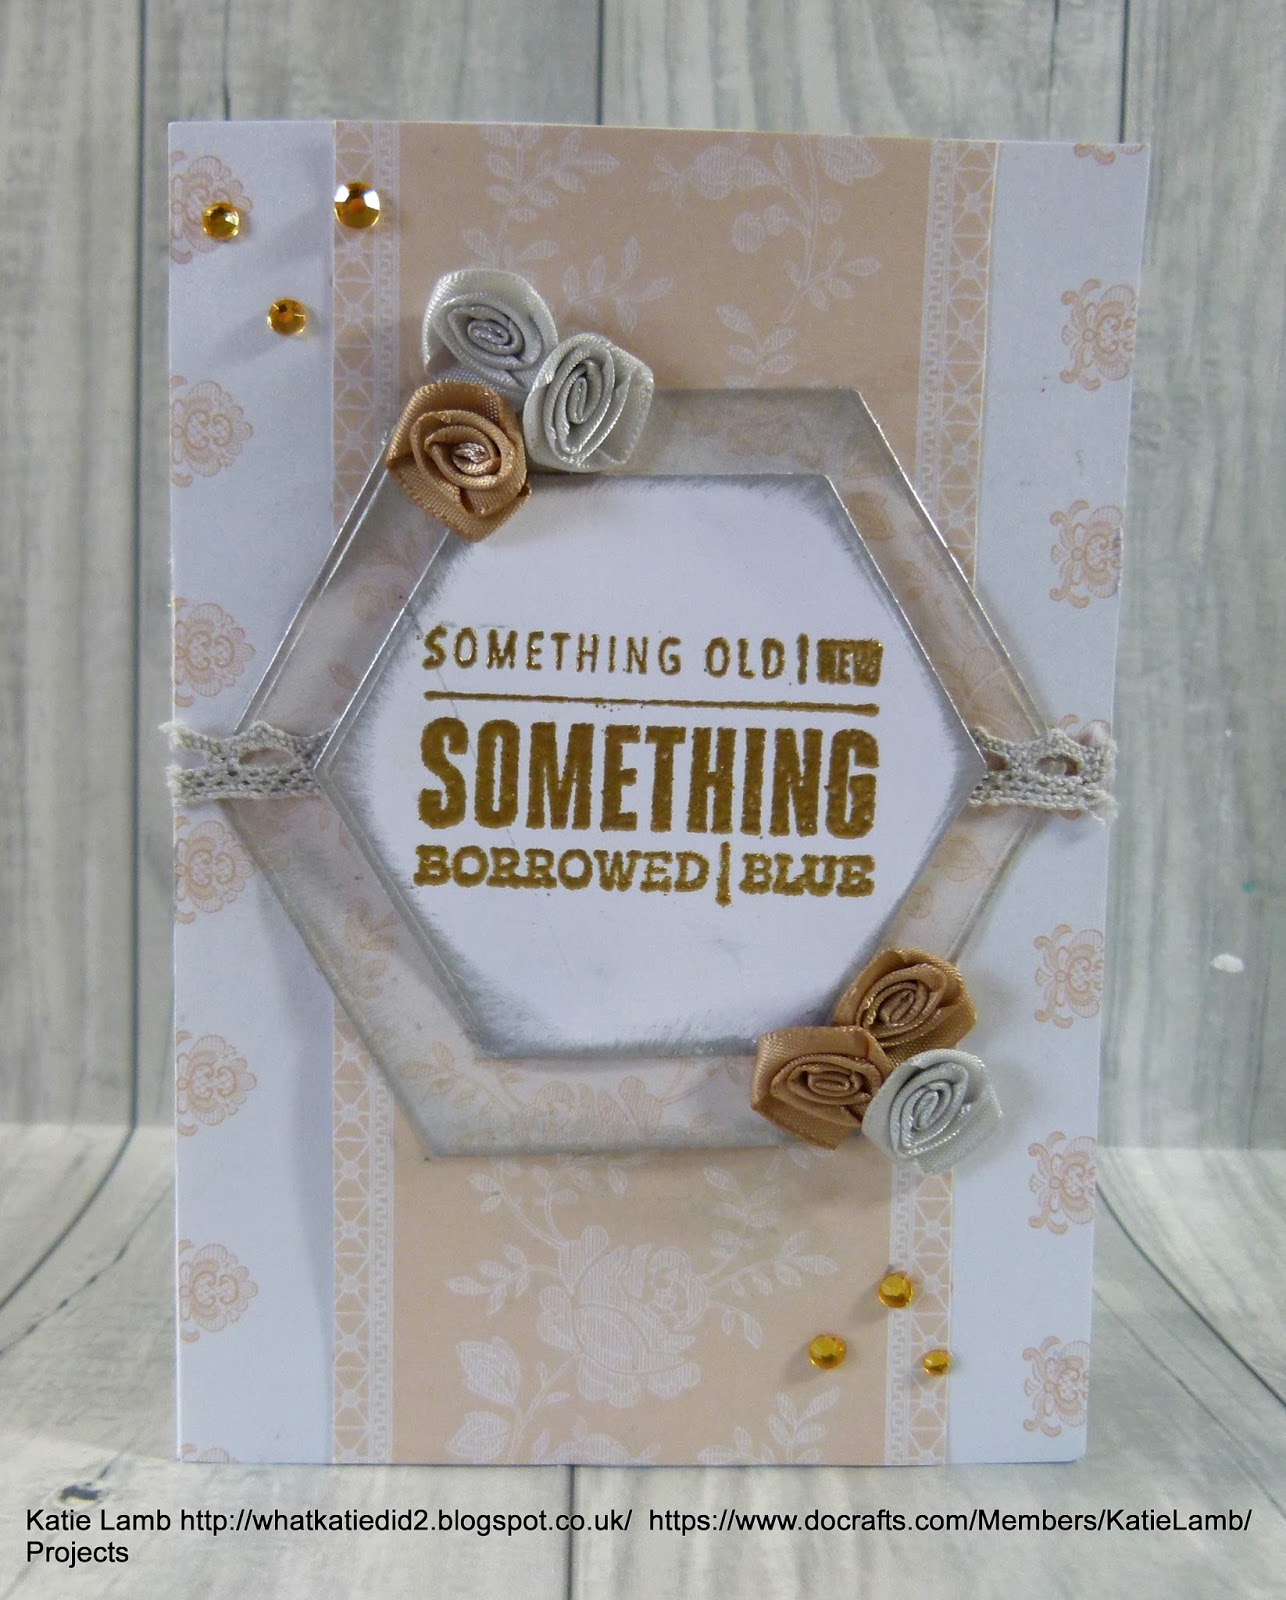
Wedding Ever After: Something Borrowed Wedding Card

Hi all
i am back with a few projects showing off the new Papermania range. It is designed to be used to make custom wedding stationary and is released in July.


To make the curved shape, take an A5 card blank and place the Extra Large Square Parenthesis die over it leaving a bit of an edge so that the card doesn't fall apart.

cove base with Midnight Blush paper and trim to fit


Cut a strip of kraft card and using a Xcut lace boarder punch add a decorative edge down one side. Cut another strip of patterned paper and glue it down the centre of the kraft card and then cut a length of beige ribbon and stick that over the patterned paper.
Cut out a medium sized frame from the Xcut oval frame set and then one in cream card using the oval nesting die set.


Stamp sentiment onto cram oval and stick frame over it before adding to the card.
Decorate with ribbon flowers, flower charms and pearls.
                             Glue a 6x6 velum insert inside card and stamp a message inside.


Thank you for visiting and the new Wedding Ever After range is now available in store


Saturday, 27 June 2015

Docrafts Blogger Outreach Program: Papermania Ever After Card Inspiration and Docrafts DT blog Hop

We have had a few new members join us since our last hop so i thought now was a good time to start a new one to welcome in our new teamies. I will also be introducing the new Ever After paper range from Papermania which is launched in July. If you are following the hop then you should have come from Michelle's blog if not please pop in and visit the other team members.

Katie http://whatkatiedid2.blogspot.co.uk/ you are here 


 I used the Oyster Blush paper range with the Ever After range as they  work well together. The collection has lots of lovely little bits in it like ribbon bows and charms.


You cant have a wedding card without pearls


i made an origami heart by cutting the 6x6 velum inserts in half and folding them. i then filled the pockets with sequins and glued them shut.


The mini pegs are a nice modern touch and can be altered in a number of ways.


There is a large selection of trims and ribbons in this range which is suitable for wedding stationary

                                 
                               Here is a simple card design that could be used as an invite


Emboss stamped sentiments with embossing powder so that they make more impact


                  Thank you for Hopping along with us and i will be back with more inspiration later.


Tuesday, 23 June 2015

Winter Wedding with Guilded Winter

We have started counting down to the Trimcraft Christmas 2015 product launch. For now i am going to be sharing a few of my favourite ranges from 2014.


The First Edition Gilded Winter collection does not have to be used on just Christmas cards but can be used for Winter Wedding cards.


Make this simple pin by taking a small dress makers pin and threading assorted beads into it. Place a blob of strong glue on the last bead to hold it together.


I like making shaker cards and finding interesting things to fill them with. I used the Fiskars small star leaver punch with sequins.


I choose to use layers on this card to add deph to it. I used chocolate glitter card to add a bit of sparkle to it.


I used the  First Edition doily die set and the new Willow die set to create this layered topper.


                  Thank you for visiting

Monday, 1 June 2015

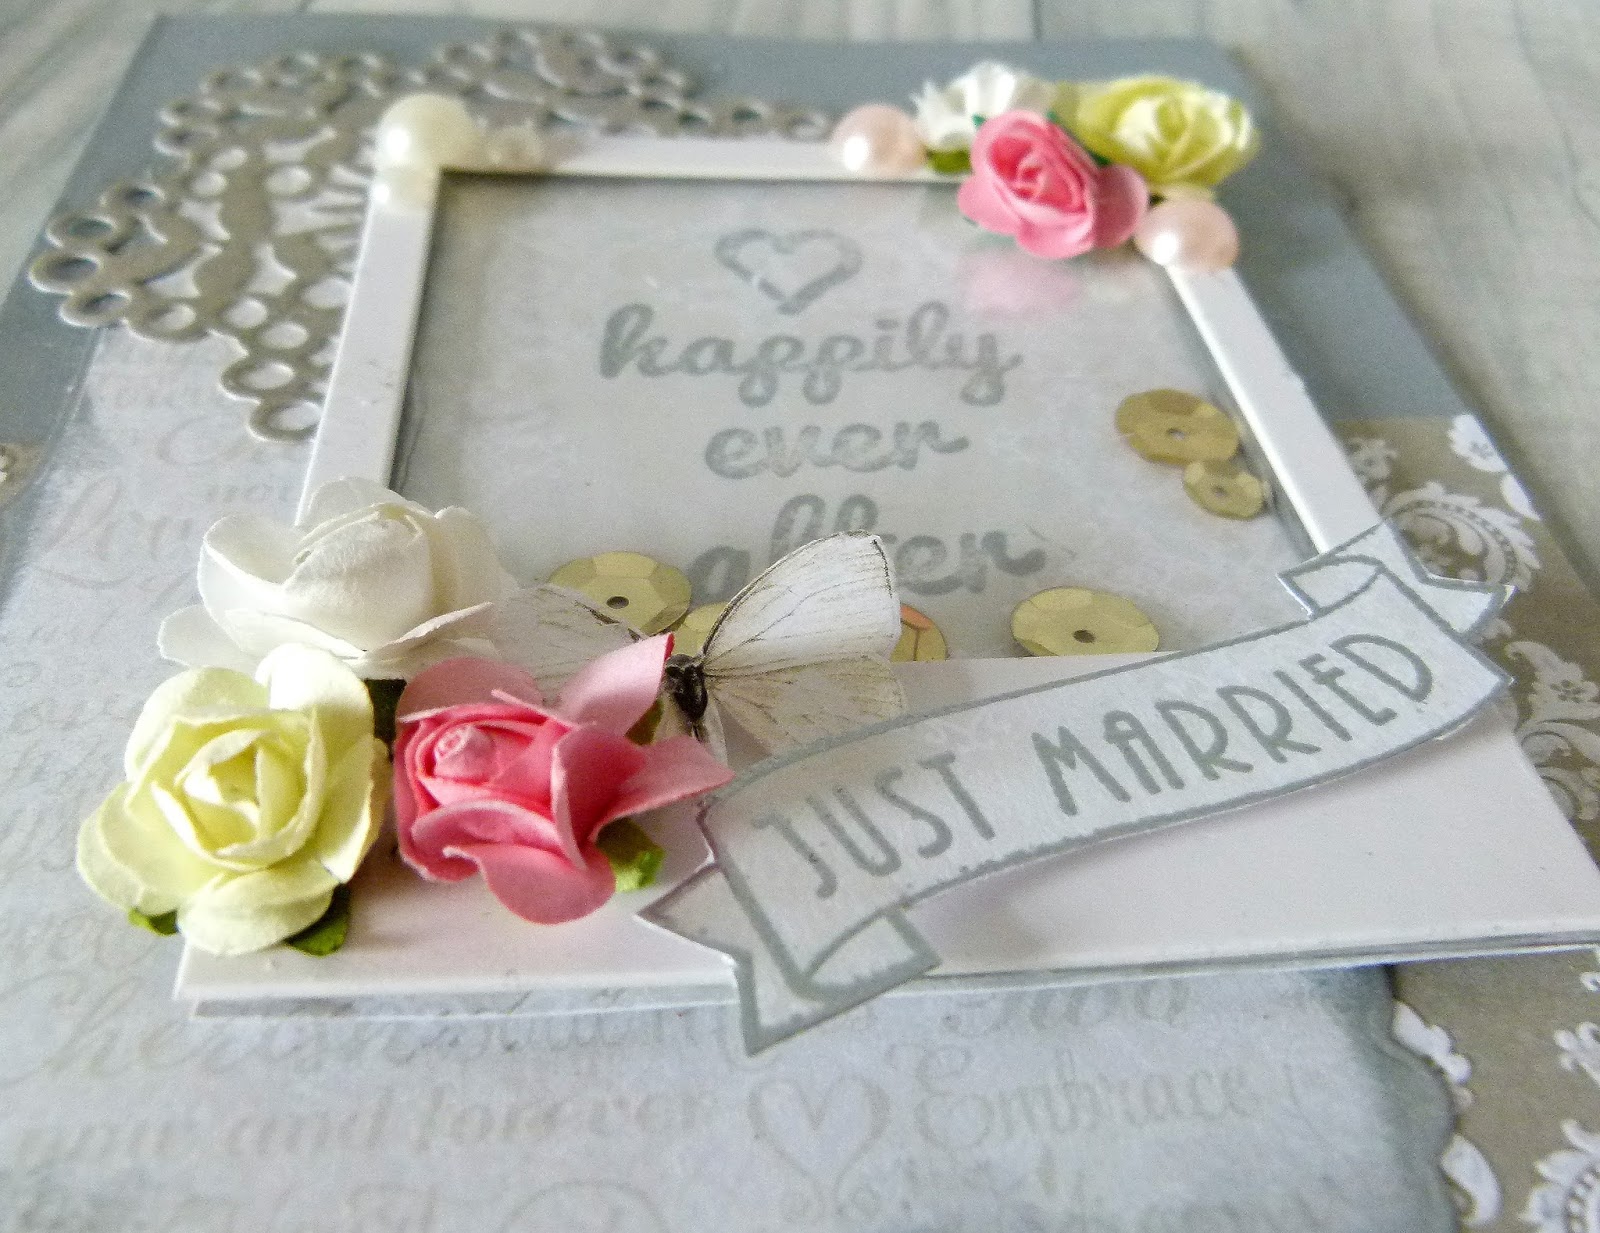
Wedding cards with First Edition The Promise

Hi all
I'm sharing some Wedding cards i made using The Promise paper pads by First Edition.


/i cut out the sentiment so i could stagger it a bit to get it to fit on the card better.


I made the Polaroid frame into a shaker box by cutting around acetate and using craft foam to create a thick frame to hold the sequins in.


The paper flowers are from the Belle and Boo and Mirabell Collection


I cut the embossed butterflies out from on of the 6x6 sheets and then layered the sentiment over it.


Thanks for looking and the product information is on the Trimcraft website www.trimcraft.co.uk

Wednesday, 20 May 2015

Trimcraft Scrapbook Feature May

Hi all
I am sharing my layout i made for the June scrapbook feature over at www.trimcraft.co.uk. pop in to see the full tutorial and other inspiration. www.trimcraft.co.uk


This is a photo of my Nan and Grandad on their wedding day. I created a frame using twine and pearls.


Here is a close up of the Keys die set and the Tag die set by First Edition.


I wanted to experiment with shaker boxes. The easiest way to create them is by using nesting dies.

       
Thanks for looking

Thursday, 13 June 2013

Country View Crafts Challenge #4 June

Im playing along with the June challenge @ http://countryviewchallenges.blogspot.co.uk/2013/06/challenge-4-june.html for this challenge your crafts project must use Die cuts.
 this layout is out of my heritage album and i used the Sizzix Bigz Tattered forals by Tim Holtz and used a balling tool to distress the flower petals. I used to Tim Holtz Vintage Market Alpha Die for the title which i created using recycled card.


Products used:
HOTP Roses in Harmony
Papermania Pampered pets
Tim Holtz Tattered floral Bigz die
Tim Holtz Vintage market Alpha Die
Papermania Bare basics flowers and flourishes chipboard
Bo bunny Distressed Textures clear stamps