Followers

Showing posts with label papermania. Show all posts

Friday, 2 December 2016

The Vintage File World War 2 Scrapbook page

Hi all

I have a war themed scrapbook page to share today from my article in The Vintage File magazine. I have a photo of my Great Uncle Victor and his troops in their uniforms. I don't know a lot about the photo or if he ever fought overseas. He was one of the lucky ones who survived the war and i wonder how many of his troop made it back. If you have any war stories please share in the comments as i would love to hear them weather you are from the UK or overseas.


I am lucky enough to still have my Nan's Ration book which i scanned onto the computer and printed out onto card stock. I Scan all of the old photos as they deteriorate over time and sometimes the glue from the old albums turns them yellow and brittle. I used the Madame Payraud's paper collection by Docrafts for this layout as it is full of vintage advertisements which i cut up and layered together.


The poppy is from the Trimcraft First Edition Layered Flowers set and i just used textured card stock to cut the bits out of. 


Here is the inside of a ration book from the 1940's. My Nan used to tell me how the sirens would go off and everyone would have to go own to the bunker of cellar if they had one. It's  hard to imagine what that must have been like as it could go off at anytime and everything would be pitch black as the cities would turn the lights off. My Nan was 19 years old at the time and worked in the factories making ammunition parts before the war it made hair clips. It was common practice for factories to convert to making goods for the troops and this is the time when Women were allowed to go to work for the first time. A strange idea nowadays.


I have a thing for bunting and i had to add it as part of my title. I used a 2 in 1 tag punch from Fiskars and stamped the letters on. If you smudge it by mistake then stamp onto card first and cut them out or use a circle punch if it will fit over the letters.


Thank you for visiting and i hope to hear some of your war stories soon.


Sunday, 17 January 2016

Pan Pastels GDT A Colorful Life Journal


Hi all

I am back with another project for Pan Pastels. I made this colourful journal page using a mixture of pan pastels.


I got my texture stamps out and had a play using a mixture of Kaisercraft and the new Papermania Geometric stamps. I applied the pastels in bands of color and then blended them in using the red tint pastel.


I used the my free stamp from my Gecko Galz post and colored it in.


I then sealed the page using a gel medium


                                            Thank you for visiting

Monday, 28 December 2015

Docrafts Project Design Team Bare Basics Steampunk Wall Hanging


                                                                                  Hi all

                         I am back with a new project for the Docrafts Project Design Team.
                 I used the Bare Basics Butterfly Frame to make this steampunk wall hanging.


Take the Steampunk Papier Patch papers and cover the Butterfly Frame using watered down tacky glue as an adhesive. Smooth out the wrinkles in the paper by brushing the layers over with another layer of adhesive. This also seals the layers together.


Print out the Chronology Papers from the downloads section and cut out the bodice. Stick this into the centre of the frame.


Take the wooden scissors from the Bare Basics Haberdashery Icons Wooden Shapes and paint with Artiste Bronze Acrylic Paint. stick this to the centre of the frame and over the bodice.


Die-cut four small cogs out of Kraft Card using the Xcut Cogs Die Set and paint the bronze.
Stick the cogs around the frame and decorate with black pearls.


Finish off by adding a length of gold ribbon for the hanging
Thank you for visiting


I am entering this into the SASPC anything goes challenge which you can join here http://sandee-and-amelie.blogspot.co.at/p/rules-stuff.html

Sunday, 18 October 2015

Docrafts PDT Button Jewellery with Pocket Full Of Posies

Hi all

I am sharing my PDT project for this month and i've tried a bit of jewellery making using the charm pack from the Pocket Full Of Posies collection.

Here is a cute button and charm bracelet i made. I used a length of chain and measured it around my wrist to get the sizing correct. I used 20mm and 35mm eye pins to thread the buttons and charms on with. I grabbed the end of the pin with my pliers and wrapped it around the top.


To make the frame charms i drew around the frames onto a sheet of patterned paper and then cut them to fit before flooding the charm with Anita's Glossy Accents an idea i borrowed off Becky.

The necklace is simple to make.
Take a length of chain and once you have the correct length open up the links and add a  lobster clasp and jump ring so it can be opened if needed. The pendant was made using a larger round metal frame from the charm pack. I took a small white posy from the Papernania mulberry flowers pack and spritzed it with Cardinal red and gold spritzing inks. Once dry i adhered it to the frame with a blob of glossy accents and then flooded it with more glossy accents and placed a gem in the middle before it dried.


Earrings

Quick and easy all i did was thread 35mm eye pins through some small buttons and added jump rings so i could attach more buttons and earring hooks.


Thank you for visiting and here are the product codes 
PMA 354304 Red button pack
PMA 158460 Pearl buttons
PMA 158400 Heart charms
PMA 356907 Pocket Full Of Posies Charm Pack
ANT 763100 Anita's Glossy Accents


Saturday, 26 September 2015

Mixed Media Tutorial: How to make a textured background using tissue paper

Hi all

I am back with a mixed media tutorial and I am going to show you how to create the background from my Paradise layout.  Here is a link to the layout http://whatkatiedid2.blogspot.co.uk/2015/09/mixed-media-layout-paradise-using.html


I started my page off by choosing the photo first as it gives you an idea of what colours to work with. I chose this beautiful water scene and began choosing all my blue toned papers and inks.


  Take a couple of sheets of tissue paper and cut them into strips, Don't worry about being neat as it adds texture to the final page. For adhering the strips to the page i used watered down pva glue and then build up the layers as you would with paper mache. I added around three layers but it depends on the thickness of the material.


I then used a mixture of white paint with water for a primer and then give the whole thing two coats and left it to dry. You could also use a heat tool but i would recommend spritzing the back of the page with water as you dry it to keep the page from curling up and then repeat on the front of the page.


       Here is a close up of of the first layer and as you can see it is primed and ready to cover in ink.


I used a honeycomb die cut from the Xcut Beekeeping set to make a stencil mask which i cut out of using thick kraft card. I then applied my texture paste randomly over the die-cut shape and dried it off with a heat gun. 

I have also found that with sturdy steel dies you can apply texture paste directly over the die itself using a spatular.


 I then cut up the mask as being made of card it soon goes limp but it makes an excellent background texture.


 I used the punch outs from the die to add another layer of texture and then cut up cream coloured lace and stuck that to the background as well. 


I chose Three mist sprays and covered the whole page before lifting it up and letting the ink run. I then sprayed it again and used a paint brush to paint over the whole page mixing the colours and covering the textures.


I then took a few texture stamps and stamped them on the background at random. I use border stamps in between layers to add texture.


Here are some detail shots so you can get an idea of how the layers build up. I added my pattern paper layers after this and began turning it into a layout but you could also use this tutorial to create a canvas or art journal.


                            Thank you for looking and let me know how you get on xx

Friday, 25 September 2015

Mixed media layout Paradise using Docrafts products


Hi all 

I have a new layout to share today and its my favorite so far. I have been experimenting with textures and will have a tutorial for you tomorrow.


This picture was taken on Weymouth Harbor and the man rowing the boat has been running this service for at least 25 years. I love this picture because it is so peaceful to look at.


 I used a lot of layers on this one and all i did was cut up strips of Capsule collection Eau De Nil and Parisienne Blue. i added wooden flags and wrapped jute around the photo.


These cogs are easy to make, cut them out of kraft paper and cover the whole cog in glue stick.next pore your metallic embossing powder over it and apply heat. You can mix the powders with black or copper embossing powder to get a rusty or oily effect when you heat them.


here i have taken 3 white mulberry flowers and glued them together before spritzing them with ink and dabbing the edges with an ink pad once dry.

Thanks for visiting and pop over to my tutorial to learn how to make the background

Wednesday, 23 September 2015

Docrafts Christmas 2015 Create Christmas: Let it snow 12x12 Scrapbook layout

Hi all 

I am back with a new layout made using the new Create Christmas range.


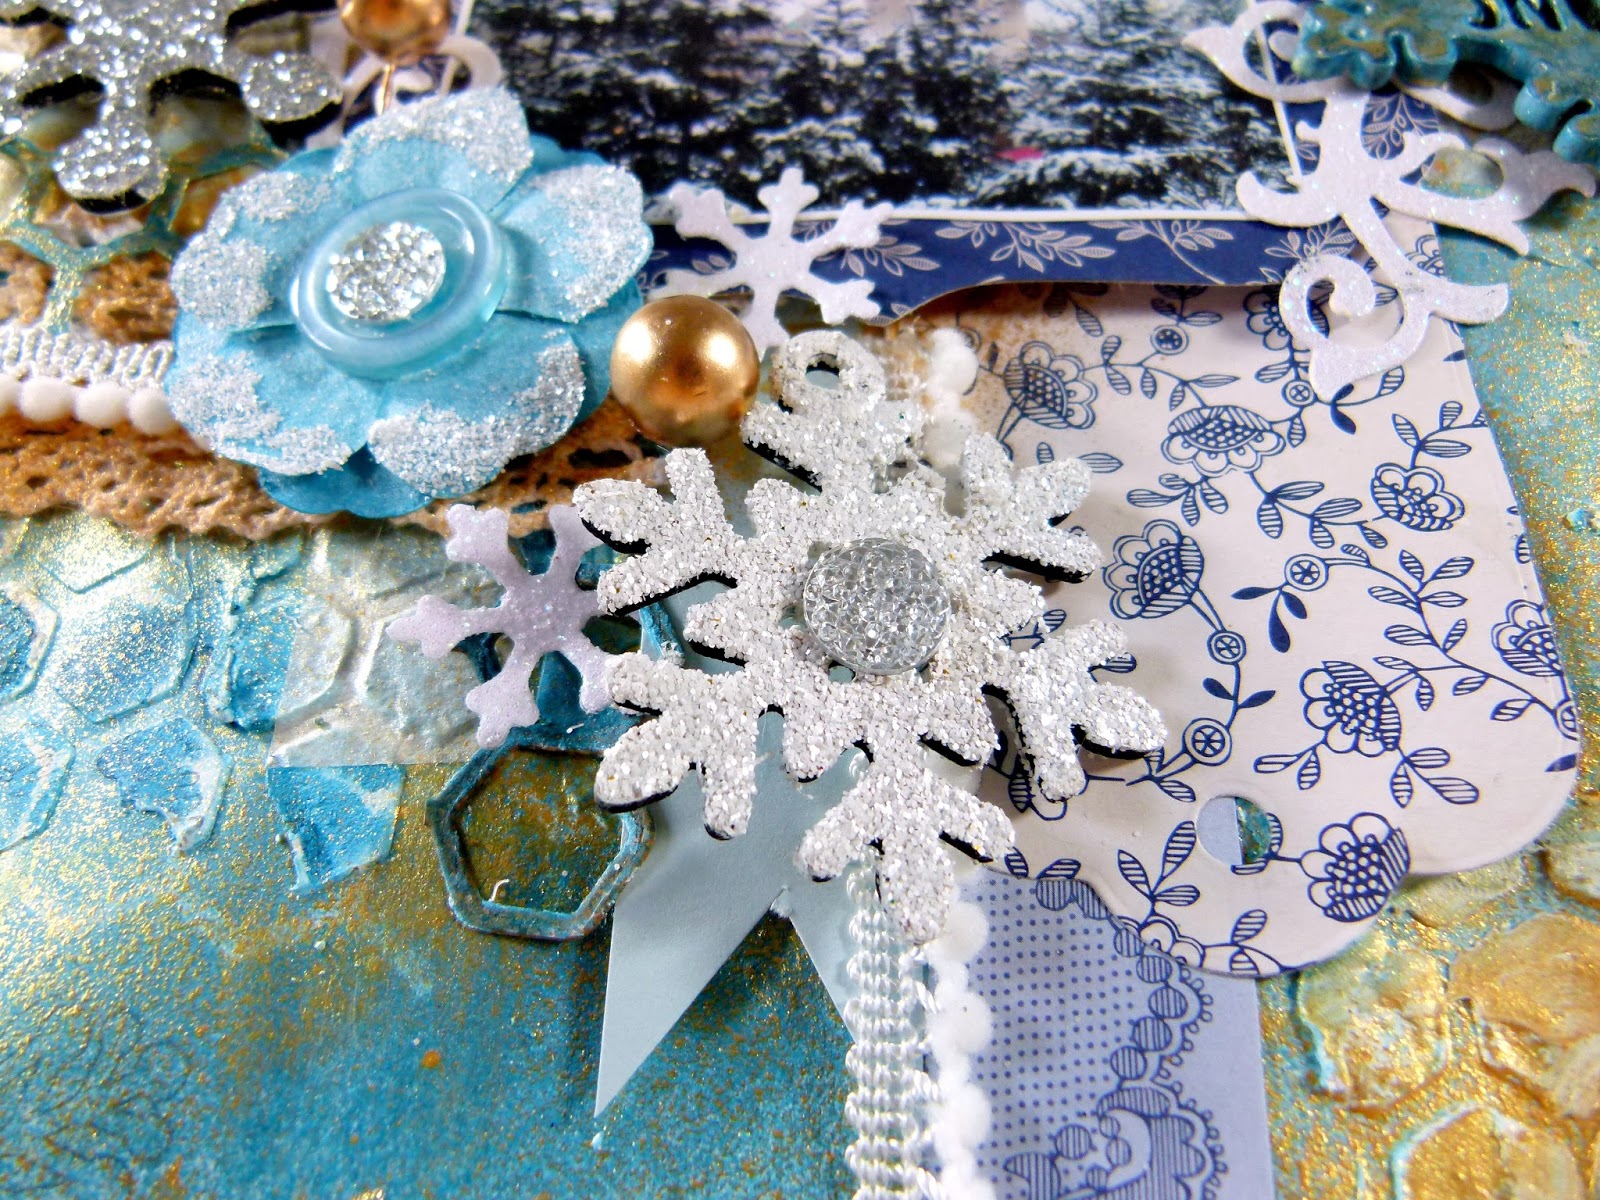
I used the flourish and honeycomb dies as stencils and appled texture paste to them to create a textured background. I then spritzed it with Artiste  Gold and Ocean Blue misters. I used tissue paper strips to build up a textured layer.


I used a Square Parenthesis nesting die to mount the photo on and cut various die shapes out for the layers. The snowflake is from the wooden 


This is one of the wooden sentiments that i have painted with white acrylic paint and spritzed with inks.


I used the glitter paper pack to die-cut the leaves and flourishes to add a lovely icy sparkle to the page.


I used the fine glitter to coat the flowers and wooden snowflakes

Thank you for visiting and you can read my full tutorial here


Thursday, 17 September 2015

Creativity Mag Make ; Forever Friends Decadent card


Hi all

I am just popping in to show you the card i made for this months Creativity Magazine. I had a sketch to follow this time.


Lots of foil prints with this range and a lot of bling


i love these self adhesive gems they sparkle a lot


The decoupage sheets have lots of toppers on them

Monday, 31 August 2015

Docrafts team blog hop: Matchbox Madness


The Docrafts Project Design Team are back with another team hop and this month we challenged each other to make a match box shrine. So here is mine which i made using the Nature's Gallery range.


I started with a template that i had printed onto card and covered both sides with patterned paper and scored the lines on both sides so i can fold the flaps.


I used adhesive lace on the edges of the box and then made a bow with jute twine and glued it down. The flower is made from the mulberry flowers from Papermania and i spritzed them with Artiste Cardinal Red ink.


I used the die-cuts from the Nature's Gallery Ultimate decoupage kit.


Thank you for visiting and please pop over to the other blogs for more inspiration.