Followers

Showing posts with label altered art project. Show all posts

Friday, 20 May 2016

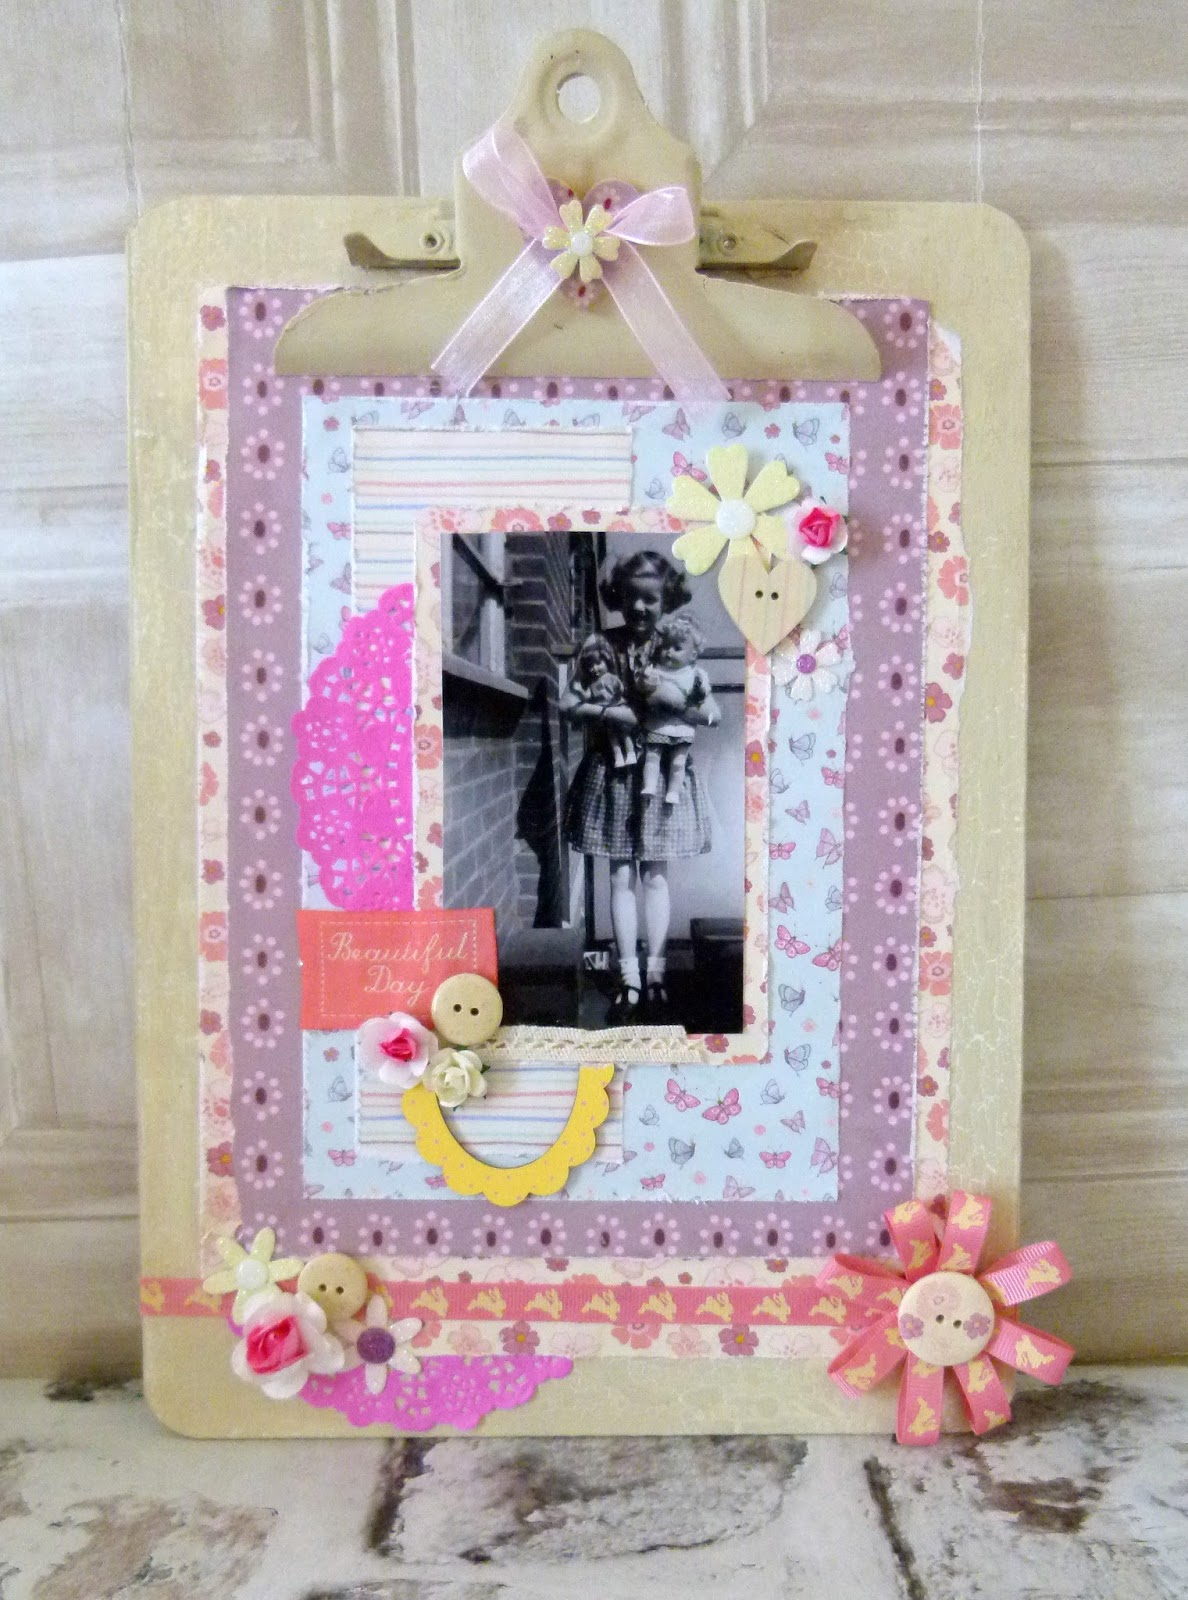
Trimcraft Scrapbook Feature May Belle and Boo Clipboard Layout

Hi all

i am back with my project i made for the Trimcraft blog today, I wont go into too much detail as we have a tutorial on the blog which you can find here http://www.trimcraft.co.uk/articles/layered-belle-and-boo-scrapbook-layout-workshop


The photo is my Mum aged 10 in 1965 with her Doll and Monkey.


The ribbon rosette is easy to make. Just cut ribbon into roughly six 2 cm strips and glue the two ends together to make the petals. Glue the edges of the ribbon petals around a large button and that's it all done. 


Thank you for visiting and please visit the Trimcraft blog for more details and inspiration.

Monday, 29 February 2016

Goodbye Docrafts PDT End Of Term Blog Hop


I am back to wave off the old team as we go our separate ways after a year together. The team is looking back on their favorite projects from the last year. If you are following along the list you should have come from Michelle's blog. If you have just stumbled in then welcome and feel free to visit the other blogs.

Here is the blog roll

Heather https://heathermitchelldesign.wordpress.com/
Mags Woodcock https://thetaglady.wordpress.com
Julie Wilson http://newnanny.blogspot.co.uk/
Emily Grant http://emilygrantdesign.blogspot.co.uk/
Michelle- http://scrapthology.blogspot.co.uk/
Katie http://whatkatiedid2.blogspot.co.uk/ You are Here
Sarah Douglas http://stickerkitten.co.uk/
Amy Surey https://amysureycreations.wordpress.com/


Steampunk Wall hanging using Bare Basics


The Dock layout using Mr Mister


Let it Snow Layout using Artiste Spritzing inks and Bare Basics Christmas


Love card using Capsule Collection Geometric Neon


Peace Smashbook page using Capsule Collection Geometric Neon Scrapbook kit


Paradise Layout  using Capsule Collection Parissian Blue


Altered Frame using Bare Basics and Creativity Essentials Stamps

Friday, 30 October 2015

Oak House Studio: Mixed Media Wall Hanging Using stamps featured on Hochanda


Hi all

I am back with an altered wall hanging using the Double Daisy stamp set from Oak House Studio.  You might catch a glimpse of my project on Hochanda today.

the show times are
11 am Roses Bundle
2pm Double Daisies Bundle
6 pm Best Bits


I started off by painting the wooden heart with white DecoArt crackle paste. I then spritzed it with Brazil Nut Pure Colour Chemistry ink.


Using the Triple Chocolate ink pad I stamped the double daisy directly onto the wood and coloured it in with Sunshine In A Bottle Pure Colour Chemistry ink so I ended up with as wood stained effect.


I used the Daisies and Rainbow stamp set to create the sentiment. I stamped it onto the stamp card and spritzed it with ink before tearing the words out.


I used the Mini Roses texture stamp to decorate the edges and fill in the gaps. I coloured a few paper roses with Pumpkin and Brazil But inks to match the theme.


I stamped the large Daisy stamp onto to Oak House Studio stamping card and used the Sunshine in a bottle to colour it before cutting it out and sticking it down. I then placed the sentiment over it and glued every thing down and added embellishments.

Thank you for visiting and all products can be found in the Oak House Studio online shop.


Sunday, 27 September 2015

That Craft Place Anything Goes September Challenge.

Hi all

I am back with another project for That Craft Place and this time i have an altered 6x6 album. I  needed somewhere safe to keep all my ATCs from the swaps.


I used the 6x6 cogs stencil mask to create a 3d background and then painted the whole cover back and front in DecoArt Crackle Paint. Then i spritzed DecoArt Purple and Magenta misters over the cover and blended the colours with a sponge dabber.


I used assorted paper flowers from various Trimcraft ranges and dyed some white flowers with misters.


I added a few pearls and sparkles to the cover.


The 6x6 album comes with the word create and cogs to decorate it but i will use the cogs later.


For the inside i used plastic cd sleeves as the ATC pockets wouldn't fit inside the album.

Thank you for visiting

Monday, 31 August 2015

Docrafts team blog hop: Matchbox Madness


The Docrafts Project Design Team are back with another team hop and this month we challenged each other to make a match box shrine. So here is mine which i made using the Nature's Gallery range.


I started with a template that i had printed onto card and covered both sides with patterned paper and scored the lines on both sides so i can fold the flaps.


I used adhesive lace on the edges of the box and then made a bow with jute twine and glued it down. The flower is made from the mulberry flowers from Papermania and i spritzed them with Artiste Cardinal Red ink.


I used the die-cuts from the Nature's Gallery Ultimate decoupage kit.


Thank you for visiting and please pop over to the other blogs for more inspiration.


Tuesday, 9 June 2015

Willow Steampunk scrapbook album


Hi all

i am back today with a upcycled scrapbook album. I used the new Willow range from Trimcraft to make this with.

I am linking up with the Tando Creative Anything goes June Challenge


I started off by taking the album apart and painting two coats of DecoArt White Chalk finish paint over the front and back and leaving to dry. After i coated the album in Deco mache adhesive varnish painting it on both the top and bottom of the deco mache to stick it down.


The frame was already apart of the album so i took it off painted it in white and then black paint. i added crackle medium to it and rubbed gold metallic luster across to show up the cracks


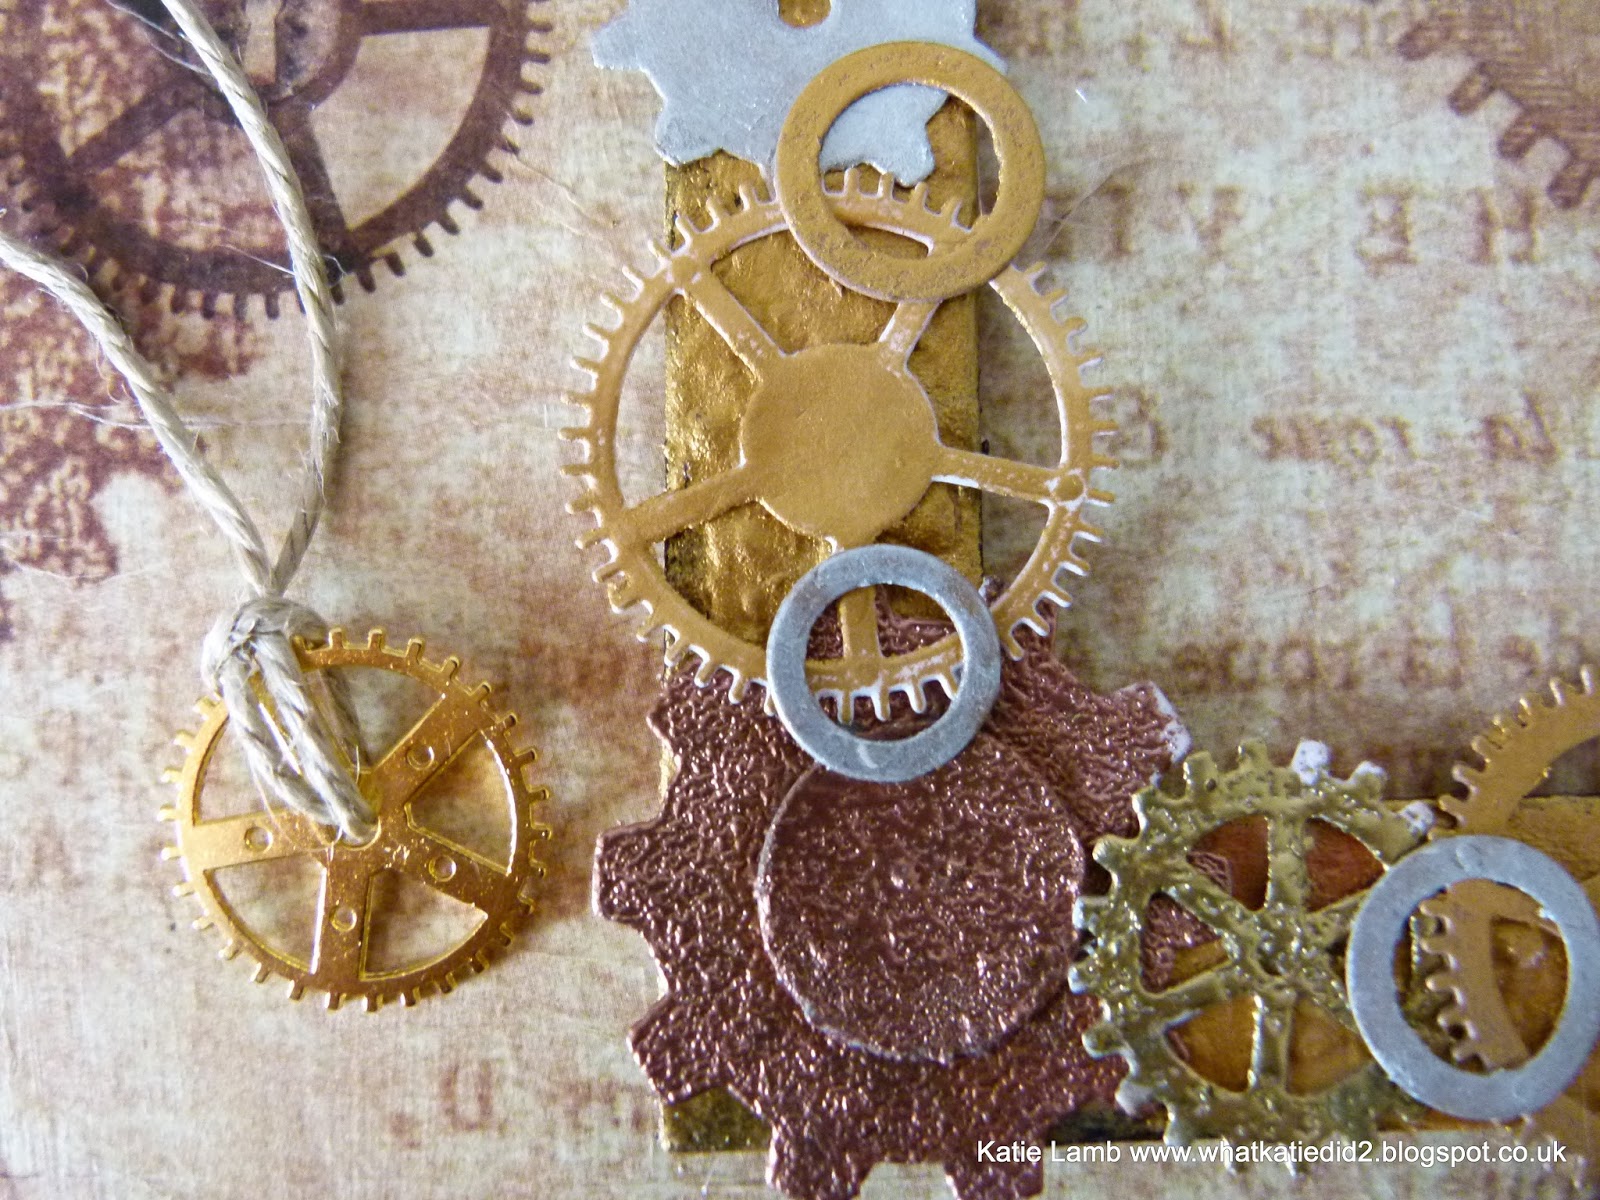
 The cogs i made by cutting out a mixture of shapes using both the First Edition die set and the Willow steel die set. i used kraft card and a mixture of embossing powder and Metallic Luster to make them metallic. i then over layered them around the frame and glued them down.


I used the Script die set to add a sentiment to the front which i cut using craft foam so it stands out and is hard wearing.


I finished the album by making a hole in the back cover so i could thread jute through.I tied a metal charm at the bottom to make a book mark.

Thanks for visiting and you can see more Willow at www.trimcraft.co.uk 


I am linking up with the Tando Creative Anything goes June Challenge
http://www.tando-creative.blogspot.co.uk/

Wednesday, 27 May 2015

Tando Creative May Challenge: Home Heart Wall Hanging

Hi all 
 I am back with another entry for the Tando Creative May Challenge. Ive been inspired by the Home Decor Week and all the DT projects so i have made this lovely wall hanging using the Home Heart Wall Hanging.


The Chipboard is very strong and hods paint and other mediums well. For the base i painted it with a layer of Artiste Lagoon Acrylic paint and the used crackle medium over the top and dried it off with a heat gun. i then painted over the top with Artiste Sea Spray Acrylic paint.


For the words i painted them with Artiste Avocado Acrylic paint and then a layer of crackle glaze and the use Artiste Sage Acrylic paint for the final coat.


I have decorated my wall hanging with paper flowers which i dyed using the DecoArt Acrylic misters. The Trimcraft paper flowers are the best because you get a variety of sizes in one pack.


I used the mini hearts as well and just painted them with purple and lilac paint. 


Thank you for visiting and for more product info visit  http://www.tando-creative.co.uk/catalog/

Friday, 13 February 2015

Something a bit Kawaii

I have recently got into the whole Kawaii craze and found that The Little Meow range fell into this category. Kawaii is Japanese for cute and applies to anything brightly colored and cartoonish, mostly big eyed animals and people.


I started off with a plain wooden clipboard and painted the edges with purple acrylic paint. Then i used crackle medium on top of the first layer. I painted lilac paint over this before the crackle medium dried and used a heat gun to dry it off.


For the clip, i watered down some texture paste and painted it over the clip as a primer before painting it purple. Once dry i grabbed a random assortment of buttons and cabs which i glued down with uno glue. This stuff is so strong it melts plastic but its ok as long as its applied to an area that wont be on show. When painting the clip, place a bit of scrap paper under it so that the paint and glue doesnt get onto the base part.


I decorated the base of the clipboard with a sheet of A4 patterned paper which i trimmed about 1.5 cm off each side.

This is from one of the little meow stamp sets and i love them to bits. I made custom clips by stamping the kitten images on to card stock and colouring it in with the new Artiste watercolour pens. I then glued them onto mini pegs.


This is just a cheap notepad i pucked up from poundland. I just used the toppers and stickers from the ultimate decoupage kit.


Just a few close ups of how this is made


I made a pen holder by gluing a lengh of elastic to the board. i just looped it up and held it in place while the glue dried. Im showing off abit of my cute stationery off. The hello kitty clip is made by hot gluing a large cabochon to a big paperclip.

Thanks for visiting and if you have made anything Kawaii then please share by tagging me on instagram at @katiel238.

Happy crafting this weekend.

Saturday, 6 December 2014

a new art canvas and introduction to Decomedia by Trimcraft

Hi everyone i have some more new products to demonstrate to you today. Trimcraft have just introduced the Deco Art range which includes a multitude of different paints and finishes. The range is suitable for both crafting and home decor. but today i am going to introduce the Decomedia spritzing inks.
i started off by coating a old canvas wall hanging with a thick layer of texture paste and let it dry over night. i then cut out three honeycomb background die cuts and pasted them to the background. i then just spritzed the colours around randomly adding a few stamps and let it dry.
i finished it off with a quote i made using different alphabet die cuts and a mixture of embellishments. i then spritzed over them again and added a few ink drops for effect.

i used the Magenta, Primary Yellow and turquoise inks and you can find them on the website www.trimcraft.co.uk

Thanks for looking.

Wednesday, 27 November 2013

Forever Friends Forever love projects.

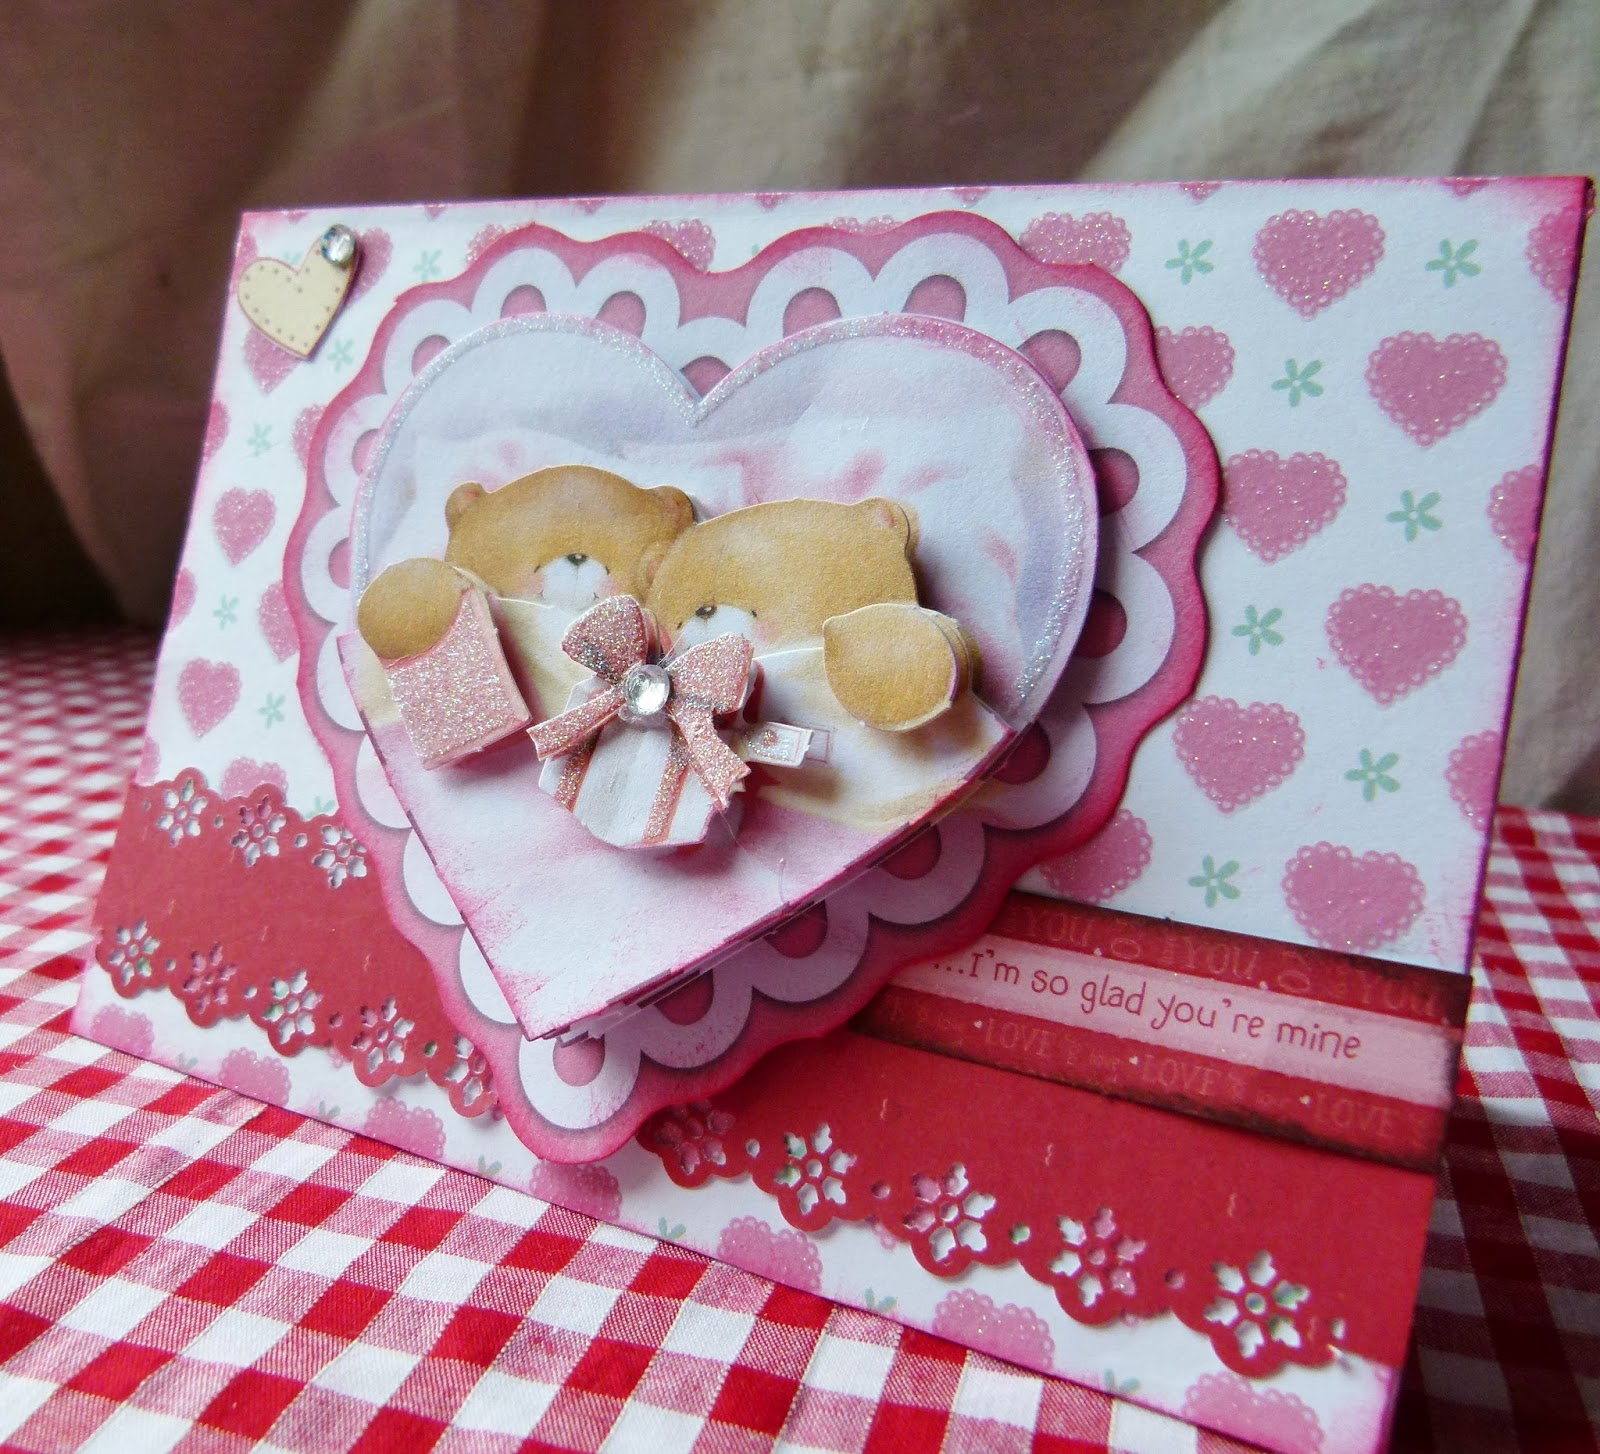
the forever friends forever love collection is very versatile and can be used for both valentines projects and Christmas.
 I made this card using the toppers which are great for saving time.
 I used the decoupage toppers on these cards which are ready cut and easy to assemble. I don't normally like decoupage because of having to cut out all the little bits but with these you just follow the step by step guide. you don't need to buy any special adhesives just use 3d foam pads.


 if you would like a step by step guide to how I made this altered jar then visit www.docrafts.com
 and finally my Christmas wreath I made using a polystyrene ring, x-cut a5 flower dies and a balling tool. it took ages to make all the flowers 3d but I am pleased with the end result.