Followers

Showing posts with label Scrapbook Layout. Show all posts

Wednesday, 17 May 2017

How To Create A Steampunk Heritage layout


 Hi all

I have created a mixed media layout of my Great Grandfather Albert. He was stationed in India during the war but other then that i dont know much about him. I used the Mechanical Illusion paper pad from Scrapberry;s.


I created the background by applying black gesso over the section where the photo will be placed. I then added a couple of stencils and spritzed with ink. Once dry i added a layer of metallic paint.
Next i started cutting up the sheets and cutting out the detailed sections and layered them up.


I used chipboard cogs and painted them with Decoart Texture Sand Paste to give them a rusty look. I then painted them with Quinacridone Gold and added a little Texture Fierro Iron. 
 

Thank you for visiting


Sunday, 7 May 2017

The Robins Nest Scrapbook Page For Beginners Farm Visit

Hi all

I have a Scrapbook page for beginners to show you from my visit to a Tudor farm. I have a full tutorial up on The Robins Nest Blog here  http://chatteringrobins.blogspot.co.uk/


Thank you for visiting

Wednesday, 26 April 2017

Cherish the Memory On Your Bike Scrapbook page

Hello  crafty friends

I have a new layout on the blog and my first project for Cherish the Memory. This is an old family photo of my Grandad from the late 50's.


1) Place photo onto background page and mark out position with a pencil

2) Apply gesso around the space using a palette knife.

3) Apply a stencil to the background with modeling paste.

4) Spritz with sepia ink.


5)  Spritz water onto small sections of the background and sprinkle over with Gamboge and Terracotta  Brusho powder. Leave to dry before applying next colour.

6) Sprinkle Cobalt Blue Brusho Powder and use a water pen to guide the colour around the embossed sections.

7) Finish background by dry brushing over with metallic paint.

8) Mat Photo onto card stock and trim to fit. Use 3d foam tape on the back to raise it off the page.

9) Cut up sheets from the 6 x 6  pad and play around with the position before sticking down. Use 3d foam tape on the main layers so you can slot more pieces under later.

10) Pop out the pieces from the die cut sheets and adhere around photo. Tuck a few in between the layers to bulk it out.

11)  Fold the corner over on one of the layers and fasten with a brad, Tuck die cuts and paper twine behind it and hold in place with glue.

12) Decorate the page with cog charms.

Thank you for visiting

Friday, 2 December 2016

The Vintage File World War 2 Scrapbook page

Hi all

I have a war themed scrapbook page to share today from my article in The Vintage File magazine. I have a photo of my Great Uncle Victor and his troops in their uniforms. I don't know a lot about the photo or if he ever fought overseas. He was one of the lucky ones who survived the war and i wonder how many of his troop made it back. If you have any war stories please share in the comments as i would love to hear them weather you are from the UK or overseas.


I am lucky enough to still have my Nan's Ration book which i scanned onto the computer and printed out onto card stock. I Scan all of the old photos as they deteriorate over time and sometimes the glue from the old albums turns them yellow and brittle. I used the Madame Payraud's paper collection by Docrafts for this layout as it is full of vintage advertisements which i cut up and layered together.


The poppy is from the Trimcraft First Edition Layered Flowers set and i just used textured card stock to cut the bits out of. 


Here is the inside of a ration book from the 1940's. My Nan used to tell me how the sirens would go off and everyone would have to go own to the bunker of cellar if they had one. It's  hard to imagine what that must have been like as it could go off at anytime and everything would be pitch black as the cities would turn the lights off. My Nan was 19 years old at the time and worked in the factories making ammunition parts before the war it made hair clips. It was common practice for factories to convert to making goods for the troops and this is the time when Women were allowed to go to work for the first time. A strange idea nowadays.


I have a thing for bunting and i had to add it as part of my title. I used a 2 in 1 tag punch from Fiskars and stamped the letters on. If you smudge it by mistake then stamp onto card first and cut them out or use a circle punch if it will fit over the letters.


Thank you for visiting and i hope to hear some of your war stories soon.


Wednesday, 5 October 2016

Crafter's Pallet Design Team: Fun Scrapbook Layout with Kaisercraft Kaleidoscope Collection


Hi all
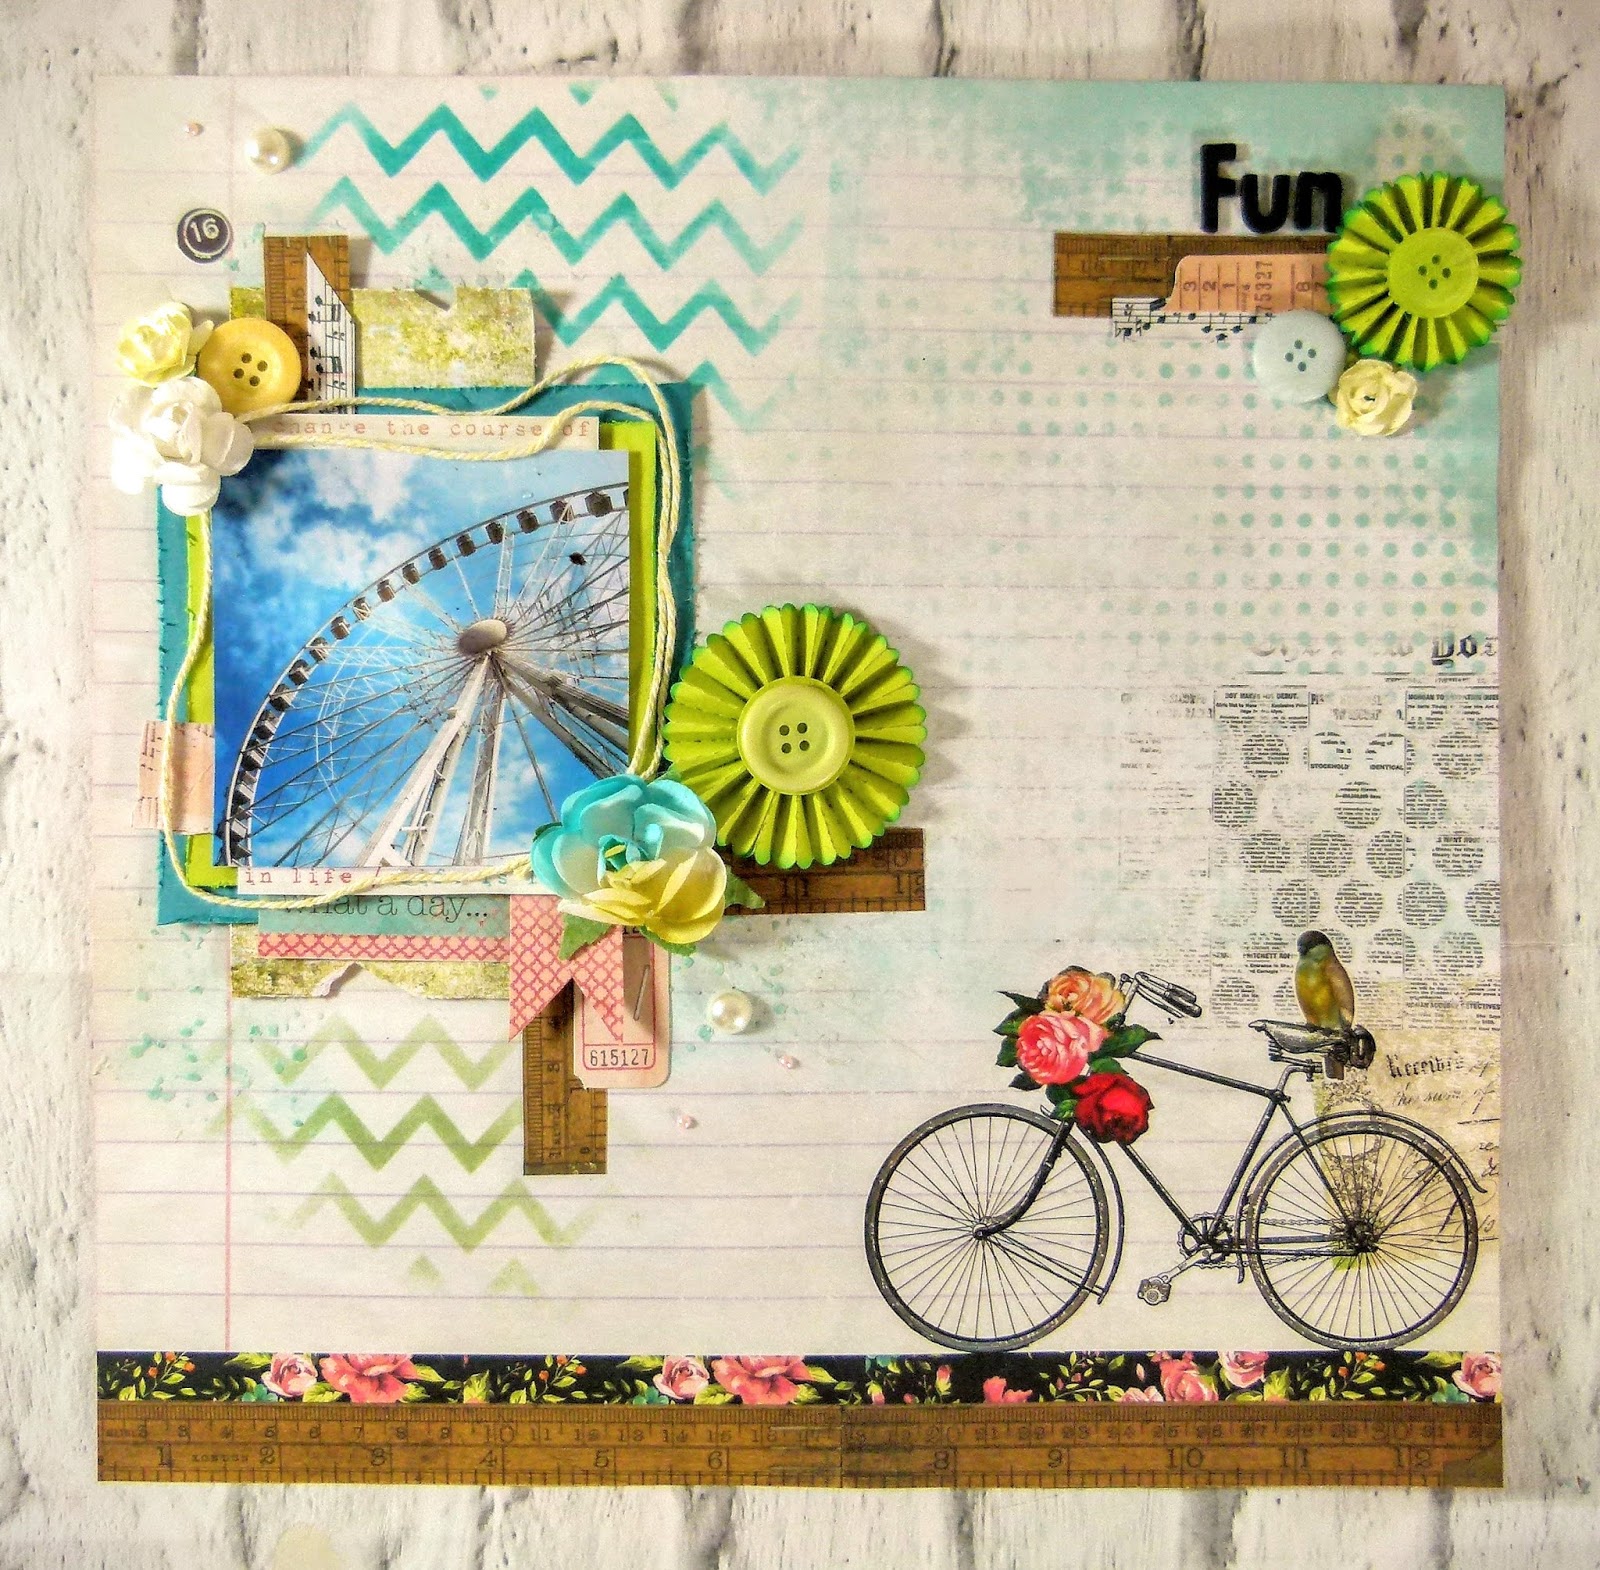
I am back today with a new layout made using the Kaisercraft Kaleidoscope Collection which is available at Crafters Palette.


Choose your background sheet and apply modelling paste using a stencil.
Take another stencil and using a blending tool, Apply Distress ink onto the page around the area where the photo will go.
Cut two squares from cardstock and distress edges with scissors and Layer them together with 3d foam pads. Cut out and adhere one of the ATC cards over the top.  Next adhere photo over the layers.
Cut a strip of patterned paper and distress with scissors before adhering to page.
Stick the photo and layers over the strip and then glue a length of twine around the photo.


Cut up a few strips of patterned paper of different sizes and slot them in between the layers.
Add a few bits from the Tales of you and me Ephemera pack
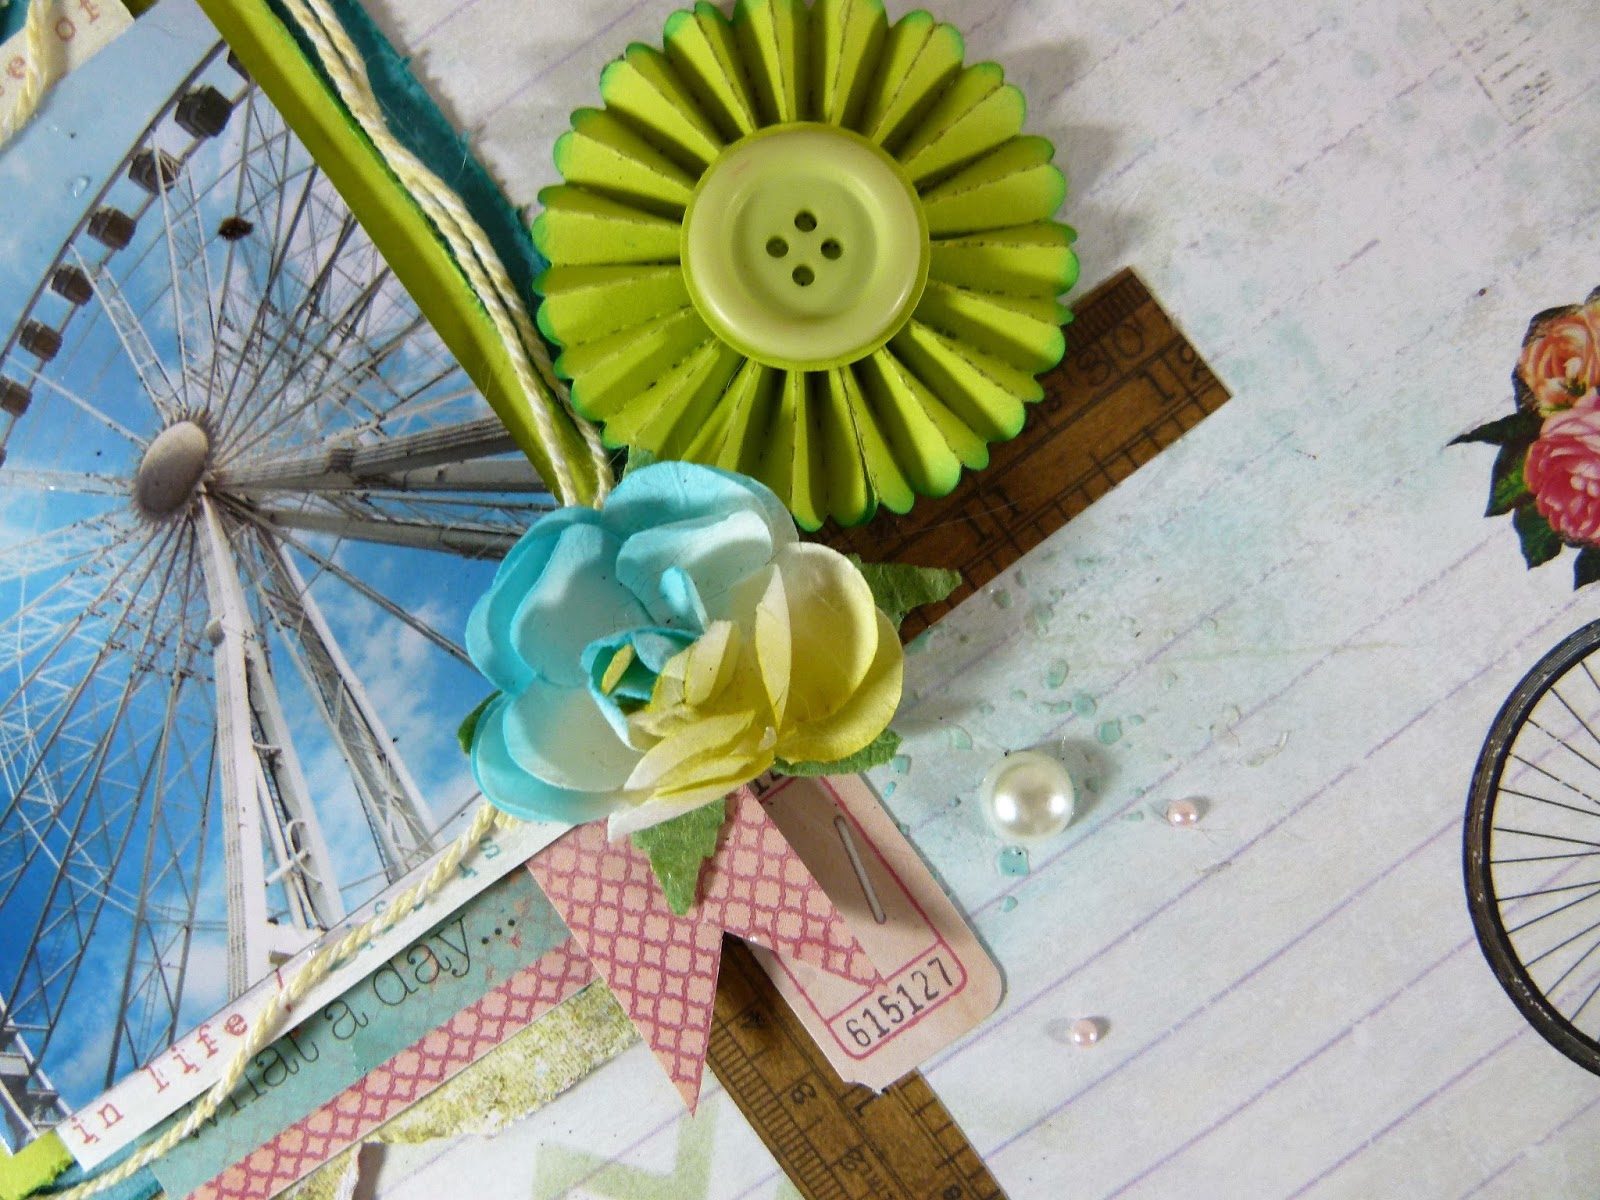
Decorate around the photo with paper flowers and rosettes
Add a few strips of paper at the top corner of the pager and add a title
Finish by adding pearls.


Thank you for visiting

Tuesday, 4 October 2016

Life in a Snapshot Torquay Mixed Media Layout


Hi all here is my scrapbook page for the October sketch challenge. I am experimenting with DecoArt Acrylic paints which i used to create a mixed media background. 


I used Trimcraft Back to Basics True Blue for the paper layers and Kaisercraft texture stamps on the background,


I applied a couple of stencils using DecoArt Modeling Paste to add texture and then flicked white ink over the page.


I then decorated the page woth resin flowers and sequins

Here is the Sketch and you can add your project to the link here http://whatkatiedid2.blogspot.co.uk/2016/10/life-in-snapshot-october-sketch.html


Thank you for visiting


Sunday, 28 August 2016

Crafters' Palette DT: Scrapbook Tutorial Using Kaisercraft Ma Cherie Collection.


Hi all 
Here is my first project and tutorial for the Crafter's Palette team. I used a mixture of Tim Holtz and Kaisercraft products which are tow of my favorites. 


Take a 12 x 12 sheet of pink Brazil Basics Card Stock and apply modelling paste around the edges using the Tim Holtz Gothic Lace Stencil.
Once dry, Rub over with Victorian Velvet Distress Ink and rub a bit along the edges of the page and corners.
Stamp over the corners and edges using Kaisercraft Texture Stamps in Black Soot and Worn Lipstick
Cut a 7 x 5 rectangle and mat your photo onto it
Cut a larger rectangle about 9 x 7 and adhere to page
Adhere photo to edge of rectangle using 3D foam pads


Cut a few strips from patterned paper and trim in half, Slot these behind the photo.
Take the Ma Cherie Collectibles pack and slot the large flower die-cuts along the side of the photo. Cut the largest one in half and slot either side of photo.


Take a tag die-cut and slot it at the top of the photo, Spritz a few white paper flowers with magenta mister and adhere in clusters around page. Add a few Butterflies with pearls in the centers.
Cut the strip off the bottom of the 12 x 12 sheet and use the patterned side to create a few paper ribbons. Adhere these to top and bottom of page.
Finish layout with a sentiment topper for the title and a few more flowers.


Thank you for visiting.

Saturday, 6 August 2016

Trimcraft Simply Creative Azteca Scrapbook Page

Hi all

I have a layout of my cat Elfie who passed away in February. I still miss him even if he was a pain in the neck sometimes or jumped on your head at 5 am because he wanted food. I called him Elfie because  he was born in December so we had to give him a Christmas name.


I created the background first using a mixture of  Andy Skinner Incognito and Tread stencils with different mediums. I then spritzed and flicked Turquoise and black DecoArt Media Misters over them.


I used  simple shaped and layered them up 


I used the Boarder die set to create the textured layers and added the layered flowers.


                                                     Thank you for visiting


Saturday, 23 July 2016

Trimcraft Scrapbook Workshop July: Paradise Crush Summer Holiday Layout

Hi all 

I am back with my Scrapbook Workshop for July. You can find the full tutorial over on the Trimcraft blog.


I wanted to create a  layout that reminded me of summer so i used the new First Edition Paradise Crush papers  to create this bright holiday layout.


this is the large shell from the First Edition Beach Die Set. They look great with pearls and flowers stuck to the centers.


This is a close up to show how you can layer the dies and paper flowers together to create unique combinations.


I drew around the Photo Frames so i can add patterned paper to them. They are great for coloring over with inks or just writing onto for journaling.


These are the new Alphabet stickers from our Simply Creative brand. They are very good quality and come in different textures such as chipboard. Foam and Glitter.


Thank you for visiting and if there is something you would like to learn please leave a comment bellow.

Friday, 1 July 2016

Things to Alter July Friends Layout


                                                                         Hi all

             I have a mixed media layout to show you for this months Things to Alter DT project. The challenge is anything goes and you don't have to use Things to Alter products to join http://thingstoalter.blogspot.co.uk/. we also have a Facebook group here
                                         https://www.facebook.com/groups/1578437669085933/


I have been experimenting with powdered inks and then discovered the Ken Oliver colour burst powders which are a lot cleaner to use as you just shake the powder out the bottle. 

I created the background by spritzing it with water and sprinkling Brusho powder on to it. I then spritzed it with more water to diffuse the colour. Once the Ultramarine had dried i then added a layer of Purple . I used the Grunge ATC stamps by Lost Coast Designs to and a layer of stamping to the background. 


I used one of the MDF Geoclusters frames and coated it in gesso before painting with crackle paste.
I then dyed it with the leftover ink. I used the 1/2 inch alphabet to create the title which i painted with Ken Oliver Liquid Metals Copper ink


The stamp set is the Travel Stuff set by Lost Coast Designs which i stamped on to smooth card and inked using Ken Oliver Sepia Colour Burst Powder. I used the Copper Liquid Metals to paint the Penny Farthing


The photo is of my Nan and her friend at the seaside.


I used the powdered inks to colour white paper flowers so that they always match my project.


Thank you for visiting