Followers

Showing posts with label Tim Holtz. Show all posts

Sunday, 29 January 2017

The Robin's Nest Tutorial Scrapbook Layout Lights

                                                                                         Hi all

I have a new tutorial showing you how to create this layout using The Robin's Nest products. You can find them here http://www.robinsnest-scrap.com/


Products used

Wedding Cut outs Card Stock


First using a couple of stencils apply White and Black Gesso onto the page at random and let dry. I like to mix them up and add lots of texture.


Add Red  DecoArt  Metallic Lustre around the edges and rub over it to blend. 
Flick ink over the page. The more messy the background the better, mixed media isn't meant to be perfect.


Cut up the card stock into rectangles and strips. Layer the larger rectangles at the bottom and keep adding layers until you are happy with their position and glue to page.


Use a few texture stamps to stamp around the edge of the page. It doesn't need to look neat.


Add more stamping around the page and over the layers


Decorate the page with shells and flowers. Add a title with alpha stickers

Thank you for visiting


Thursday, 15 December 2016

Life in a Snapshot December Challenge Art Journal


I think this journal page represents what happens when you unleash your inner child. I went with a winter theme that followed the Mood Board but started going through my stash and trowing things on just to see what happened


I like these micro beads by 13Arts which you can melt with a heat gun. I didn't melt them fully to keep texture and spritzed inks over them


I used the dove from the More Then An Art Journal kit by Marta Van Eck


I tore up decoupage paper to add more layers


I used different stencils and stamps to add layers to the background


Saturday, 15 October 2016

Susan K Weckesser Creative Team Mixed Media Inspire At Journal


Hi all

I have a new Journal page i created using DecoArt products and Susan K Weckesser Inc Stamps. I am still experimenting with textures and layering those textures up.


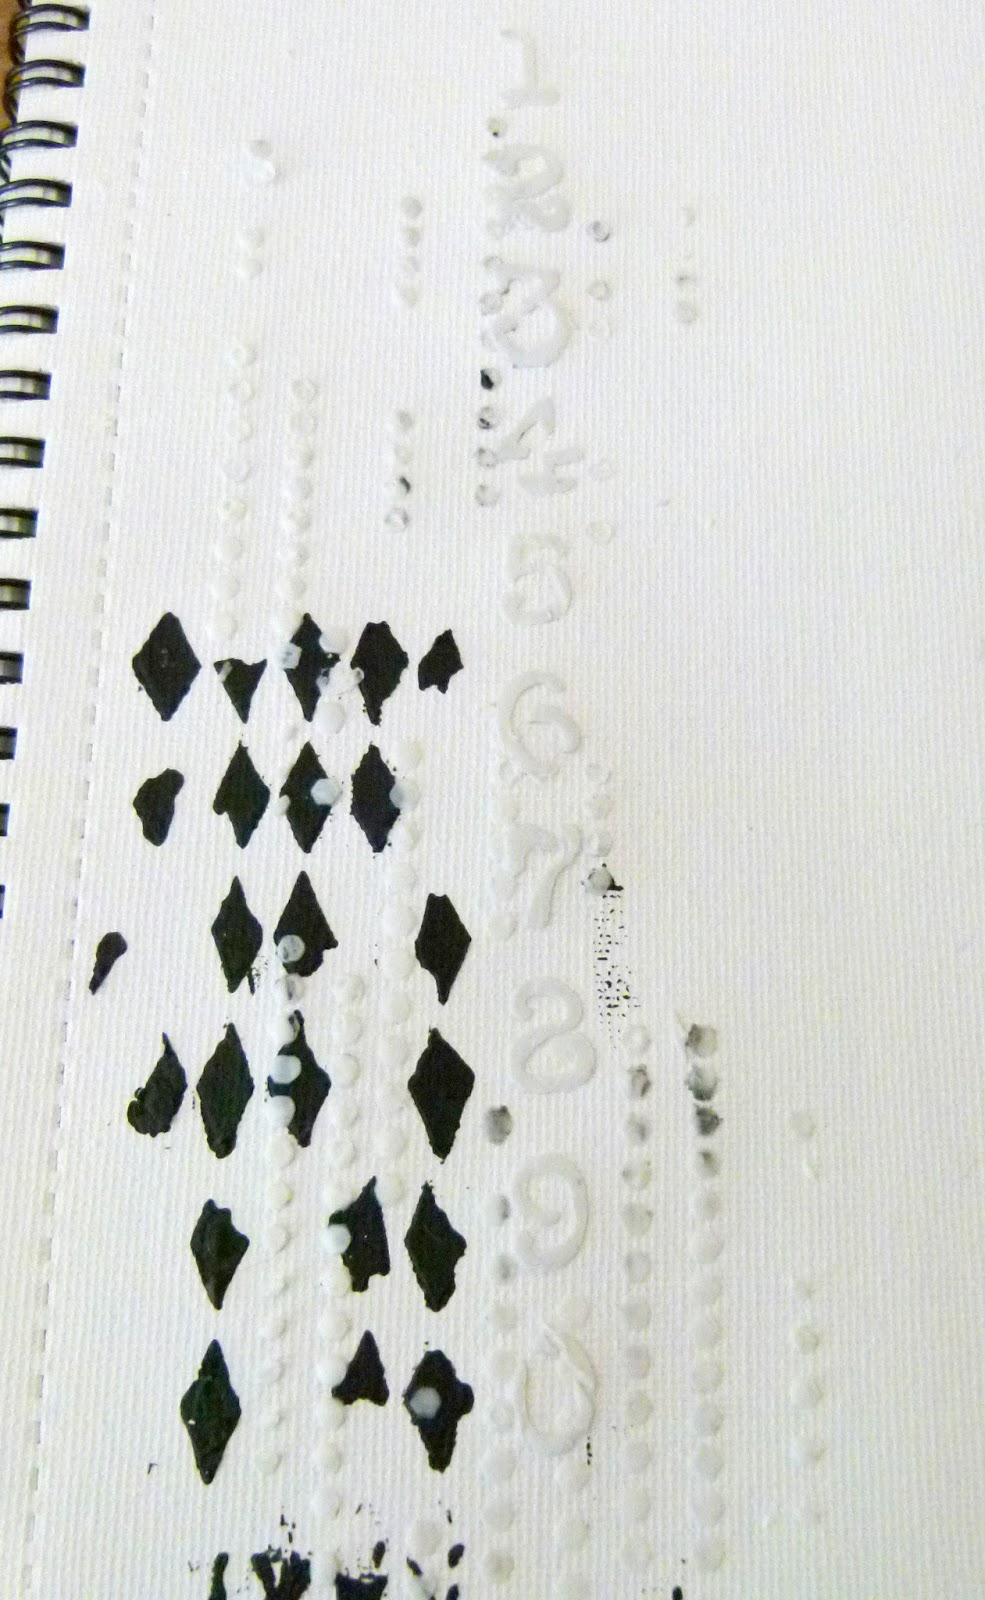
I wanted to show you haw to create layers using different stencils. So to start with i used a background stencil such as DecoArt  Pixleated and applied DecoArt White Modeling paste over the top which gives a lovely raised pattern when it dries. I then used the Doodle Stencil  and i applied white modeling paste to the number strip.


Next i used DecoArt Black Modeling paste with a Tim Holtz distress stencil and let it dry.


I stamped the In Circle Me  stamp down the center of the page and I then used a black marker pen to doodle on  some circles which i colored in using the Color Pop Mini Inks. I the used DecoArt Fluid Acrylic  Cobalt Teal Blue to pain over the background. I mixed it with water so it covered the pad easier. 


I then took the In Circle Me stamp and partially inked sections of the stamp before stamping it over the page.


I used the Grunge Fun Stamp set and stamped the stitching randomly around the page. 


I used Teal Metallic Lustre and rubbed it over the stenciling to bring out the detail and then i used the A Little Grunge Love and stamped the small arrow around the page and used the two hearts and stamped them onto smooth card. I inked around the edge of the stamp with Black Archival Ink and then colored them in with Color Pop Mini Inks.


I then used glue to stick the hearts down and once dry i added a mini stencil mask over the large ones and stamped the smaller ones with the Grunge Fun background stamp. I then took the little heart stamp and stamped it in between the larger hearts.


I used the Painted Sentiments stamps to add a couple of words 

Thank you for visiting


Wednesday, 5 October 2016

Crafter's Pallet Design Team: Fun Scrapbook Layout with Kaisercraft Kaleidoscope Collection


Hi all
I am back today with a new layout made using the Kaisercraft Kaleidoscope Collection which is available at Crafters Palette.


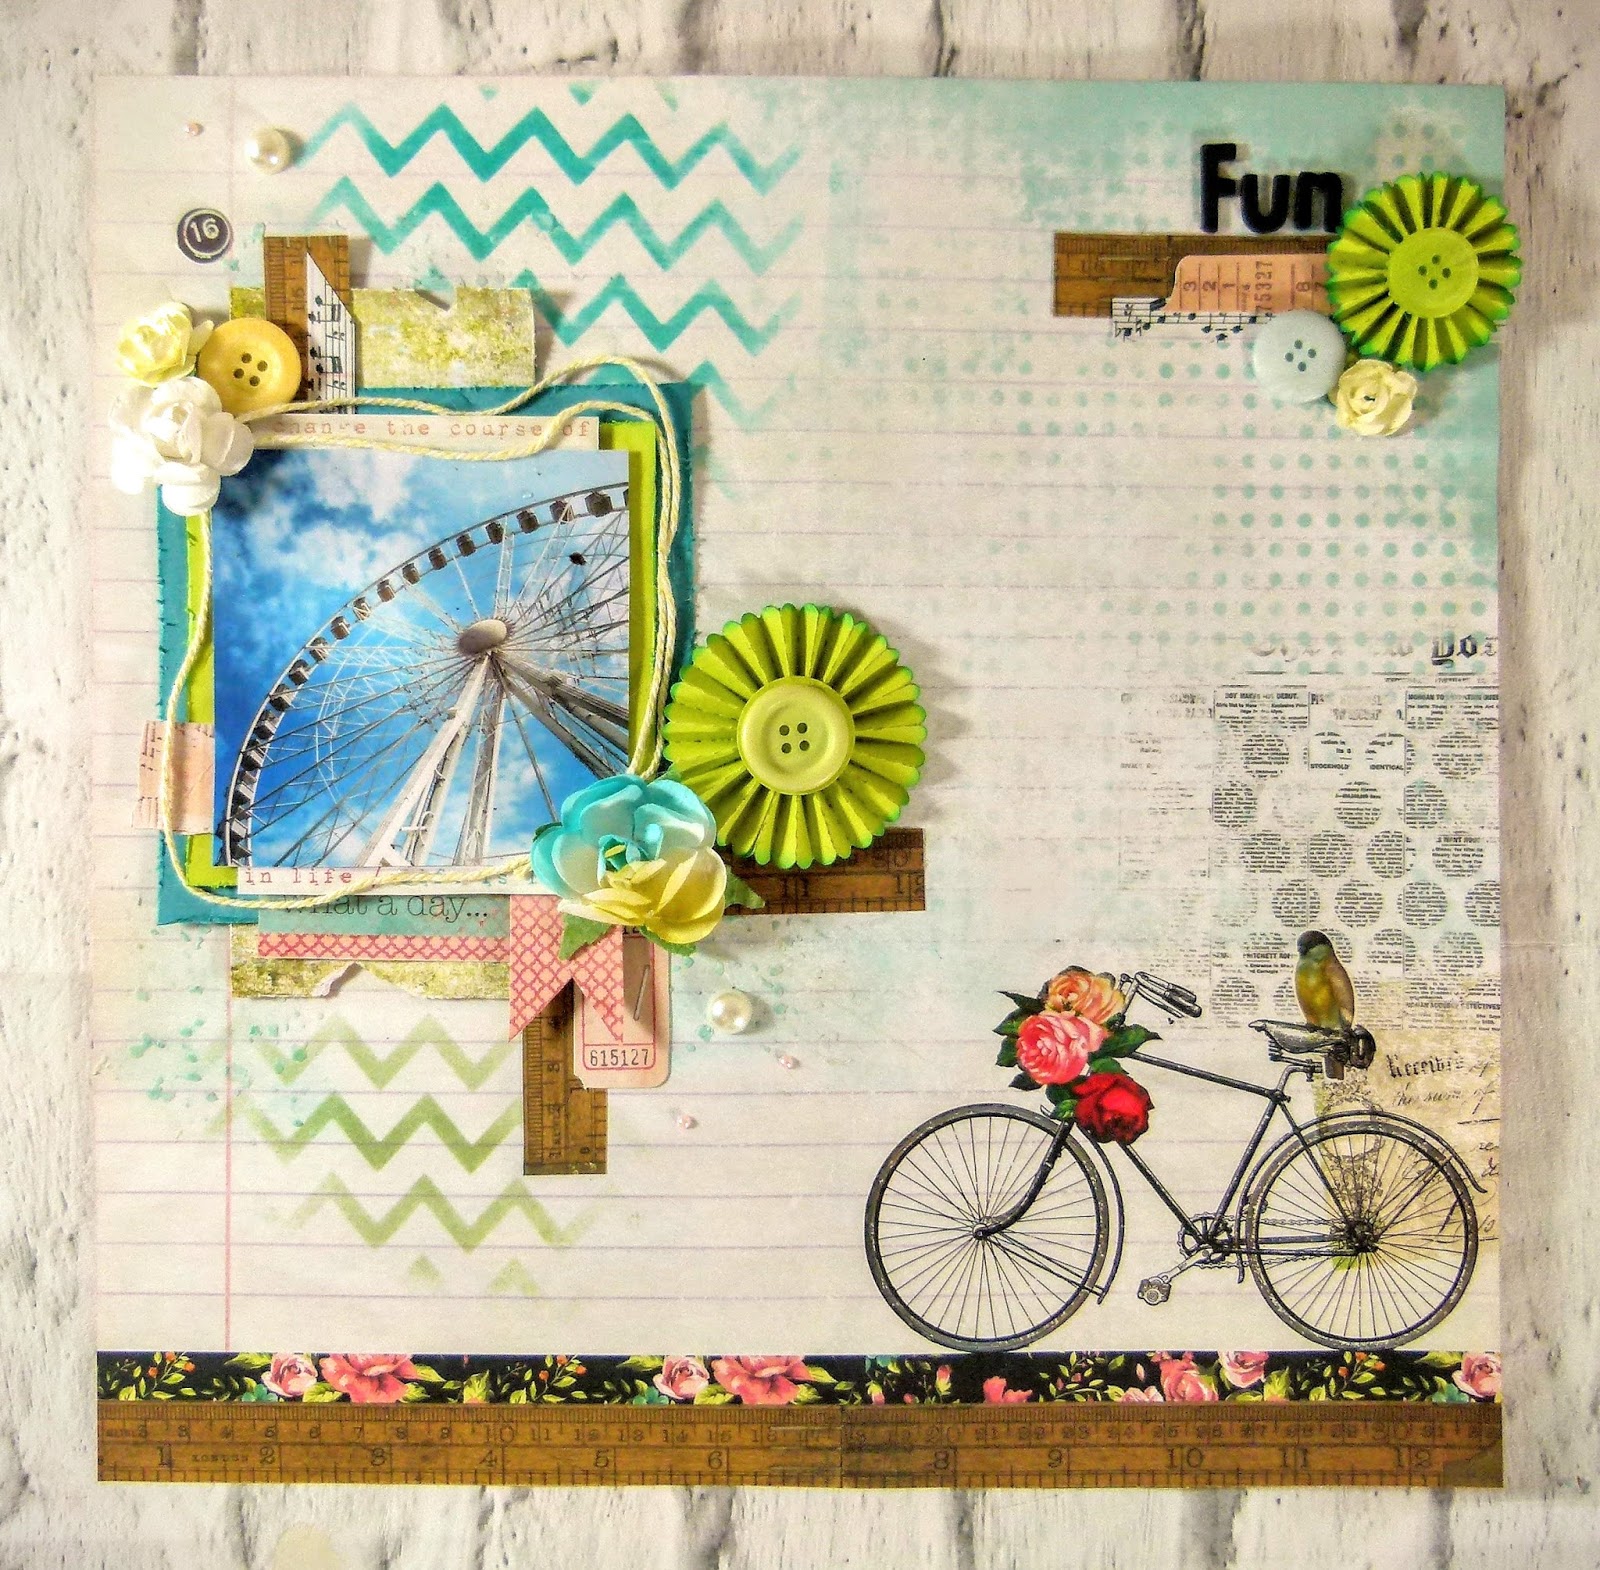
Choose your background sheet and apply modelling paste using a stencil.
Take another stencil and using a blending tool, Apply Distress ink onto the page around the area where the photo will go.
Cut two squares from cardstock and distress edges with scissors and Layer them together with 3d foam pads. Cut out and adhere one of the ATC cards over the top.  Next adhere photo over the layers.
Cut a strip of patterned paper and distress with scissors before adhering to page.
Stick the photo and layers over the strip and then glue a length of twine around the photo.


Cut up a few strips of patterned paper of different sizes and slot them in between the layers.
Add a few bits from the Tales of you and me Ephemera pack
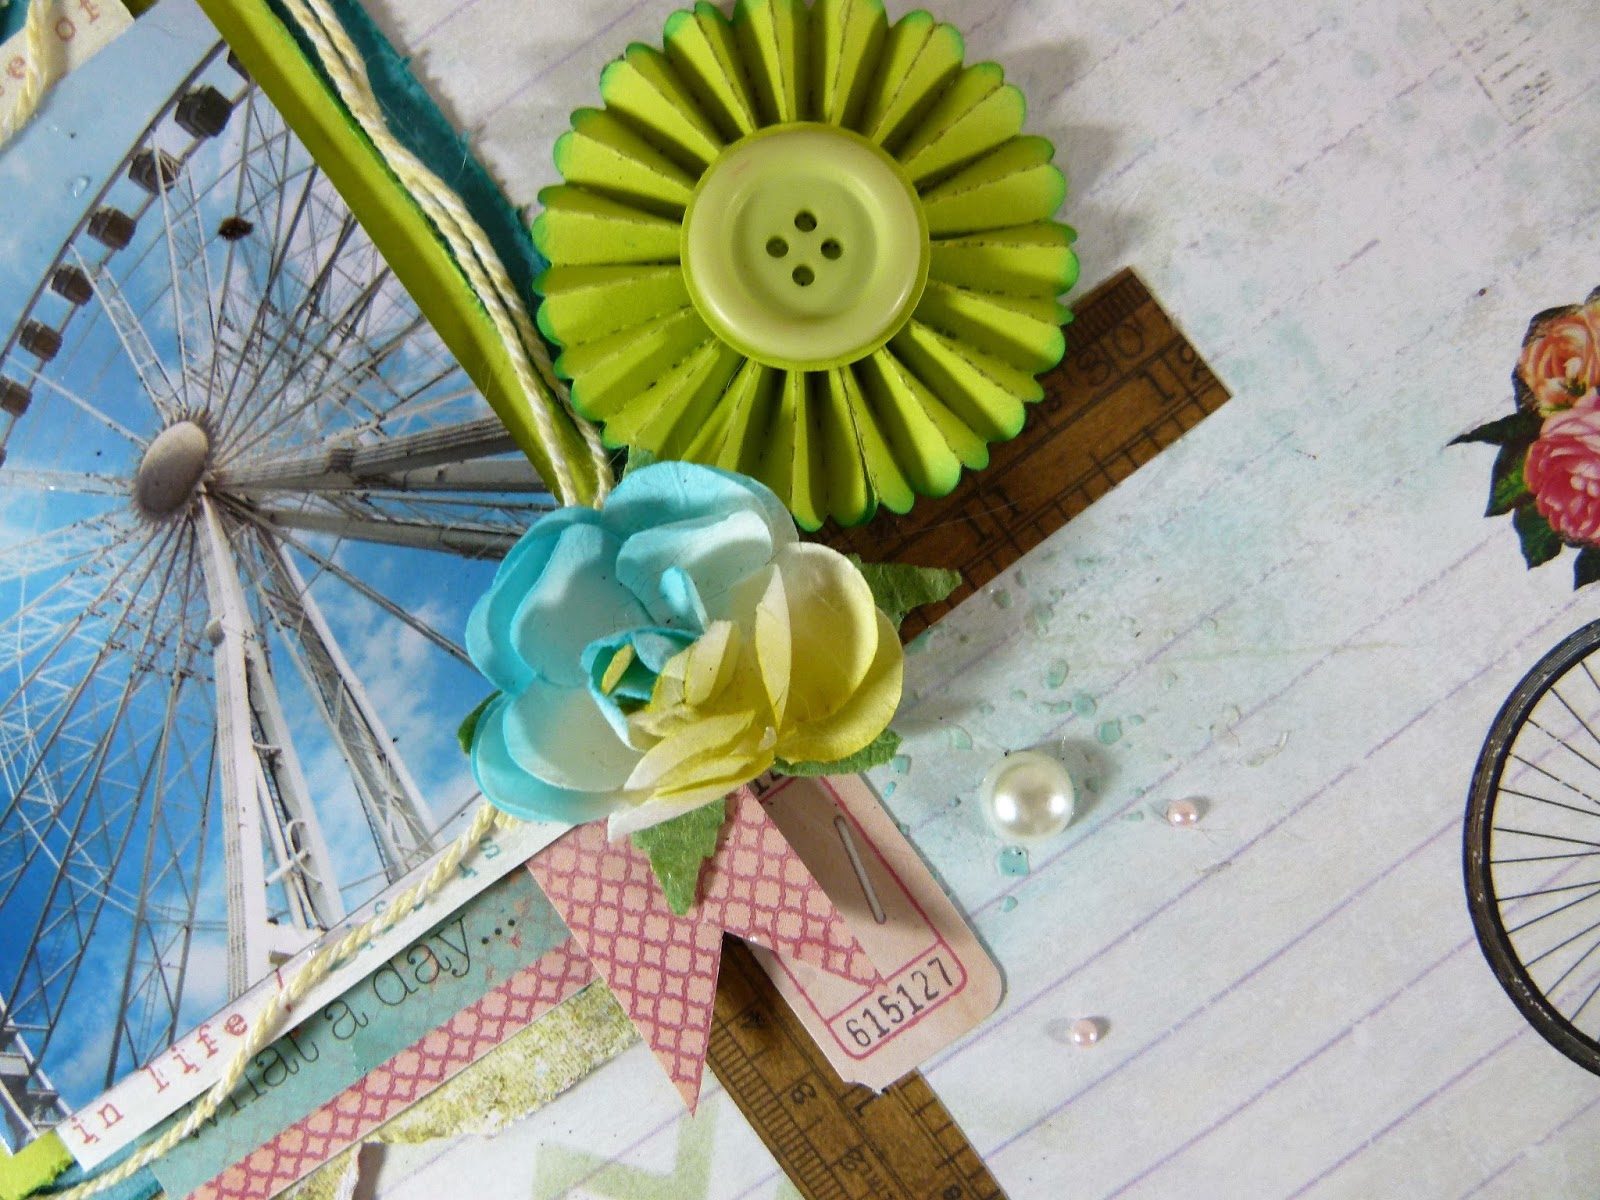
Decorate around the photo with paper flowers and rosettes
Add a few strips of paper at the top corner of the pager and add a title
Finish by adding pearls.


Thank you for visiting

Saturday, 1 October 2016

The Robin's Nest Design Team Application: How To Make A Mixed Media Halloween Card


Hi all

Would you like to learn how to create this mixed media Halloween card? Well stay posted because i have a step by step tutorial for you to follow.


1) Take a 6 x 6 card blank and cover with plain orange paper. 
Trim to fit


2) Use a stencil to apply gesso to the edges of the card. You don't have to get it perfect as the broken pattern adds texture.


3) Add another sheet of paper to the bottom and add more of the stenciled pattern.


4) Using white tissue, Stamp your texture stamps over the top and cut them out. This is a great way of creating a textured background without running the risk of smudging the ink. 


5) Cut out a rectangle just a bit bigger then your topper and adhere to card with 3D foam pads.


6) Add you layers behind the topper. I used a die to create the harlequin pattern and made my own washi tape with tissue paper.


7) Start adding the embellishments 


8) Add the finishing touches and a sentiment.


Thank you for visiting


Sunday, 28 August 2016

Crafters' Palette DT: Scrapbook Tutorial Using Kaisercraft Ma Cherie Collection.


Hi all 
Here is my first project and tutorial for the Crafter's Palette team. I used a mixture of Tim Holtz and Kaisercraft products which are tow of my favorites. 


Take a 12 x 12 sheet of pink Brazil Basics Card Stock and apply modelling paste around the edges using the Tim Holtz Gothic Lace Stencil.
Once dry, Rub over with Victorian Velvet Distress Ink and rub a bit along the edges of the page and corners.
Stamp over the corners and edges using Kaisercraft Texture Stamps in Black Soot and Worn Lipstick
Cut a 7 x 5 rectangle and mat your photo onto it
Cut a larger rectangle about 9 x 7 and adhere to page
Adhere photo to edge of rectangle using 3D foam pads


Cut a few strips from patterned paper and trim in half, Slot these behind the photo.
Take the Ma Cherie Collectibles pack and slot the large flower die-cuts along the side of the photo. Cut the largest one in half and slot either side of photo.


Take a tag die-cut and slot it at the top of the photo, Spritz a few white paper flowers with magenta mister and adhere in clusters around page. Add a few Butterflies with pearls in the centers.
Cut the strip off the bottom of the 12 x 12 sheet and use the patterned side to create a few paper ribbons. Adhere these to top and bottom of page.
Finish layout with a sentiment topper for the title and a few more flowers.


Thank you for visiting.

Tuesday, 8 October 2013

Berry71bleu: October Challenge

I am playing along at http://berry71bleu.blogspot.co.uk/2013/10/october-challenge-autumn-is-in-air.html. the theme for this month's challenge is Autumn and to use this mood board as inspiration.


my layout was inspired by the brown and rust colours of fall.

 I tried to capture the moment fall begins when the air has a slight chill but still mild and when the foliage starts to turn from green to orange.
 I achieved the tattered paper effect by wetting the edges of the paper until it was almost mushy. I then scrunched up the paper and set it using a heating tool.
 to get a more layered look to your page you could try tucking things between the layers.
 I used Tim Holtz Tattered Leaves die cutter  the Sizzixs Bigz version. I used burn sienna ink with Tim Holtz Rusty Hinge and Vintage Photo distress inks to add colour to the leaves then I  wet the edges and rolled them up to add dimension.

the products I used on this project are:
Dear Lizzy lucky charm
Create Paper Pink Plum
Papermania Capsule Collection Bexley Black
Papermania Persimmon  A5 paper pad
large sunflower stamp
Anna Griffin vintage photo corners
Tim Holtz Bigz Tattered Leaves
Tim Holtz Rusty Hinge and Vintage Photo inks
EK Success stickers
Tim Holtz mini rosette die

Wednesday, 2 October 2013

The Heart Challenge take 2


The challenge has been extended  please play along you can win some wonderful prizes this week . http://thememorynest.blogspot.co.uk/. I decided to make another layout for this challenge as I was still in holiday mode last week but I'm back and feeling creative.
 my first layout for Devon, this is a photo of Paignton a beautiful resort near to Torquay. I used Dear Lizzy Lucky Charm for my base paper and Papermania Ahoy There papers with Amy Tangerine Yes Please. I used Kaisercraft collection Madame Boutique die cuts and inked the with Tim Holtz Tea Dye ink, these die cuts hold the ink really well with hardly any smudging. I hide my journaling on a tag behind the photo to add an interactive element to my page.