Followers

Showing posts with label Embossing. Show all posts

Saturday, 13 May 2017

How To Create Backgrounds Using DecoArt Metallic Lustre

Hello craft friends

I have a new card tutorial for you using Sin City Stamps and some basic mixed media techniques.


Product list 
Oak House Studio Sepia Ink pad
Twine


1) Take a 5 x 7 card and emboss with an embossing folder


2) Place the stencil over the card and apply modeling paste. Leave to set or use a heat gun.


3) Stamp out the ship image onto card with sepia ink and then heat emboss using copper embossing powder.


 4) Rub over the embossed areas with the metallic lustre, Use a baby wipe to blend the colours.


5) Cut a strip of stripy paper and corrugated card and layer together. Next Cut out the ship image and adhere over the top.

6) Make two small holes on either side of the card 

7) Thread a charm over a length of twine and thread through the holes and knot.

8) Add embellishments

9) Use the words on scrapbook papers to create sentiments


Thank you for visiting

Thursday, 27 April 2017

Wednesday, 28 May 2014

How to emboss with stencil masks using the XPress


With this tutorial you can learn to add texture to your projects by using stencil masks like an embossing folder. There are numerous tutorials on how to do this with the Bigshot and Cuttlebug machines but non for the Xpress machine.


 1) place your chosen stencil mask on to the base plate, which is the really thick one.


2) place your card or paper over the stencil mask. If you do this the other way around then you will not get enough tension to emboss on to the card.


3) place a silicone mat over the top of the stencil mask and card.

4) place top plate over the sandwich and set the dial to no 6.


the masks will emboss both sides of the card and work the same way as an embossing folder which saves you a few pennies.

Monday, 7 April 2014

Docrafts Monday

It another Monday and another #docraftsmonday over at the Docrafts official Facebook page.


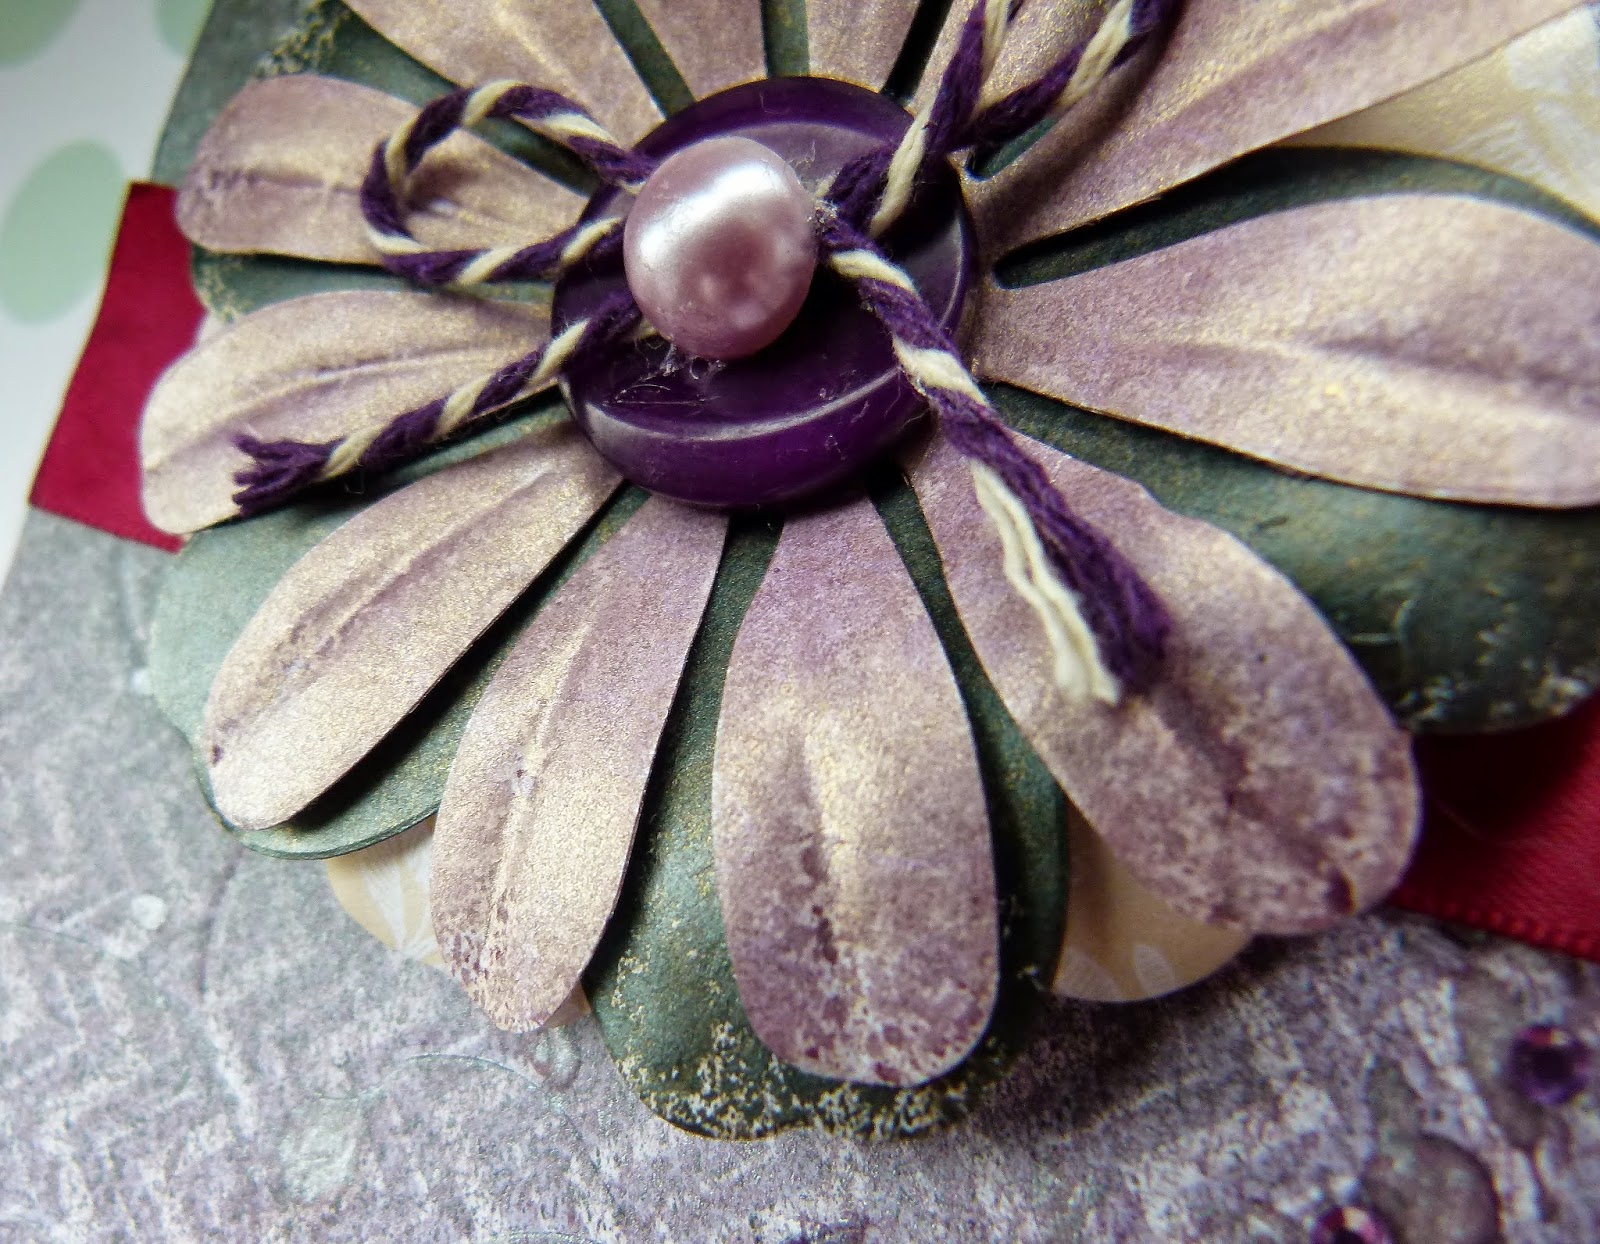
I shaped the card using the Extra-Large Square Parenthesis nesting dies form Xcut. I the covered it with the Easter digital papers available in the  Creativity Club. I particularly like the chevrons on this one and so I decided every thing had to be purple to match.
 The flower is a Big Bloom I spritz with Violet Spritzing ink but I will talk about how you can use the inks to colour coordinate things at a later date.

to make the flower I just took 3 big blooms and stuck them together. I then decorated the centre with a button and a bow, with a pearl in the centre because I like them and stick them on everything.

The sentiment was stamped onto a die-cut shape and its from the Bellisima range, I used the Dusky /rose ink pad from Artiste to keep in with the colour theme.


Product codes in case you spot something you like
Artiste
 Dusky Rose pearlescent pigment ink pad DOA550129
Spritzing ink
Hematite DOA550608
Violet DOA550611
Papermania
Bellisima mini clear stamp cupcake PMA907194
Xcut
Extra-large square parenthesis nesting die-set XCU503426
thanks for popping over, I appreciate all comments and I will see you next week.

Monday, 13 May 2013

Tenby 1970

i've been practicing some new techniques this week, having invested in a heat tool and the new distressed textures stamps from Bo'bunny. so what better way to experiment with distressed textures clear stamps then to make a heritage page.
 This is my mum on holiday at Tenby in wales between 1968 -1970.  How different things looked back then, they dont build caravans like this anymore and we dont seem to have summer anymore either.
 The butterfly was from the HOTP Roses in Harmony range and the rest are from my collection of bits and bobs.
 i used clear embossing powder to give the van an enameled look and to make it look more 3D.