
A Beginners Guide to Misting Sprays
The Artiste Spritzing inks come in a wide range of colours
and are very versatile. In this workshop I am going to teach you some of the
basics and teach you a few techniques for your projects.

Before you start using these inks, cover your workspace well
with newspaper but don’t worry if you spill some or get a bit of spray over
something as these inks are washable and will clean off with soap and water.
To use the inks first you must shake the bottle well, its ok
to give these a good shake as the nozzle doesn’t clog up like other brands of
spritzing inks. Hold the bottle at a slight angle and then spritz,
You will get a different effect depending on how far from
your project you hold the bottle. If you hold it close to your project you will
get a thick covering of colour like this:

If
you hold it further away you will get a soft misty effect like the photo below.
Have fun and try out different effects by altering the distance between your project
and the bottle of spritzing ink.

now we have the basics lets learn some techniques
Technique 1 : Dripped ink


Unscrew the cap and draw a line of ink across
your project.

Tilt your card or page up slightly to let some
of the ink run down and then blow on it to branch it out.

Leave it to dry for up to 30 minutes or use a heat gun to speed things up. To prevent warping spritz some water on the opposite side as the warping is caused by the moisture being removed from the ink too quickly. You could also place two sheets of scrap paper over your project and place a heavy object like a book over it while it dries.
Technique 2 : Stencil effects


1) Select your card blank and place your chosen die into position.
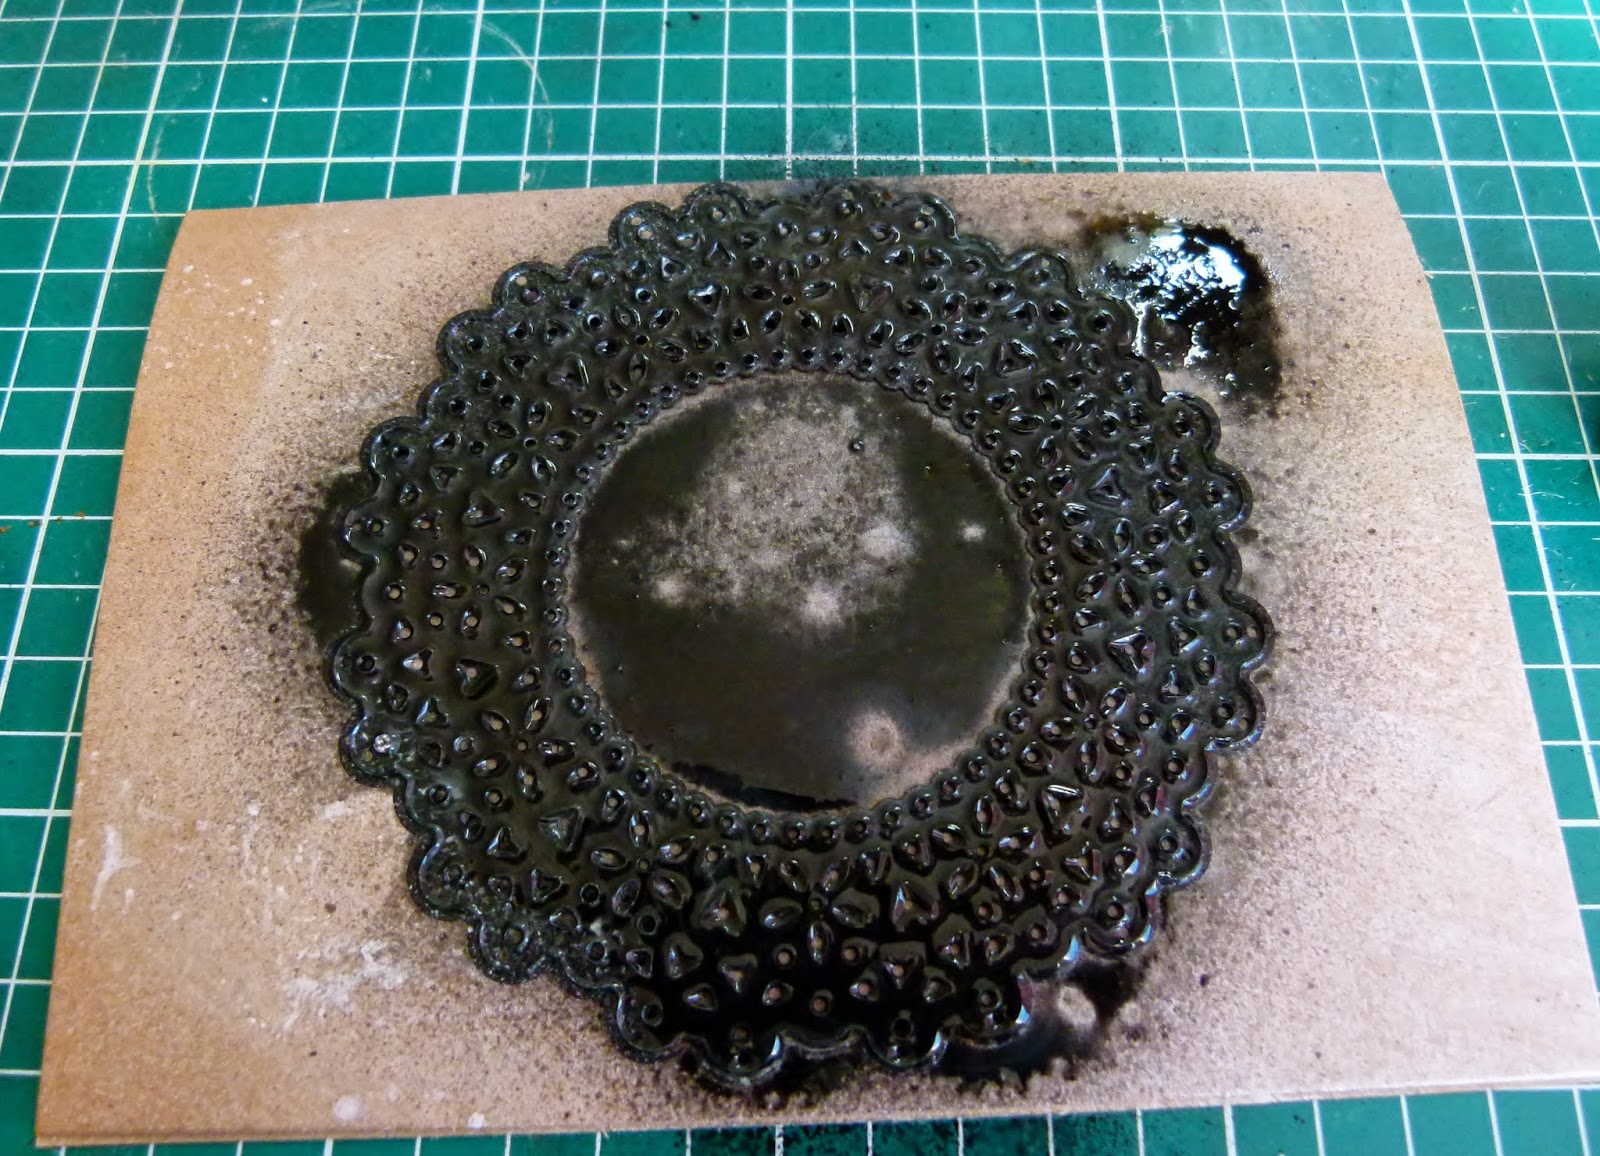
2) Spritz Artiste Spritzing inks all over the die ensuring that its held down as firm as possible.

3) Carefully remove the die and dab off excess ink with a paper towel.

4) it should look like this, don't worry if its not perfect as you can cover up any blotches with embellishments.
For more project ideas visit www.docrafts.com
9 comments:
Great tutorial!
Hugs
Dawn xx
Fab info, thanks you! Lets have more!
Fabulous Tutorial. Thank you.
Hugs
Linda xxx
Like the 'runny down the page' one....thanks, might give this a try x
Brilliant, Thanks for sharing xxx
This is a brilliant tutorial - I love it when I learn a new technique - thanks for sharing.
xx
I love, love, love these inks and your tutorials are fabulous Katie! I might have to pop out and buy the rest of the range (Sssshh!) xx
Brilliant tutorials, thanks for showing this to us x
Fantastic tutorial thank you xxx
Post a Comment