Followers

Showing posts with label bunting. Show all posts

Tuesday, 26 June 2018

The Glittery Hands Box Tea and Cake Cookie Bunting


Hello all
I have a easy tutorial for you to follow on how to make a cookie themed bunting using the May box from The Glittery Hands Box.


Start off by rolling out some paper clay and then use the heart cutter to cut out the cookies.


Use a needle to add some holies and to create a scalloped edge. Poke a hole in the top to add the string.


Paint the cookies with acrylic paint. I went for a traditional cookie colour but you can choose anything.


Use a hot glue gun to add the icing. The glue will take a few minutes to set depending on how thick the icing is. Paint these your desired colour and leave to dry.


I cut the letters out of craft foam using an alphabet die and glued them on.


Paint heavy gel medium onto each cookie and sprinkle micro beads over them. 


Once they are dry, tie some twine though the top and thread them onto the ribbon. Use mini pegs to hold them in place.


Saturday, 3 September 2016

PaperCrafter Issue 98 Free Papers Projects

                                                                   Hi all

I was given a set of the free papers from PaperCrafter Magazine issue 98. I was asked to make up a few projects using them so here they are.


I am proud of this one as it got me in the cover of issue 98.  The Dovecraft Back to Basics Bright Spark embellishments worked well with the bright patterns.


Here are my other cards i made


I really love the bright patterns on this paper set


I made a bunting using the Open Butterflies from Things to Alter and drew around a blank one onto the paper before gluing it to the back of the MDF shapes


I also made a 8 x 8 scrapbook layout using some MDF shapes and the lovely bright papers. The picture was taken in Torquay.


I used DecoArt Crafters Acrylic to paint the shapes as i love the variety of colors they do


Thank you for visiting


Sunday, 24 May 2015

A burst of citrus with Oak House Studio


Hi all 
i am sharing a layout i made for my first Guest post over at the Oak House Studio blog. You can find a step by step guide and product list here www.oakhousestudio.blogspot.co.uk


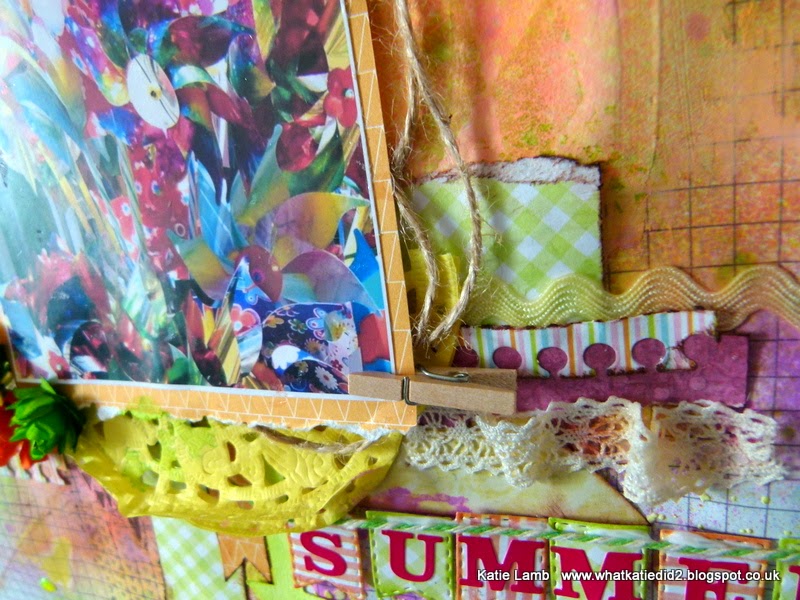
Here are a few detail shots of the layout. I used the Bright Spark range by Trimcraft for the paper layers. I just cut several strips of paper and layered them.


To make a pin wheel take any square die and cut the sides upto the centre of the square but dont cut all the way through. Fold the opposite points into the middle.


Thanks for looking and please pop into www.oakhousestudio.com for more crafty goodies.

Wednesday, 29 May 2013

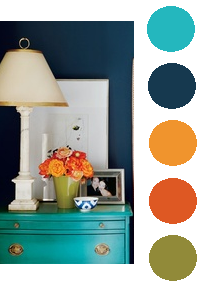
The Memory Nest May Colour Challenge

The colour challenge at http://thememorynest.blogspot.co.uk/2013/05/may-color-challenge.html. For this months colour challenge i have chosen a fun and very bright layout of my day trip to Great Yarmouth. I had a fun but exhausting day beside the sunny seaside which was most likely our only day of summer if i know what British weather is like.

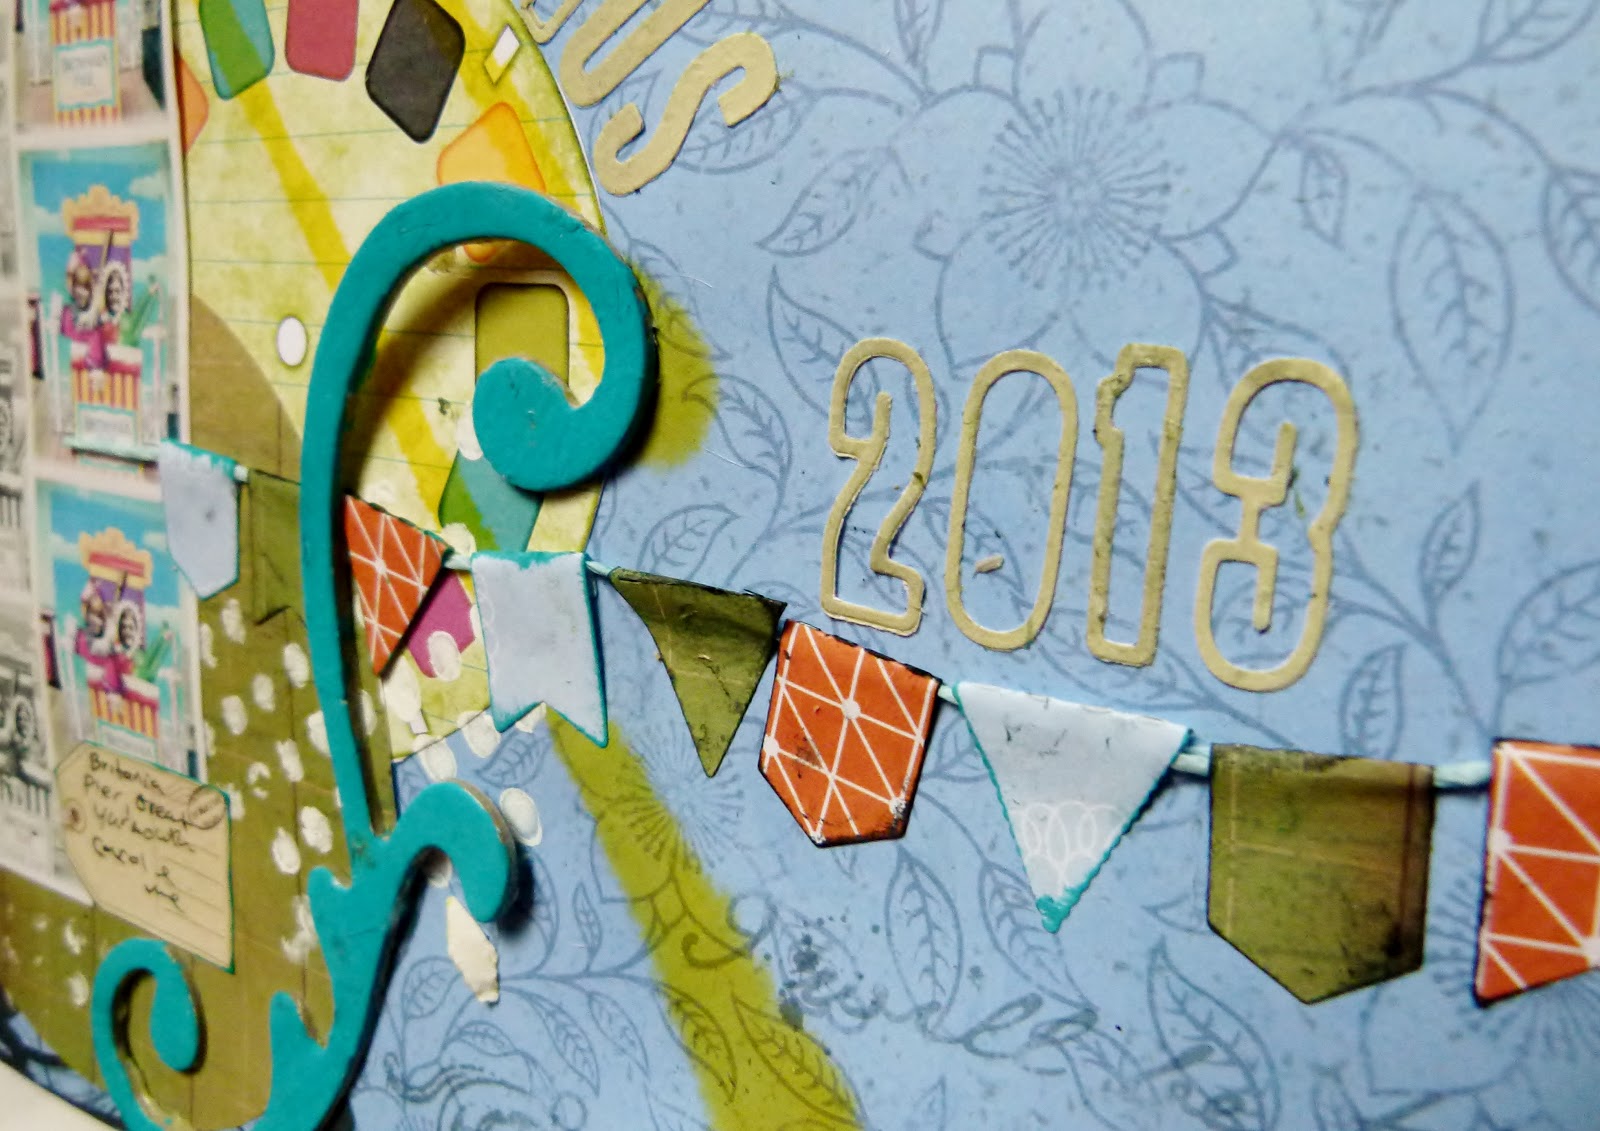
 I've been experimenting with mixed media on my layouts which i some cases has gone horribly wrong so i decided to keep it simple and used a Bobunny distressed textures stamp and painted it with acrylic paint instead of using ink. I then sprayed misting ink into the corner of the page and let it run down it.
 I've taken a shine to chipboard flourishes latterly i like to paint them or distress them with ink and sandpaper.
 I used American Crafts Amy Tangerine papers and The paper company Secret Garden Blossoms 12X12 paper in this project which a quickly becoming my favourites.
It wouldn't be a seaside layout without a bunting which i made using a joycrafts diecutter and scraps of Pebble inc and Papermania papers.

Tuesday, 7 May 2013

Its off to the seaside with Portobello Road from Papermania

more seaside layouts and more excuses to add buntings to everything. i had some papermania portobello road paper left so i made this layout of Weymouth a seaside resort that couldn't get anymore British if it tried
 i mixed some acrylic paint with water and painted the background to tone down the bright red background. i then used misting spray and stamped the background with all aboard postcard writing stamp.


this time i used ribbons and charms to make the bunting .