Followers

Showing posts with label inks in a bottle. Show all posts

Tuesday, 3 November 2015

Scrap Around The World November Mood Board: Spice Scrapbook Layout

Hi all 
I am back with this month's Scrap Around The World Challenge. The mood board is a lovely Christmas theme. I love the smell of cloves and citrus at Christmas time, it is a mixture of fresh and warm all mixed in. I was inspired by the red and white colour theme so i used Oak House Studios Jubilee Red and Vintage Sepia Inks In A Bottle for the ink work.


I started the layout off by applying texture paste to a snowflake stencil mask. I mixed the paste with Oak House Studios Jubilee Red Ink to make it stand out against the pale background.  I then took the Circle Grid background stamp and used Chocolate brown and Firebrick Red ink pads to build the first layer of stamping. I then used the circles from the Texture Elements set and dotted them about the page to build the second layer of stamping.

Here is the mood board i drew my inspiration from, it was designed by Tiphanie amd here is a link to the challenge page http://scraparoundtheworld.blogspot.co.za/2015/11/november-2015-challenge-31-by-tiphanie.html There are lots of prizes avalible from sponsors such as 2 Crafty Chipboard and Studio 75 up for grabs for the winners here are the details:

every month we have 10 merit based prizes, 1 random prize & 1 followers prize.
SO THERE ARE 12 PRIZES IN TOTAL!!  10 of those are voted on by our
Design Team members, that then get featured on our Wall of Fame,
then one prize is chosen at random (so anyone can win!) & yet
ANOTHER PRIZE  is chosen from our COMMENTS, which
can be won by ANYONE that is an official Google Friend
Connect follower or Scrap Around The World, even
if you don't play along!!  Isn't that amazing?!?
WE OFFER A PRIZE & YOU DON'T
EVEN HAVE TO ENTER!!!


I used Oak House Studios Jubilee Red and Vintage Sepia Inks In A Bottle to dye the emphenalia and flowers to keep in with the colour theme.


I used the Altered Christmas collage and Christmas Icons sheets from the Gecko Galz to build the layers. I mixed them in with the First Edition Christmas Wishes paper pad and used craft tape and foam tape to stagger the layers to add dimension.once all the pieces were stuck down i spritzed Jubilee Red Ink between the layers and let the ink run down the page before leaving it to dry fully.


 I used the sentiment from the Oak House Studio Daisies and Rainbows stamp set to add a bit of distressed writing to the page. I dabbed them onto the ink pad and lightly tapped the page with the stamp so it only printed parts of the stamp.


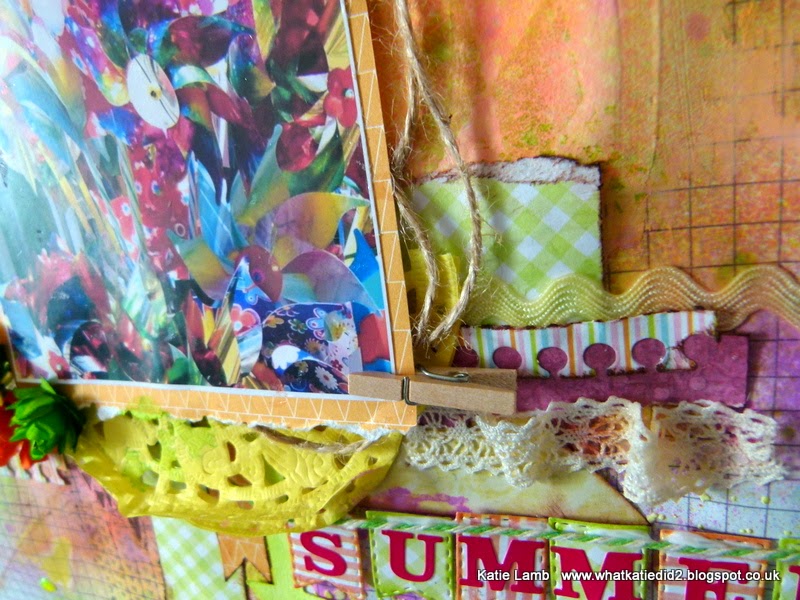
Here is a close up shot of the layers including the altered collage sheets by the Gecko Galz


                          Thank you for visiting and good luck to everyone who enters

Wednesday, 21 October 2015

Oak House Studio: Mixed Media Canvas Using the Stamps from The Hochanda show

                                                              Hi all

I am back with a mixed media canvas i made using the new stamp sets available on Hochanda. The bundles come with four stamp sets and a selection of inks. If you would like to learn how to make this canvas then i have a tutorial here

The show is on 21st  October

11 am is showing the Roses Bundle
2 pm and will showcase the Double Daisy bundle
6pm is showing the Best Bits which is a mixture of products


The paper pad i used was the First Edition Falling Leaves and its Autumnal colours worked perfect with the Oak House Studio Brazil Nut and Pumpkin inks. You can find the new Pure Colour Chemistry inks here http://www.oakhousestudio.com/ourshop/prod_3124131-Pure-Colour-Chemistry-inks.html


I love the new texture stamps that come with the Daisies and Rainbow stamp set that will be shown on Honchanda this month.


                                  Thank you for visiting and check out my tutorial

Oak House Studio: Mixed Media Canvas Tutorial

Hi all

I'm back with my first official post as a Design Team Member and i am really excited to be here as i love the Oak House Studio products to bits. Would you like to learn how to make a mixed media canvas? Well i will show you xx


First spray the canvas with Pumpkin Ink In A Bottle and allow some of the ink to run down the canvas.

Oak House Studio Inks In A Bottle Pumpkin and Pure Colour Chemistry Brazil Nut

Mix Brazil Nut Pure Colour Chemistry with some texture paste. Use a stencil to spread the paste onto the canvas.


Add a few drops of Brazil Nut Pure Colour Chemistry to an empty spritzing bottle and add a bit of water to make a spray. spritz this over the canvas to tone down the Pumpkin ink. Then flick Citrus Green Ink In A Bottle over the page.

Inks In A Bottle Citrus Green, Brazil Nut Pure Chemistry

Next Using the Square Grid Stamp apply Triple Browns ink to it and stamp around the canvas randomly. Next using the Sunshine Sentiment and Textures set, stamp around the canvas using Golden Oak ink. I then took one of the stamps from the New Daisies and  Rainbows stamp set and stamped that at four points on to the canvas.  The new Daisies and  Rainbows stamp set will be premiering on Honchanda as part of an exclusive bundle.


Daisies and Rainbow Stamp Set

Now its time to get the paper layers built up. I matted the photo onto patterned paper first but did not stick it down as i wanted to place all the paper pieces in the right spot first.


I used a selection of die cuts and trimmed strips of patterned paper to make the layers. I placed them so that i wouldn't cover over the stamp work as i wanted that to be part of the texture.


Its time to add the embellishments. If you do not have any to match the colour scheme then alter them with ink !!. I used cream paper roses and spritzed them with Citrus Green Ink In A Bottle and then Brazil Nut to get an Autumn green. I would recommend covering the entire workspace with newspaper including the wall.


I used the quotes as the title by stamping them onto the board using black ink. If they do not stand out very well then stamp onto Stamping Card and spritz with ink. I tore around the edges so it blended in better. This stamp is also from the New Daisies and Rainbows Set.


Thank you for visiting 


Thursday, 8 October 2015

Scrap Around The World October Mood Board and an announcement


Hi all

I have some fantastic news to share !!

I have been accepted on to the Oak House Studio Design Team xx as you may have noticed the OHS inks are one of my favorite mixed media mediums and now i get to use them more. My projects are going to be shown off on Hochanda, the new craft channel and i will have the dates for you soon so you can bag yourself some exclusive stamp bundles which include some fabby new never before released stamps. Sound good so far? I will keep you all posted xx

Now on to this month's mood board

I love love love the bright colours so i had to get my Inks In A Bottle out to play.


I was inspired by the colours but also the circle pattern too.

Here is the Mood Board by Heather McMahon. If you would like to join in here is the link http://scraparoundtheworld.blogspot.co.uk/


I used one of the new sentiments that will be available soon 


The stencil masks are from 13arts and i used a range of  Inks In A Bottle. Pumpkin, Citrus Yellow, Citrus Lime, French Lavender and Waterfall. You can find them here http://www.oakhousestudio.com/ourshop/prod_2487926-Ink-in-a-Bottle.html


                                Thank you for visiting and i will be back with more projects soon

Sunday, 31 May 2015

Into the wilderness with Oak House Studio


Hi all iam just sharing my layout i made for the Oak House Studio blog. I have a full product list and step by step guide over on their blog right here. http://oakhousestudio.blogspot.co.uk/


                             I have used the Back to Basics true blue and Bohemian paper pack for this layout.


I have been playing around with silicon molds and they work really well with plaster. I love them as i can paint and distress the plain shapes.


I also like making my titles out of the craft foam as they are a lovely texture. Or maybe i am a bit strange?


Sunday, 24 May 2015

A burst of citrus with Oak House Studio


Hi all 
i am sharing a layout i made for my first Guest post over at the Oak House Studio blog. You can find a step by step guide and product list here www.oakhousestudio.blogspot.co.uk


Here are a few detail shots of the layout. I used the Bright Spark range by Trimcraft for the paper layers. I just cut several strips of paper and layered them.


To make a pin wheel take any square die and cut the sides upto the centre of the square but dont cut all the way through. Fold the opposite points into the middle.


Thanks for looking and please pop into www.oakhousestudio.com for more crafty goodies.

Tuesday, 18 November 2014

My first mixed media canvas


Here is my first mixed media canvas art, i wanted something to personalise my craft room with and will be doing a few more. i bought it for 50p from a charity shop and covered over the old image with some forever friends self adhesive fabric and then covered the area with some homemade texture paste and left it to dry overnight. i then gathered up my favorite stencils, inks and paint and started dabbing and spray things all over the place.


To add dimension just spread texture paste over a stencil mask and dried it with a heat gun before randomly spritzing it with inks. I used Artiste Cardinal Red, Violet,Goldstone, Electric Blue and ocean Blue. Oak House Stdio's  Pumpkin, Sepia, Vintage blue and tempting teal. it was not long after this project that i realised i needed a pink one so i guess i've spent next months wages already. to make the quote (which was influenced by a stamp i had spotted on Oak House Studio's website) i used a selection of Tim Holtz alphabet die strips and then spritzed the cutouts with Goldstone spritzing ink.

for the altered chipboard i just painted it over with the texture paste and the spritzed inks over it. I then titled the canvas up and blew the excess ink down the page adding a few more drops to add to the effect.

Thank you for visiting and the products i used are below

Mediums 

Artiste
Goldstone DOA550612
Ocean Blue 
Electric Blue DOA 550605
Cardinal Red DOA550603
Violet DOA550611
Pink Blush Acrylic Paint DOA763219

Oak House Studio
Pumpkin
Tempting Teal
Vintage Blue
Sepia
Vintage Burgundy

Stencils

Crafters Workshop
Ranger dylusions diamond of a boarder
Demask
Well Rounded

That special touch
Flourish
Harlequin

Tim Holtz
Wanted
Vintage Market


Friday, 7 November 2014

Introducing First Edition Botanical Notes Paper pads

Hello everyone 
today i am going to share with you two projects i have made using the new Botanical Notes pads from First Edition. it is absolutely beautiful and is perfect for vintage, girly or wedding projects. again this pad comes with different textured papers from canvas effect to foil engraved patterns.


 i have really got into mixed media lately and love the paper flowers that Trimcraft produce. i have used an assortment of different ones.  the background page already had a lot on it but i used a few stencil masks to add texture and dimension to it.


to get the running ink effect i just took the cap off of the spritzing inks and dropped a blob of ink on the page, tilted it up and blew the ink down the page or you can use a straw.


i used the butterfly from the Dovecraft everyday stamps range and stamped it on to card and cut it out.  i used book print paper and the music script stamp from Oak House Studio to add more texture to the image but its detailed on its own.


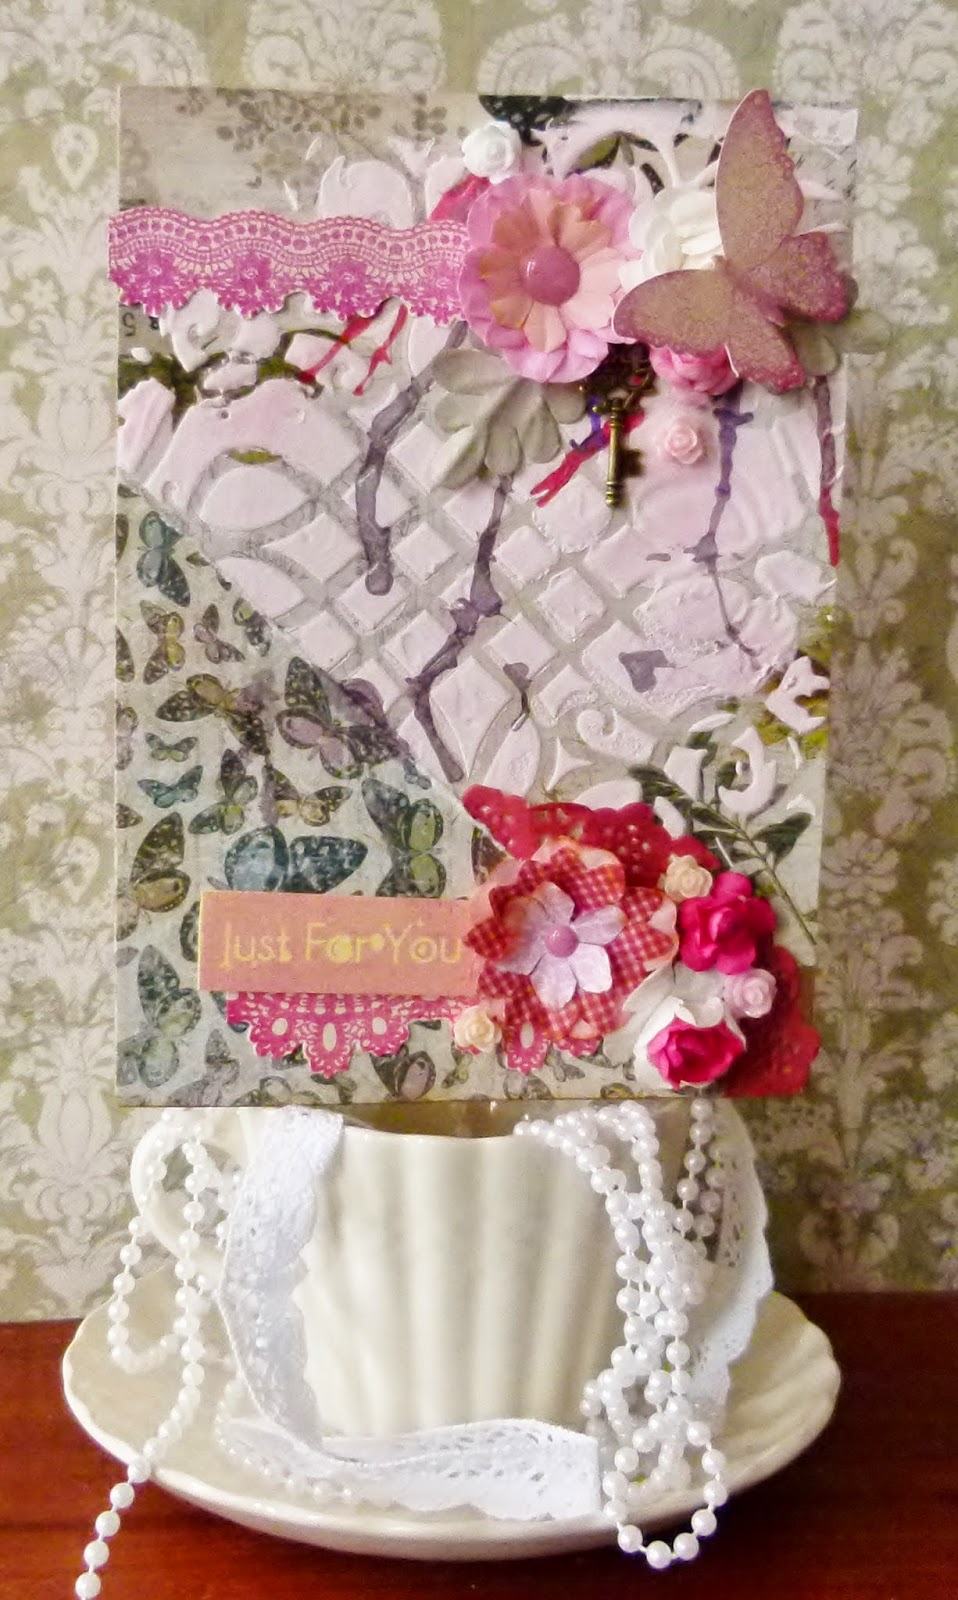
Here is a mixed media card i made using these papers, mixed media isn't just limited to Layouts and Canvas art but i would love to do a few canvas wall hanging for my craft room when i get chance.


i just copyed the techniques i used on the layout on to a card. i first started by covering a card blank with pattered paper and using a stencil and texture paste on the background. I then tore a triangle out of the corner of a 6x6 sheet of paper and adhered it to the corner of the card with half a doily tucked underneath. i again used spritzing inks to create the ink drips and clustered and layered up the paper flowers.

I used the stamps from the curiosity corner range to create the lace effect layers and the butterfly stamp from the Dovecraft everyday stamps range. i love these stamps as they are photopolymer and create a nice clear image.


 I glued the petals together on the paper blossoms so that they stayed in position, it was one of those things i discovered by accident and will share once i have recreated the effect.

Thanks for visiting