Followers

Monday, 13 April 2015

Introducing Clearly Besotted and Up And Away Stamps and Die sets

                                                          Hi All
I have some uplifting (pun intended) cards to share with you today. These are the Up and Away stamps and matching dies by Clearly Besotted which is a new favourite craft manufacture i have discovered. Clearly Besotted is a family run UK based business with wonderful customer service which makes you feel super important and really appreciated. I love shopping at www.clearlybesottedstamps.com but shh dont tell the other half :).


The stamps are made of high quality photo-polymer which i love because of how clean and crisp the images come out. no more botched projects because half the image is missing.


This card is really simple to make (honest) i gathered together two mist sprays and unscrewed the cap. instead of spraying the ink on the usual way i just depressed the nozzle and splattered the ink over the card instead. in the used the Up and Away die cuts with Oak House Studio's stamping card and used the matching Up and Away stamps to add colour and texture. I just love the sentiment that comes with this set.

\

Here is another card i made using the same stamp set and a little bit of the new Mirabelle paper pad.

                                            Thanks for looking

Thursday, 9 April 2015

How to color hair with Artiste Watercolor pens

Hi i am back with a mini tutorial on how to colour hair, I'm still learning but here is where i have got to so far


Take the lightest tone of yellow or whichever colour you are using and colour in the areas where you think the light would fall.


                  next take a darker tone and colour in the areas that would be in the shadows.


Finally go over the roots and darker tones with a darker colour to create texture.

Saturday, 4 April 2015

How to create square photos using photo editing software

Hi everyone
This week i am going to begin with a mini series on how to edit and print 4 x 4 square photos. I will keep it simple i promise.


To get a larger view of the photos just click on them and you will get a pop up with a bigger image. Don't worry they wont try to sell you anything.


Step 1) go into the folder where your photos are kept and double click on them so that photo editing software launches. I have used Windows Live Photo Gallery for this tutorial but there are many free programs such as Picasa and Pic Monkey you can try.


 Step 2 ) Next click on the crop button and then go to proportion and click on the custom option, then go to the bottom of the list and choose Square.


Step 3) using the cursor adjust the area and position of the square by dragging the little boxes in the corners. to move the whole box click and hold the centre of the highlighted square. The arrow will change to a  cross shape, just click and drag it into place.


Lastly click the crop button once you are happy with the final image and save to your photo folder.


I hope this helps and i will be back with a tutorial on how to print these photos off with a home printer.

My Debut in Creativity Magazine


Hi all some super exciting crafty news to share today.

My first feature in Creativity Magazine, I have been waiting for this for a long time and its great to see my project in print.


Here are a few alternative versions of the sketch on pg 54


If you do make anything with this sketch then send it into Creativity@docrafts.com and you could see you make in the next issue.

Introducing the new Dovecraft value pads


Happy Easter everyone

Today i am blogging about the new Dovecraft Value paper pads which i have used to make these pen organizers. They come in for designs which are Leyton, Crowning Affair, Bloom and Grow and More or less. You can view more about them here http://www.trimcraft.co.uk/products/790/value-papers-albums


you will need a few empty tins that have been washed and dried, soak off the labels with soapy water. once dry paint the tins with Americana Chalky Finish paint and leave to dry.


I used the 12 x 12 sized paper packs and cut 10 cm wide strips of paper and wound them around the tins to cover them or you can cut thinner strips to show more of the paint work if you wanted a rustic look.

These tins look great when decorated with a variety of different trims.  I rubbed paint over a wooden embellishment so that i would get a weathered look and then i threaded twine through it and tied it around the tin. I kept everything in place with hot glue.


I use various sized paper blossoms to create the central feature. I just layered them together and finished with a resin flowers.


Thanks for looking

my product list

Americana
Serene chalky finish paint
Smitten Chalky Finish paint

Dovecraft

12 x 12 Leyton
12x 12 Crowning Affair
Wooden shapes Winter woodlands
Various paper blooms
Paper flowers Mirabelle.

Thursday, 26 March 2015

by the sea layout

Hi all

I've been playing with the new First Edition pads this week. I have another scrapbook feature with Trimcraft coming in April so keep you eye out for it on their website www.trimcraft.co.uk. I would love some feedback so please leave a few comments.


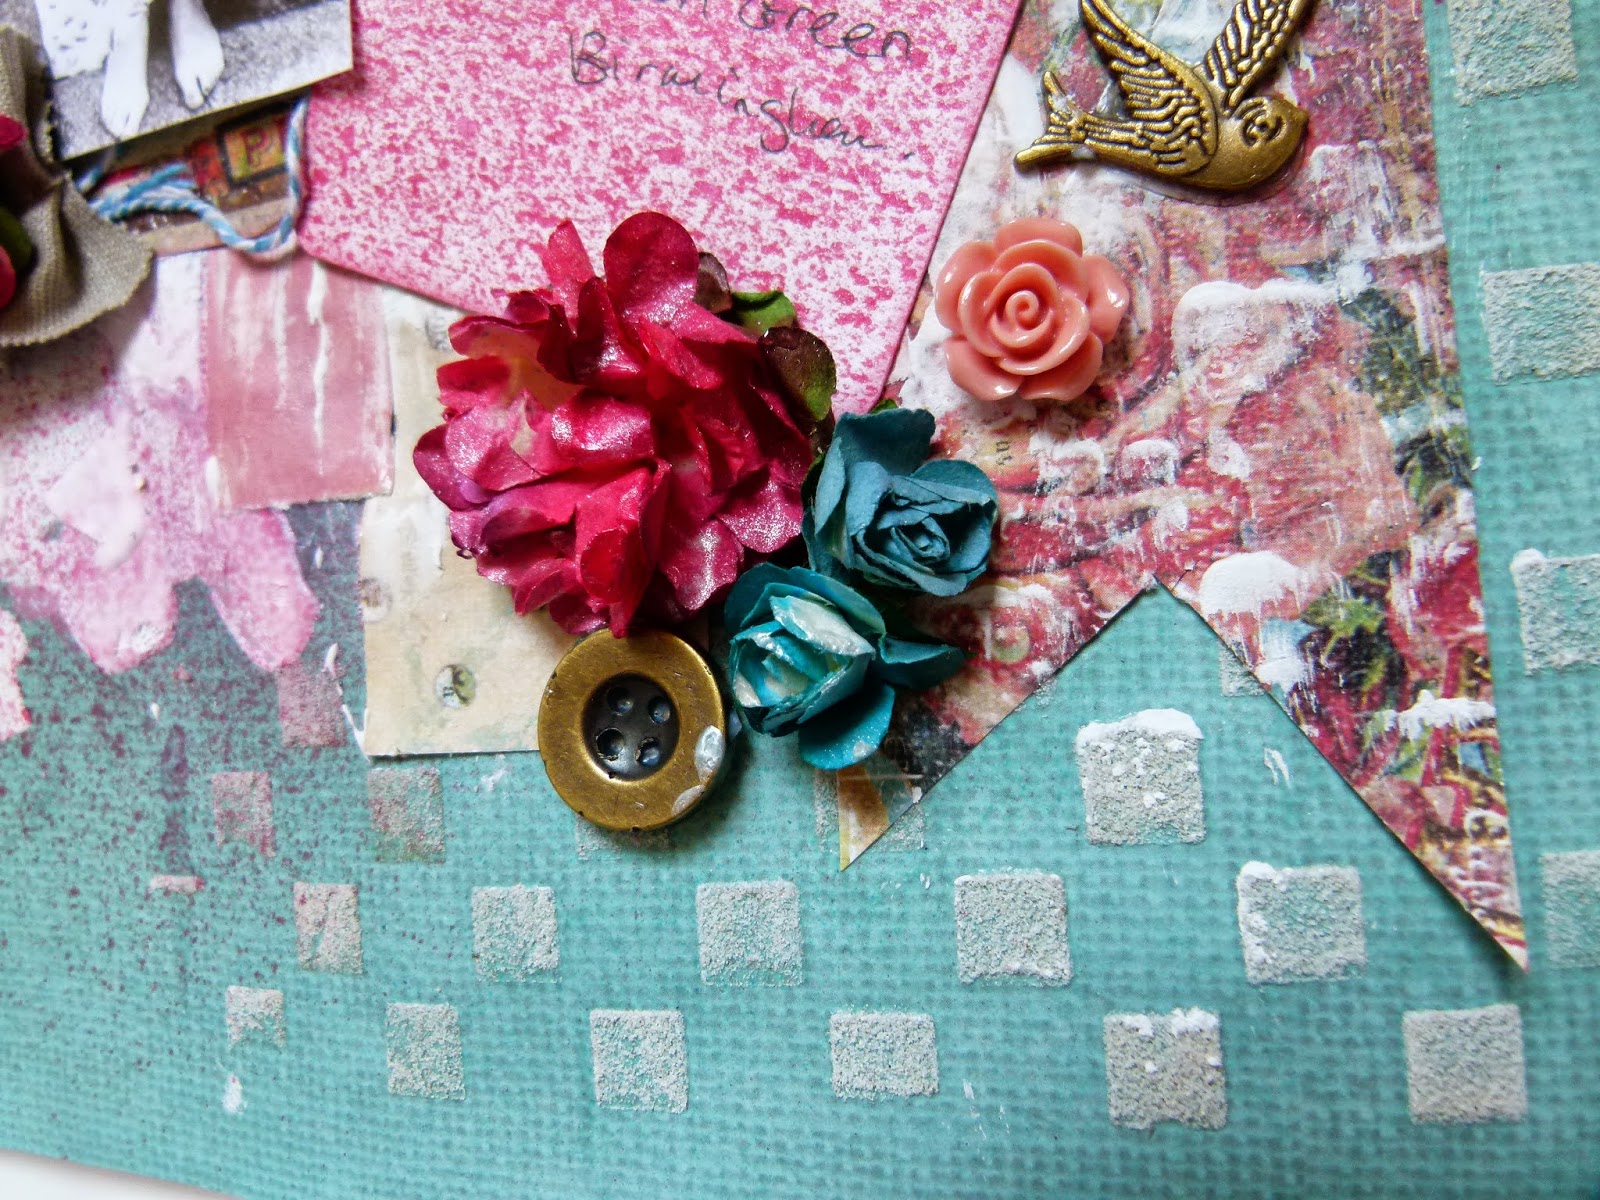
now onto the layout, i used the 12x12 The Promise paper pad by First Edition as the base and spritzed inks on to it and let it dry. I was trying out a new technique where you rub ink directly over the mask but it didn't work and i've had to apply texture paste over it.


 The layers are made by taking the 6x6 Paper Flowers pad and tearing out 3 sheets of paper. I just cut different widths of strips and layered them over each other while slotting different bits behind them.


I used textured stamps on the background and under the layers to add more texture.

Thanks for looking and a product list is available here http://www.trimcraft.co.uk/projects/117770/by-the-sea-layout

Saturday, 21 March 2015

Family Layout

I have recently started reading Scrapbook Magazine again and received issue 88 which had some beautiful Prima papers free. Here is a scrapbook page i made using the free papers and the Leyton 12x12 pad from the Dovecraft Value range


The stencil mask is by Prima, i have just started using the 12 x12 masks which are much easier for covering layouts in texture.


I used misters to alter the paper flowers to match the colour scheme.

Thanks for visiting

Monday, 16 March 2015

Say Hello to Belle and Boo


Today i am going to share a few projects that i made up using the new Belle and Boo range by Trimcraft. This range is full of lovely vintage patterns and images.


The range can be adapted to any occasion, i chose this topper for an Easter card as the chicks are so cute.


The Belle and Boo range is large with a variety of different embellishments from stamps to mini bows.


This is a Birthday card i made using the 8 x 8 decoupage pad. i have to admit that Boo is one super cute bunny.

Thanks for visiting and i will be back with new projects soon.

My First Scrapbook Feature with Trimcraft

I have some news to share xx

My first scrapbooking tutorial has been published on the Trimcraft website. You can see it by visiting

http://www.trimcraft.co.uk/articles/how-to-scrapbook-introduction-with-basic-layering-and-embellishments-tutorial

I will be publishing a different tutorial once a month and will be covering different techniques and inspiration on scrapbooking. For the step by step guide please follow the above link. Bellow are some money saving tips for beginners.


When looking at purchasing die cutters, i always go for things that i can adapt to use on several projects. Nesting dies are great for saving time when cutting out shapes and also means you do not need to cut them out by hand which with me usually ends up wonky. I buy alphabet dies because in the long run you save money, as the alphabet stickers eventually run out of vowels to use. You can make your stickers last a bit longer by mixing up the different sticker sets.

If a 12x12 page is too daunting you can always try 8x8 or A4 pages and build up. A lot of the paper craft ranges come in multiple sizes and the smaller pads are cheaper.
The shells are made by pressing white clay into a silicone mould and left to air dry. these can then be painted if needed.


If you don't want to purchase a lot of embellishments then you could always look at recycling packaging to use on your pages. You can always take ribbons off of gift boxes or labels off clothing.

Thank you for looking and if you have any ideas or feedback please leave me a comment. I will be back in April covering the basics of mixed media.

Sunday, 1 March 2015

Docrafts Blogger Outreach Program: A beginners guide to using the Artiste Dual tip pens

Today i will be talking about the new Artiste water color pens. There are 36 colors that all blend with each other and they come in a handy case that will fold up and fit into a handbag or tote but can also be folded out like a stand.


I am a complete novice to colouring in stamps and i have tried several different types of pens and pencils but found that these pens are the easiest to use. Compared to the Dual Tip Brush Markers these pens are easier to blend with water so that you can use them like watercolor paint.

I am now going to run through a tutorial with you on how to use these pens for water coloring.


You will need a few items:

Stamps
Two acrylic blocks, one to stamp with and the other to use for blending.
Fine tip brush (Artiste  brush set (DOA 767202)
card
Artiste Water colour Dual tip pens ( DOA 851310)


I would advise to use pigment ink for coloring as it is less likely to bleed into your colors when wet. i used the Artiste Black ink pad (DOA 550105). Stamp your chosen image out on to plain white card stock, to get a clean image either used a foam mat underneath or place the card over the inked stamp and pat down with your hand.


To blend the color pens with water, scribble on to a clear acrylic block or non stick surface so it looks like this.

Next take a fine tip brush and dip it into clean water and let a few drops of water fall on to the ink and the mix with your brush.

you can repeat the above step with as many colors as you need and just dip the brush in to the ink and color as you would with paints.


 Mixing colors is simple, just scribble the chosen colors next to each other on the acrylic block and apply water. blend them together as you would with water color paints.

                   
 You can use the pens to create water color effect backgrounds. I used a water pen to achieve this effect but you can apply a darker colored ink to an acrylic block and paint it onto a background that has had water painted on to it. just draw the color downwards to get the same effect.


I found that the dark yellow pen creates a healthy looking skin tone when it is watered down.


I still have a lot to learn about shading but these pens are really good for beginners who need something easy to practice with.


Here are a few more cards i made while playing around with the pens.


This bunting was created using the stamp and i stamped it in a row onto blank card colored it in and cut it out.
                   
                     I was experimenting with the clean and simple look with this one.


Here i used the pens as both a water color paint and like a marker with out any blending with water.

                                                             
Thank you for visiting if you would like to learn more about any of the products used on this post then visit www.docrafts.com. you can join our community for free and share your projects with us and also get some free printables. My user name is Klamb so pm me if you need anything.