Followers

Wednesday, 28 January 2015

Sweet Paris cards

As part of my run up to valentines i have posted a few cards i made with the Sweet Paris range.


This card i made by layering up different heart die cuts, i thought  i would try keeping to the same colour just to see how it turns out.


This is the stamp sets that accompany the range. they are a decent size for card making and stamp very clearly.

My last card used the First Edition tag dies and all i did was layer them together with 3d foam pads. the frame is from the Sweet Paris Die set.

I will be back next week with the lovely Victorian Valentines range by Docrafts.


To see more projects from this range visit www.trimcraft.co.uk

Tuesday, 27 January 2015

Docrafts March new product releases

There are some lovely ranges coming in March but i think its the Gorjuss Girl range that i am the most excited about.


Forever mixed media layout

As we approaches Valentines day, i would like to share with you some of my romantic makes starting with Dovecrafts latest range.

This is a scrapbook layout of my Grandparent's wedding back in February 1954. The Sweet Paris papers have a vintage feel to them so i thought it went well with the black and white photos.


 I love the resin flowers in this range especially the bright pink. I altered some of the white and cream paper flowers with misting spray so i could add extra colours that i didn't have in my stash.


You have probably noticed that i like to use die cuts on my projects, so it should come as no surprise that i have been using the new First Edition dies since they were launched in December. Here i used the key die set with Kanban metallic card stock.


And lastly the tag die set which has become a new favourite. I just cut out different sized tags and layered them up.


Thanks for visiting and you can view thius full range at www.trimcraft.co.uk

Saturday, 24 January 2015

Docrafts Design Team 2014 Blog hop

This month is the beginning of my new term with the Docrafts team i am so relieved and happy to be fortunate enough to continue designing for them. But it is a bittersweet moment because today i have to say goodbye to my old team.

Wendy, Diana, Heather,  Keren, Dee, and Nikki. it has been a joy and honor to work with such a talented team and one day i hope to work with you again. congratulations to Sarah Jackman Read who has become our newest member of the Docrafts in house team. I wish my team luck and i will still be here to offer my support.

Welcome back Sarah Douglas, Paula and Michelle. I am happy to be working with you again.

I would also like to welcome our new members Mary,Julie,Katie and Doreen. congratulations for getting on to the team.

Here are some of my makes, i have moved on from the simple scrapbook style and in to the mixed media style of crafting but some times simple woks better.


 i discovered that i could apply mixed media techniques to cards and now its on everything.

 i have begun to enjoy taking boring objects and making them pretty, i will never throw an empty jar into the recycle bin ever again.

I had so much fun altering these bare basics shapes and now i want to do more.


Here are the blogs of the Docrafts team past and present so you can get to know us all better

Katie Lamb  www.whatkatiedid2.blogspot.co.uk
Mary http://maryjdesigns.blogspot.co.uk/
Sarah Douglas Www.stickerkitten.co.uk
Michelle www.scrapthology.blogspot.co.uk
Heather https://heathermitchelldesign.wordpress.com
Jill http://deliciousdesignsbyjillpryor.blogspot.co.uk/
Katie Skilton www.katieskilton.com
Doreen http://www.doreensdream.blogspot.co.uk/
Julie http://newnanny.blogspot.co.uk
Denise https://denisefletcher60.wordpress.com
Mags woodcock https://thetaglady.wordpress.com/
Claire http://talesfromthe-craftroom.blogspot.co.uk/

Friday, 23 January 2015

the Crafting Cafe blog hop and a new paper range from Trimcraft

This Range was released at the end of December so i have had to wait for it to arrive. after much hand sitting i was finally able to get all those ideas out of my head and on to paper.


I am hopping along with the Crafting Cafe blog hop so here is a list of all the other talented crafters who are playing along.

Janna http://janna-scrappingintheattic.blogspot.co.uk/
Nikki www.what-nikki-did-next.blogspot.com
Dawn http://dawn-dawnscrafting.blogspot.com
Amanda http://mandmadecrafts.blogspot.co.uk/
Neil http://perfectly4med.co.uk
Barbara http://glitterarti1.blogspot.co.uk

Saturday, 17 January 2015

Sweet Paris altered notebook

Ive been a bit quiet this last few weeks but I've been busy trying to make things to share. This week i have a new project i made using the new Dovecraft range Sweet Paris.


I have started off with a hardback notebook, the kind you buy from The Works for a couple of quid. I painted around the edges of the book with a few layers of acrylic paint so that the old cover doesn't show through when i cover it.


I took a sheet of 12x12 paper and covered the book cover up to the spine. I then trimmed it to fit leaving about 2in of paper to wrap around the inside. Just like when you covered your school books.


I covered up any gaps by gluing a length of ribbon down the front of the book. I used the pink ribbon from the Tiny Tatty Ted girl range.

For the front i took two large paper blossoms and layered them together. I then glued two hatpins to the flower. I painted a wooden embellishment and added that to the centre to create the central embellishment.


I took several different embellishments and glued them to the corners of the book in clusters of five for impact. Odd numbers always look better for some reason.


To make a fastener. I glued a large resin flower to the edge of the opening. I then turned the book over and hot glued a length of twine to the back. I covered the back with paper to hold it in place.


   I used the First Edition tag die set to make page tabs for finding things easier.


 thanks for visiting for a full prodct list and to see more of my projects visit  www.timcraft.com

Sunday, 4 January 2015

Docrafts Blogger Outreach Programe: Introducing Papermania Little Meow range


Today i will be introducing one of the new ranges released this month. The Little Meow range is cute and purrfect for cat lovers but is also versatile as there are patterns that can be used for all occasions. This range has matching embellishments and comes in both A5 and A4 paper packs. i will also be sharing with you a mixed media tutorial as well.


I had to do a kitten layout to match the cute papers.

The paper ranges i used for this project are The Little Meow A4 paper pack (PMA 160180) and Capsule Collection French Lavender 12x12 pack (PMA 160232)


Take a 12x12 paper for the background and then paint with gesso or watered down white acrylic paint. Dry with a heat gun before spritzing with inks. blend the inks together with a paint brush before it dries adding water where needed. i used Artiste acrylic paint  Blush (DOA 763219) and White (DOA 763260) for the base coats and Artiste Spritzing inks Cardinal Red ( DOA 550603) Violet ( DOA 550611) and Gold (DOA 550602)

Tip:  The gold and white sprays are best used as a base coat if you spray these over your project first and then spray over with another colour once dry. You will then get a lovely glittery shimmer and it will bring out the colours more.


Once the background is dry, take a selection of stamps and inks and then stamp around the page at random. stamp a few in embossing ink and use embossing powder to add texture.
i used Artiste Watermark (DOA 550500), Metallic Berry(DOA 55121) , Black (DOA 550105) ink pads and seafoam embossing powder (PMA 4021010)

Tip: remove any excess powder off using a make up sponge or, brush a bit off to create a distressed look.

 
I used Tilly daydream Ribbons (TIL 907104) and Bird Print (PMA 907122) 
you can still get these online. 

Tip: Try pressing the stamps down using your fingers instead of an acrylic stamping block as this gives you a faded effect.


Next cut out a selection of die cut shapes and place the layers together. once you are happy with the way your layers are laid out then staple together to hold in place.  before sticking down your layers to the background stamp a few more images around the focal centre of your layout and flick a few drops of spritzing ink around it. I used double sided craft tape by Stick it to stick down the layers.

i used Xcut Tags nesting dies (XCU 503926), Rectangle nesting dies (XCU 503409) , Rectangle Parentheses (XCU 503044) and Rectangle Parentheses 2 (XCU 503045)

Tip: you can crumple up some of the layers and then ink them before sticking them down to add texture.


Stick your photo in the centre of your layers using Stick it 3d foam pads. Then take a length of thread or twine and loosely wrap it around the photo to create a rough frame. stick it into place using the Stick it glue pen. i love these pens as they are so accurate when sticking down small embellishments.
here are the codes for the adhesives i used  Double sided tape (STI 7101) Glue pen (STI 463100) and 3d foam pads (STI 4000).


                      Finish of your project with a selection of embellishments and buttons.

                   Thank you for visiting.

Wednesday, 31 December 2014

Introducing the First Edition Die Sets

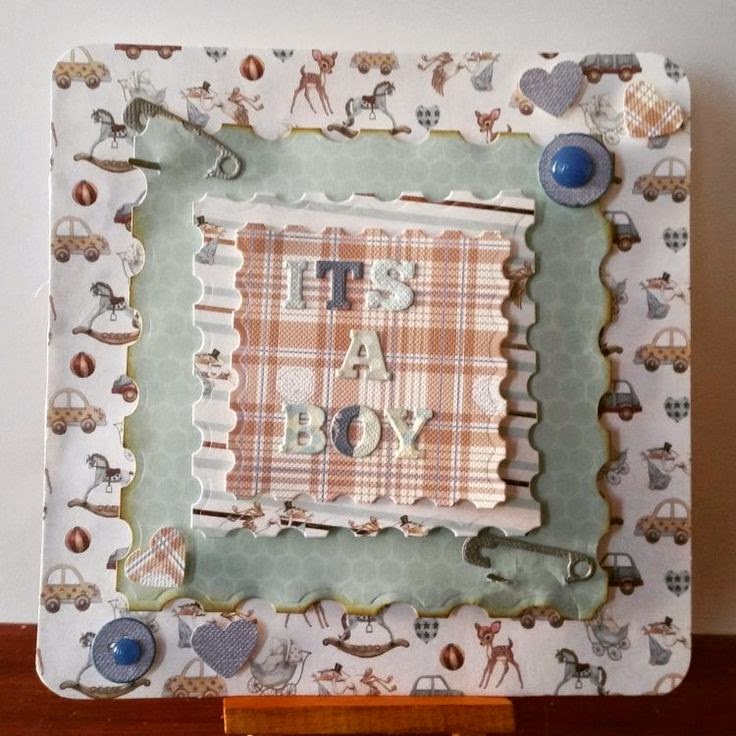
These brand new die sets cut brilliantly, i have been fortunate to be set a selection of these sets to play with and i love them. my favourites so far are the Varsity Alphabet set and cogs, i have been making so many boys cards with these.

                             The die sets here are the Script Alphabet set and doily set. i will be

                                  This is the Cogs, Vintage /gentleman and Stamp Nesting die sets

                          Here i have used part of the sewing set and the Varsity Alphabet dies. This set of dies is the perfect size for creating sentiments for cards as they are about 1.5 cm tall.

This is the Tea Party Die set, i cut out the dies in both cream card stock and patterned paper. then i just cut and stick them together.

you can find more projects at www.trimcraft.co.uk

Thanks for looking

Favorite projects of 2014

2014 is the year i became a fully fledged designer something i didn't think i would achieve. I am going to look back on my favourite projects of this year and hope for more new creative opportunities to come my way in 2015.


ive noticed i am moving towards the mixed media style of designing and away from the vintage style i did when i first started. i have developed a lot of new techniques and tried things i would never have tried a year ago.

Thanks for looking and i hope 2015 will be a great year for you

                                                               Happy New Year

Thursday, 25 December 2014

Festive Fun Day 6: tacky earrings and other Christmas Jewelry

Hello this will be my last post for this year while i balance the festivities of this time of year with crafting and work. Before i start i would like to thank everyone for their support for 2014.

My Christmas started yesterday on Chrismas Eve when i went to mum's for dinner. We got so drunk we nearly over cooked the dinner and mum's cat Romeo nicked half a joint of gammon. I have no idea how he ate that so fast but we had to laugh. Next year we will order a takeaway lol.

Its been a while since i made any jewelry but my mum likes those tacky baubles dangling earrings that are all the rage at the moment. i said why pay over £3 for a pair when i can grab some of my small tree ornaments and convert them into ear wear.


These ones are made with a selection of beads and charms. I just threaded them a long a head pin, the ones with a loop and the turned up the end with pliers to add the charm on the end.


Thank you for visiting and i will be back in January introducing the new First Edition Die sets and Little Meow paper set with a new tutorial.

Merry Christmas and Happy New.