Followers

Monday, 29 June 2015

Car themed cards with First Edition Travel Notes


Hi all
I like to keep things interesting on here so i have a few novelty car cards to share today.


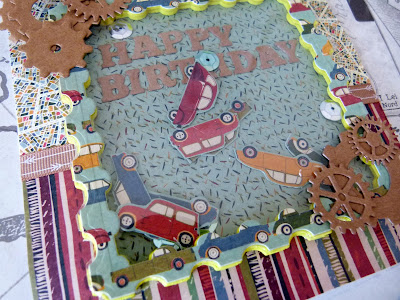
I made this shaker card by cutting out the cars from a sheet of patterned paper. I used the new First Edition Travel Notes pads for this and made a simple shaker box with the stamp nesting die.


I added cogs to fit in with the travel theme.


I had a go at a pop up card, i need more practice on this one but im happy it came out in the end.


I used match sticks and stuck the cars onto them but you could use lolly pop sticks or cocktail sticks as well.

               
                   Thank you for visiting

Saturday, 27 June 2015

Docrafts Blogger Outreach Program: Papermania Ever After Card Inspiration and Docrafts DT blog Hop

We have had a few new members join us since our last hop so i thought now was a good time to start a new one to welcome in our new teamies. I will also be introducing the new Ever After paper range from Papermania which is launched in July. If you are following the hop then you should have come from Michelle's blog if not please pop in and visit the other team members.

Katie http://whatkatiedid2.blogspot.co.uk/ you are here 


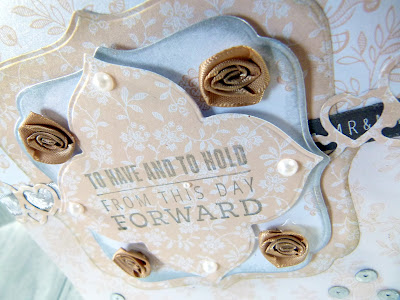
 I used the Oyster Blush paper range with the Ever After range as they  work well together. The collection has lots of lovely little bits in it like ribbon bows and charms.


You cant have a wedding card without pearls


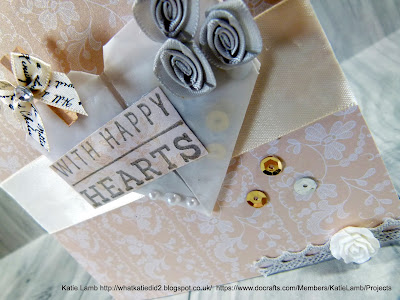
i made an origami heart by cutting the 6x6 velum inserts in half and folding them. i then filled the pockets with sequins and glued them shut.


The mini pegs are a nice modern touch and can be altered in a number of ways.


There is a large selection of trims and ribbons in this range which is suitable for wedding stationary

                                 
                               Here is a simple card design that could be used as an invite


Emboss stamped sentiments with embossing powder so that they make more impact


                  Thank you for Hopping along with us and i will be back with more inspiration later.


Thursday, 25 June 2015

Got my eye on you : Halloween decorations using googly eyes

Hi all

i have a spooky make to share with you all.
These Halloween decorations are easy to make and all you need are some black Christmas baubles and some self adhesive googly eyes which you can buy in bulk of Ebay


All you have to do is peal off the back of the googly eyes  and stick them on, if you cant get the back off try using a pin but be careful.


You can paint the tops so that they are less shiny but on a black Christmas tree it helps show them up a bit. i used the smaller sized 4 inch  baubles and used the 7 mm googly eyes but  you can use the big ones and mix the sizes of the googly eyes up for a different effect.


I think the cat will have a field day with these, i am still finding the Christmas baubles all over the place.

Thanks for visiting

Wednesday, 24 June 2015

Smeared and Smudged Scary Fairy blog hop

Hi all i am playing along with the Smeared and Smudged Scary Fairy Blog hop. I am using one of the stamps from  jadedragonne.deviantart.com. please hop along all the blogs on the list and leave some love.

Terra
Black Dragon
Dream In Darkness
Teresa
Harp
Leigh
Lost Coast
Katie
Susan
Kat


I found these gross plastic fingers on Ebay to use as a prop. I wanted an interactive card so i made a shaker card using the xtra large circle die by Xcut.


I filled the shaker box with Halloween confetti. The stamp i coloured in with the Artiste watercolour pens which are easy to blend together


             Thank you for hopping along.

Tuesday, 23 June 2015

Winter Wedding with Guilded Winter

We have started counting down to the Trimcraft Christmas 2015 product launch. For now i am going to be sharing a few of my favourite ranges from 2014.


The First Edition Gilded Winter collection does not have to be used on just Christmas cards but can be used for Winter Wedding cards.


Make this simple pin by taking a small dress makers pin and threading assorted beads into it. Place a blob of strong glue on the last bead to hold it together.


I like making shaker cards and finding interesting things to fill them with. I used the Fiskars small star leaver punch with sequins.


I choose to use layers on this card to add deph to it. I used chocolate glitter card to add a bit of sparkle to it.


I used the  First Edition doily die set and the new Willow die set to create this layered topper.


                  Thank you for visiting

First Art journal page: Do you Believe in Angels?

                                                                                   Hi all
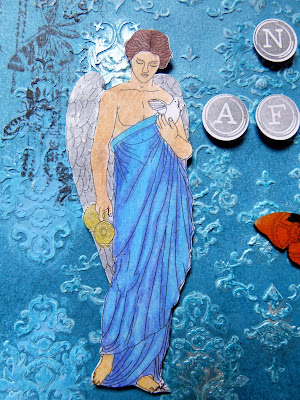
I have my first art journal page to share with you today. I used the Male Angel digital stamp i had won off Ike's Challenge #39. I am linking up with the Tando Creative colour challenge as well http://www.tando-creative.blogspot.co.uk/


I spritzed the page in ocean blue spritzing ink and then used a mask on the background. i then sprayed over it again and then rubber light blue paint over it to bring out the detail.


These are a few chipboard butterflies from  Tando Creative. i spritzed them and painted them before stamping a few cogs over them once dry.


I have often thought about the possibility that Angels may exist but how? are they in another dimension? can science one day explain how such entities could exist? what has happened to us where did the magic and wonder go? we sit here in a world where we must prove everything is real, maybe its okay to believe in the things that can not be seen.


I was about 3 years old when i encountered something i did not understand. I woke up during the night to find a presence in the room he said 'be not afraid' i looked around at what appeared to be a talking blue light and ran for it taking cover under my parents bed. They didn't believe me when i told them, they said i imagined it and i believed them. I now wonder, if that experience was real, what was it he wanted to say?


Saturday, 20 June 2015

Bare Basics Neon scrapbook page

    Hi all
I have a new layout to share today. Its another neon one which goes well with my holiday photos from Great Yarmouth. The whole sea front os bathed in neon lights at night.

you can find more of my projects here https://docrafts.com/Members/KatieLamb/Projects


I used the neon cardstock and punched along it using the starbright boarder punch.


I cut the title out of yellow craft foam as i wanted it to be bright and eye catching.


Thanks for popping in xx

Thursday, 18 June 2015

Santoro Willow card inspiration

Hi All

I have a few cards to share from the Willow range. 


I used the character topper as the main focus of the card adding flicks of DecoArt misters and sequins to add texture.


The new range has lots of little bits from plastic buttons to peacock feathers


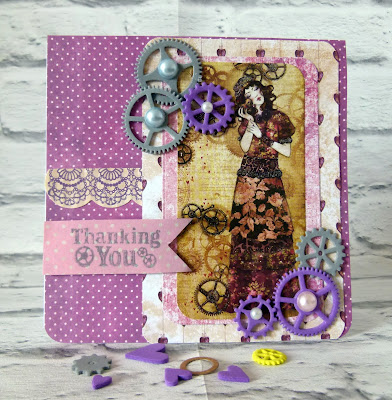
I like the steampunk vibe from this collection


i made a shaker card by cutting the small cogs out of craft foam. The Willow steel die set comes with lots of interesting bits like cogs and mini hearts. Its a versatile set


I alteted a mini peg using the lace ribbon and a foam heart. I designed the mini peg so that it could be taken off the card and reused.

The A4 sticker sheet contains a lot of large stickers that can be used as toppers. The stickers are printed on thick card so they are sturdy.


          The large cogs are from the die set.


                Thank you for visiting

Trimcraft Scrapbook Feature June

Hi all 
i am back with a new layout using the Mirabelle range. If you love this then you will love the new Santoro Willow range which will be in my next feature. You can find detailed step by steps to make this layout on the Trimcraft site here  http://www.trimcraft.co.uk/articles/how-to-scrapbook-with-recycled-materials


I wanted to create a layout that  reused packaging. The background was created by using DecoArt Misters and creating splats by unscrewing the cap and spraying the ink out while holding the lid upright.


Mirabelle is one of my favourite ranges next to Willow. Lots of lovely textured prints and sparkles.  I have used diffetent dies and materials to create interesting layers.


love wooden embelishments as you can paint and distress them for a unique look. I painted it with DecoArt White Crackle Paste and then painting over that with the Antiquing Cream.


I think one of my fav die sets is the First Edition tag set as its so versatile.


Thank you for popping in and please feel free to pop over to the Trimcraft website for more lovely projects by our trimmie family.

Saturday, 13 June 2015

Ike's Art Challenge #39 Lyrics


Hi all
something a bit x-rated today so here is an image of a big fluffy sheep in-case you want to turn and run now.


you peeked didn't you ;)
i did warn you 
i am playing along with Ike's World Challenge where we have to use song lyrics on our projects and use one of Ike's stamps so i choose Long Tall Latex Sally and Lady Gaga Bad Romance. good match eh?


I had these flower stickers in my stash i must have had them about 5 years so i used them along with the these old Papermania alphabet stickers that kept floating about.


I used glitter black gel pen to colour her in and now she is shiny.

Thanks for looking