I am fortunate to have a spare room which i made into a craft studio. I thought i would share some pics as we all love a nose at ones crafty space.
This is a rare site as i don't normally have a tidy desk, the draws a full of craft tools and adhesives. each one is better at sticking different type of materials but i won't bore you with my advanced knowledge of sticky stuff.
These shelves from Argos are great for keeping all my boxes neatly stacked but its more like playing buckaroo in my craft room i never know when that one box will finally cause the rest to tumble over.
This is the sort of office bit where i keep my product code info and various card organised in to paper trys. i keep my die sets in little A5 ring binders so i can grab them and flick through. i keep an A4 one for my larger dies. see im sort of organised.
I keep all my basics to hand in these little baskets which ive arranged like a crafty buffet.
The mantle piece is where i photograph some of my projects as the light defuses evenly on a bright day and its also an old fashioned cst iron one so it looks cool in photos/
Ive extended my work space with a bigger table only to find even more stuff to fill it up with. one day i will get this being organised thing right.
What does your craft space look like?
Followers
Friday, 20 February 2015
Friday, 13 February 2015
Something a bit Kawaii
I have recently got into the whole Kawaii craze and found that The Little Meow range fell into this category. Kawaii is Japanese for cute and applies to anything brightly colored and cartoonish, mostly big eyed animals and people.
I started off with a plain wooden clipboard and painted the edges with purple acrylic paint. Then i used crackle medium on top of the first layer. I painted lilac paint over this before the crackle medium dried and used a heat gun to dry it off.
For the clip, i watered down some texture paste and painted it over the clip as a primer before painting it purple. Once dry i grabbed a random assortment of buttons and cabs which i glued down with uno glue. This stuff is so strong it melts plastic but its ok as long as its applied to an area that wont be on show. When painting the clip, place a bit of scrap paper under it so that the paint and glue doesnt get onto the base part.
I decorated the base of the clipboard with a sheet of A4 patterned paper which i trimmed about 1.5 cm off each side.
This is from one of the little meow stamp sets and i love them to bits. I made custom clips by stamping the kitten images on to card stock and colouring it in with the new Artiste watercolour pens. I then glued them onto mini pegs.
This is just a cheap notepad i pucked up from poundland. I just used the toppers and stickers from the ultimate decoupage kit.
Just a few close ups of how this is made
I made a pen holder by gluing a lengh of elastic to the board. i just looped it up and held it in place while the glue dried. Im showing off abit of my cute stationery off. The hello kitty clip is made by hot gluing a large cabochon to a big paperclip.
Thanks for visiting and if you have made anything Kawaii then please share by tagging me on instagram at @katiel238.
Happy crafting this weekend.
Thursday, 5 February 2015
me to you Easter makes
i guess we are reaching that time of year where we are planning our Easter and Spring cards. i cant wait for it to warm up and the fresh spring air to return. but for now i have a few cards i have made using the cute Me to You Easter range.
For more projects using this range visit www.trimcraft.co.uk
Labels: pets
card inspiration,
Easter,
Me to you,
Shaker card,
Trimcraft,
Trimcraft Design Team
Wednesday, 4 February 2015
Coming soon to Scrapbook Magazine
Hi everyone
I have been sitting on some fantastic news for the last few weeks and now i can announce it.
I have been asked to work with the design team at Scrapbook Magazine and will be introduced as a designer in issue 90. I can't show you my layouts until after the magazine has been published but i can give you a peek of whats to come.
This is my first layout made with the lovely Sweet Paris range, the mist spray is the Ayeeda range by 13arts.
My next layout uses a mixture of Docrafts ranges but mostly the Eau de nil and French Lavender ranges and of course my favorite Artiste spritzing inks, i can only hope they extend this range soon.
My next layout uses a lot of Oak House Studio products, mostly the Colour Chemistry inks and the Sea life and Sea Shells stamps. I've added a few bits from the Happy Scatter valentines range which i have recently found on Etsy.
I have one last layout to make and send in but it will be a surprise for now. I also have more exciting crafty news to share but i will have to keep it quiet until March.
I can't wait to begin working with the team and learning a lot of new techniques as i face a new challenge. Once i have been published i will post my layouts with more details and a step by steps.
Thanks for looking
Victorian Valentines
hi all
I'm back with more Valentines cards, this time we are going vintage.
i am lucky to have the opportunity to design with the lovely Victorian Valentines range.
This one is my favorite and it made it into the Docrafts news letter so they loved it too. i was trying to mimic the old style of valentines cards which were shaped instead of the more symmetric style we are familiar with today.
I was experimenting with the spritzing inks on this card
Thanks for looking
Tuesday, 3 February 2015
Easter egg decorations tutorial
Hi everyone
as Easter approaches i decided to make some decorations for an Easter tree. to start with i am going to quickly explain how to make these felt egg hanging decorations which could also be sewn on to ribbon of twine and made into a garland.
To start with you will need a selection of felt, i recommend the Dovecraft essentials felt packs as they are cheap at around £2 a pack for 8 A4 sheets of felt which are a nice soft material and not the hard acrylic like some of the cheaper brands. you can get packs of nearly every color from bgpaynecrafts.co.uk for £1.59 a pack of course i got a bit trigger happy with the add to cart button.
I used a Xcut egg nesting die as these cut through material and is a lot quicker then cutting by hand. If you do not own a die cut machine then i have a template you can print out and use instead. visit http://www.activityvillage.co.uk/easter-templates and get it directly from the site.
so basically i cut two of each color and on one i glued a ribbon loop to hang the egg up with.i then hand stitched around the egg and left a gap to put the stuffing in. I know the toy stuffing can be expensive so i use the stuffing out of a cushion. you can get these from the pound shops. i finished off my decorations with buttons and resin flowers.
Thanks for visiting
Labels: pets
children's crafts,
decorations,
dovecraft essentials,
Easter,
Egg nesting dies,
felt,
felt Easter eggs,
sewing,
Xcut
An alternative to the usual soppy Valentines cards
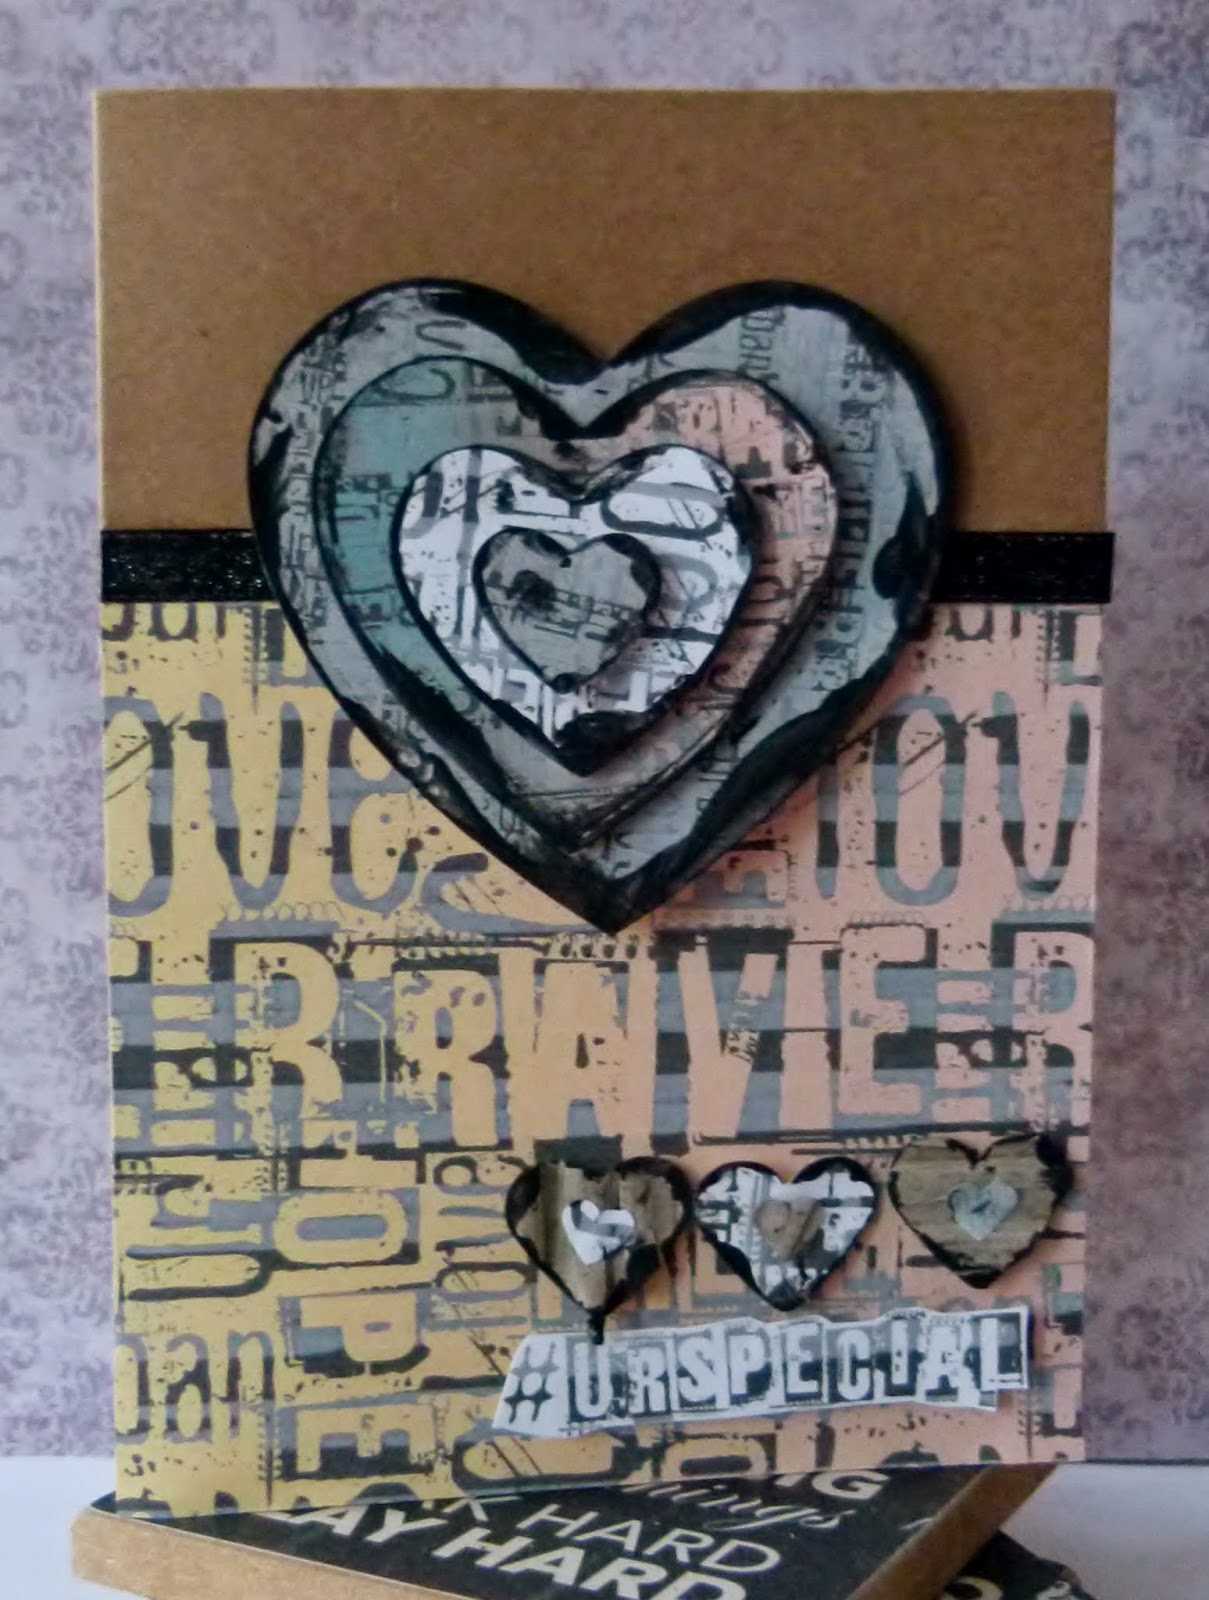
Hi today i thought i would spare you all from the usually fluffy and pink valentines theme and share with you something a little different. For these projects i have used the free Graffiti papers available free on the Docrafts site. you can get them here https://www.docrafts.com/Inspiration/Downloads/graffiti-collection/274
i used the Gorjuss girl A4 decoupage kits, the Gorjuss girl range will be returning in March so keep a look out for her. Most of this card was made using the free printable which include sentiments and an alphabet.
the basic principle behind mixed media is to add texture using a variety of inks and mediums such as gesso and texture paste. you can be as messy as you want or you can add a subtle amount. here i squeezed some Artiste Acrylic paint on to my finger and rubbed it around the edges to create this grungy frame. I cut the rose from the Xcut love icons die set and used black card to add to its Gothic look.
This is just a simple layered card using the heart punch and nesting dies
for more projects and free downloads visit www.docrafts.com.
Thanks for looking
Wednesday, 28 January 2015
Sweet Paris cards
As part of my run up to valentines i have posted a few cards i made with the Sweet Paris range.
This card i made by layering up different heart die cuts, i thought i would try keeping to the same colour just to see how it turns out.
This is the stamp sets that accompany the range. they are a decent size for card making and stamp very clearly.
My last card used the First Edition tag dies and all i did was layer them together with 3d foam pads. the frame is from the Sweet Paris Die set.
I will be back next week with the lovely Victorian Valentines range by Docrafts.
To see more projects from this range visit www.trimcraft.co.uk
Tuesday, 27 January 2015
Docrafts March new product releases
There are some lovely ranges coming in March but i think its the Gorjuss Girl range that i am the most excited about.
Forever mixed media layout
As we approaches Valentines day, i would like to share with you some of my romantic makes starting with Dovecrafts latest range.
This is a scrapbook layout of my Grandparent's wedding back in February 1954. The Sweet Paris papers have a vintage feel to them so i thought it went well with the black and white photos.
I love the resin flowers in this range especially the bright pink. I altered some of the white and cream paper flowers with misting spray so i could add extra colours that i didn't have in my stash.
You have probably noticed that i like to use die cuts on my projects, so it should come as no surprise that i have been using the new First Edition dies since they were launched in December. Here i used the key die set with Kanban metallic card stock.
This is a scrapbook layout of my Grandparent's wedding back in February 1954. The Sweet Paris papers have a vintage feel to them so i thought it went well with the black and white photos.
I love the resin flowers in this range especially the bright pink. I altered some of the white and cream paper flowers with misting spray so i could add extra colours that i didn't have in my stash.
And lastly the tag die set which has become a new favourite. I just cut out different sized tags and layered them up.
Thanks for visiting and you can view thius full range at www.trimcraft.co.uk
Saturday, 24 January 2015
Docrafts Design Team 2014 Blog hop
This month is the beginning of my new term with the Docrafts team i am so relieved and happy to be fortunate enough to continue designing for them. But it is a bittersweet moment because today i have to say goodbye to my old team.
Wendy, Diana, Heather, Keren, Dee, and Nikki. it has been a joy and honor to work with such a talented team and one day i hope to work with you again. congratulations to Sarah Jackman Read who has become our newest member of the Docrafts in house team. I wish my team luck and i will still be here to offer my support.
Welcome back Sarah Douglas, Paula and Michelle. I am happy to be working with you again.
I would also like to welcome our new members Mary,Julie,Katie and Doreen. congratulations for getting on to the team.
Here are some of my makes, i have moved on from the simple scrapbook style and in to the mixed media style of crafting but some times simple woks better.
i have begun to enjoy taking boring objects and making them pretty, i will never throw an empty jar into the recycle bin ever again.
I had so much fun altering these bare basics shapes and now i want to do more.
Here are the blogs of the Docrafts team past and present so you can get to know us all better
Katie Lamb www.whatkatiedid2.blogspot.co.uk
Mary http://maryjdesigns.blogspot.co.uk/
Sarah Douglas Www.stickerkitten.co.uk
Michelle www.scrapthology.blogspot.co.uk
Heather https://heathermitchelldesign.wordpress.com
Jill http://deliciousdesignsbyjillpryor.blogspot.co.uk/
Katie Skilton www.katieskilton.com
Doreen http://www.doreensdream.blogspot.co.uk/
Julie http://newnanny.blogspot.co.uk
Denise https://denisefletcher60.wordpress.com
Mags woodcock https://thetaglady.wordpress.com/
Claire http://talesfromthe-craftroom.blogspot.co.uk/
Friday, 23 January 2015
the Crafting Cafe blog hop and a new paper range from Trimcraft
This Range was released at the end of December so i have had to wait for it to arrive. after much hand sitting i was finally able to get all those ideas out of my head and on to paper.
I am hopping along with the Crafting Cafe blog hop so here is a list of all the other talented crafters who are playing along.
Janna http://janna-scrappingintheattic.blogspot.co.uk/
Nikki www.what-nikki-did-next.blogspot.com
Dawn http://dawn-dawnscrafting.blogspot.com
Amanda http://mandmadecrafts.blogspot.co.uk/
Neil http://perfectly4med.co.uk
Barbara http://glitterarti1.blogspot.co.uk
Saturday, 17 January 2015
Sweet Paris altered notebook
Ive been a bit quiet this last few weeks but I've been busy trying to make things to share. This week i have a new project i made using the new Dovecraft range Sweet Paris.
I have started off with a hardback notebook, the kind you buy from The Works for a couple of quid. I painted around the edges of the book with a few layers of acrylic paint so that the old cover doesn't show through when i cover it.
I took a sheet of 12x12 paper and covered the book cover up to the spine. I then trimmed it to fit leaving about 2in of paper to wrap around the inside. Just like when you covered your school books.
I covered up any gaps by gluing a length of ribbon down the front of the book. I used the pink ribbon from the Tiny Tatty Ted girl range.
For the front i took two large paper blossoms and layered them together. I then glued two hatpins to the flower. I painted a wooden embellishment and added that to the centre to create the central embellishment.
I took several different embellishments and glued them to the corners of the book in clusters of five for impact. Odd numbers always look better for some reason.
To make a fastener. I glued a large resin flower to the edge of the opening. I then turned the book over and hot glued a length of twine to the back. I covered the back with paper to hold it in place.
I used the First Edition tag die set to make page tabs for finding things easier.
thanks for visiting for a full prodct list and to see more of my projects visit www.timcraft.com
Labels: pets
dovecraft,
note book,
shabby chic,
Sweet Paris,
Trimcraft Design Team,
Up-cycled,
vintage
Subscribe to:
Posts (Atom)